Log in to your Facedrip account.
STEP 1: Click on the “agency”on the top side menu bar of your dashboard.

STEP 2: Click on “workspace” in the options below.

STEP 3: Choose the workspace you want to add a new contact and click the “activate workspace” button. (follow dis link on How To Create New Workspace)
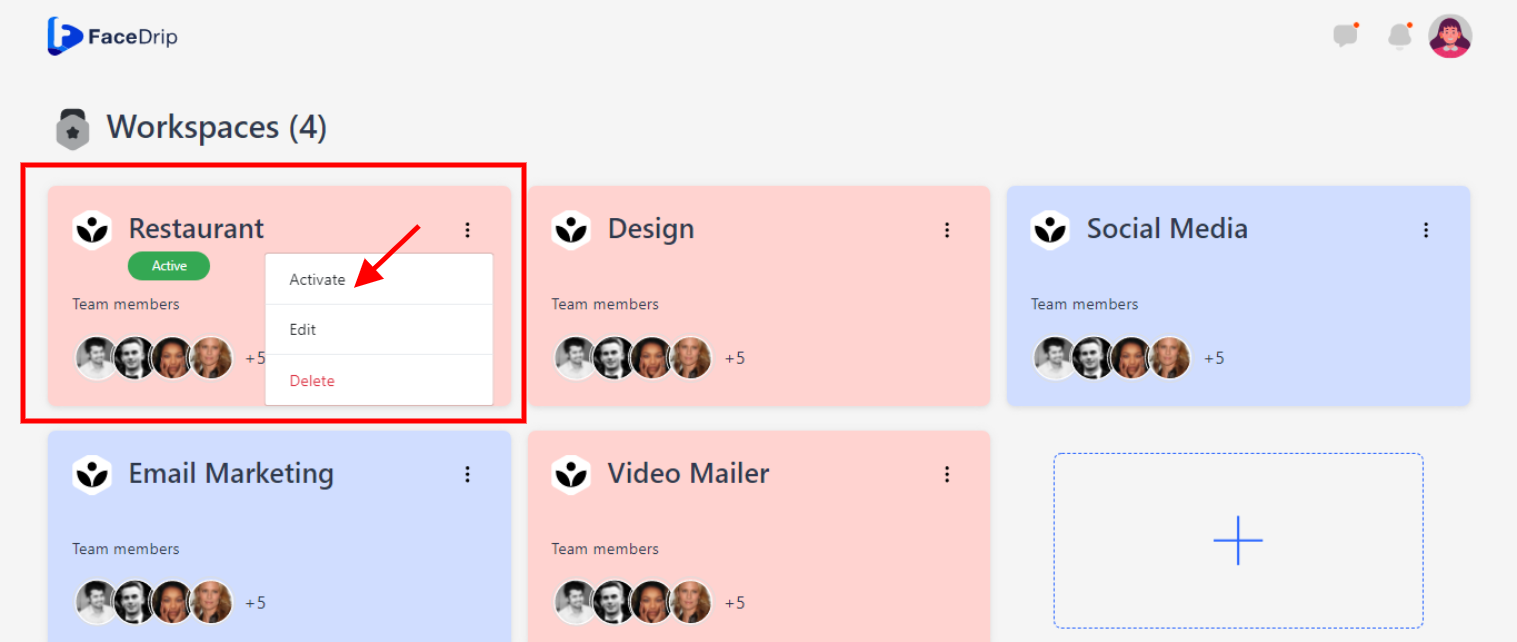
You’re workspace will be activated successfully! (PS: Go back to your dashboard module to see the active workspace).

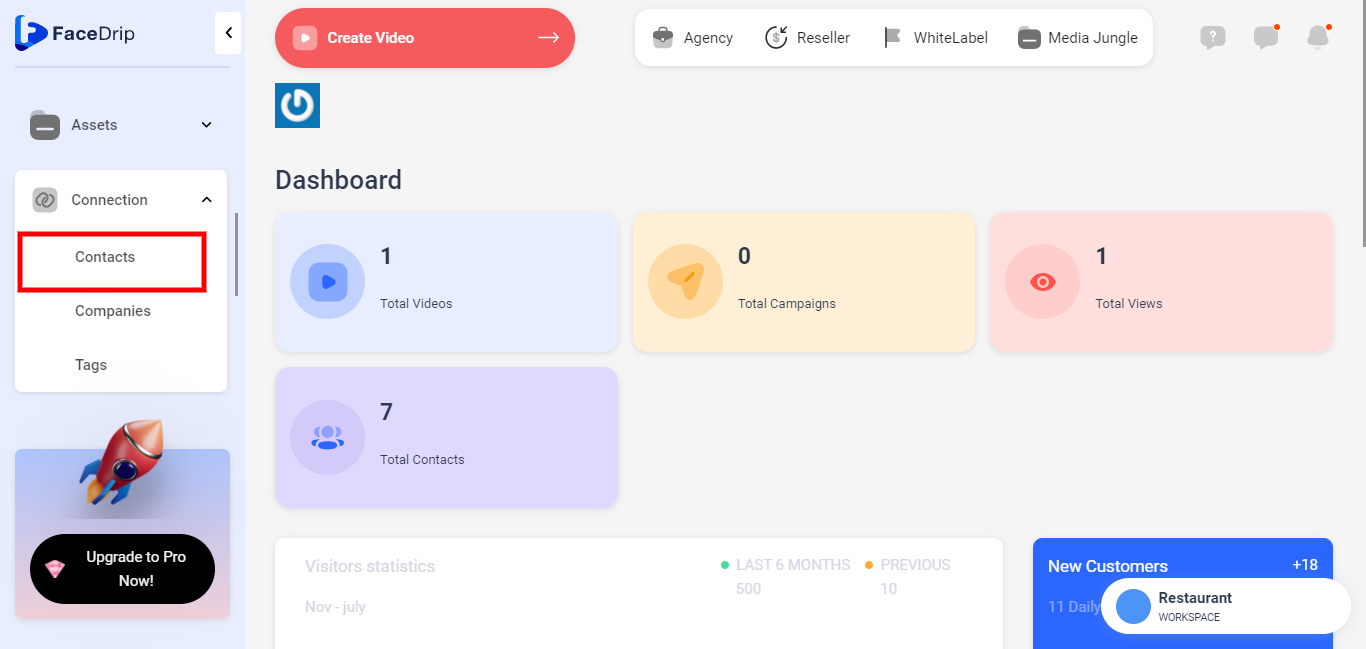
STEP 4: Click on “Connection” on the left-hand side menu bar of your dashboard.

STEP 5: Click on ” Contact”
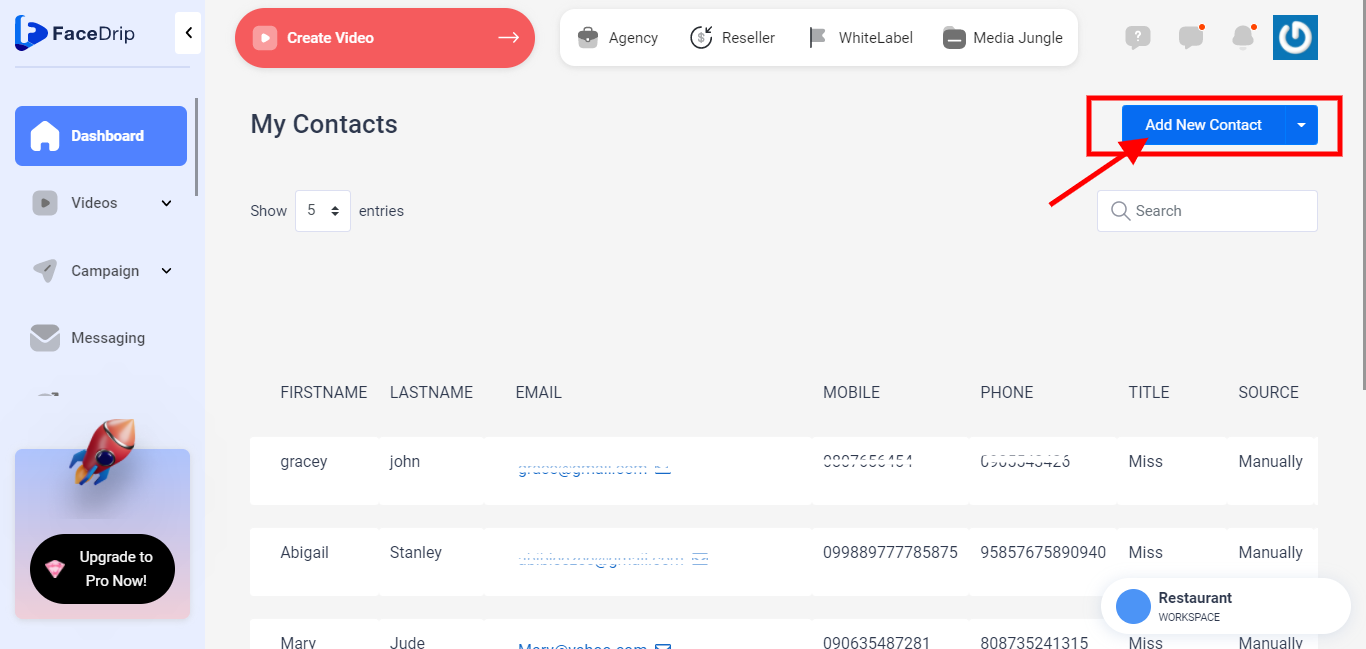
STEP 6: Click on ” Add New Contact”
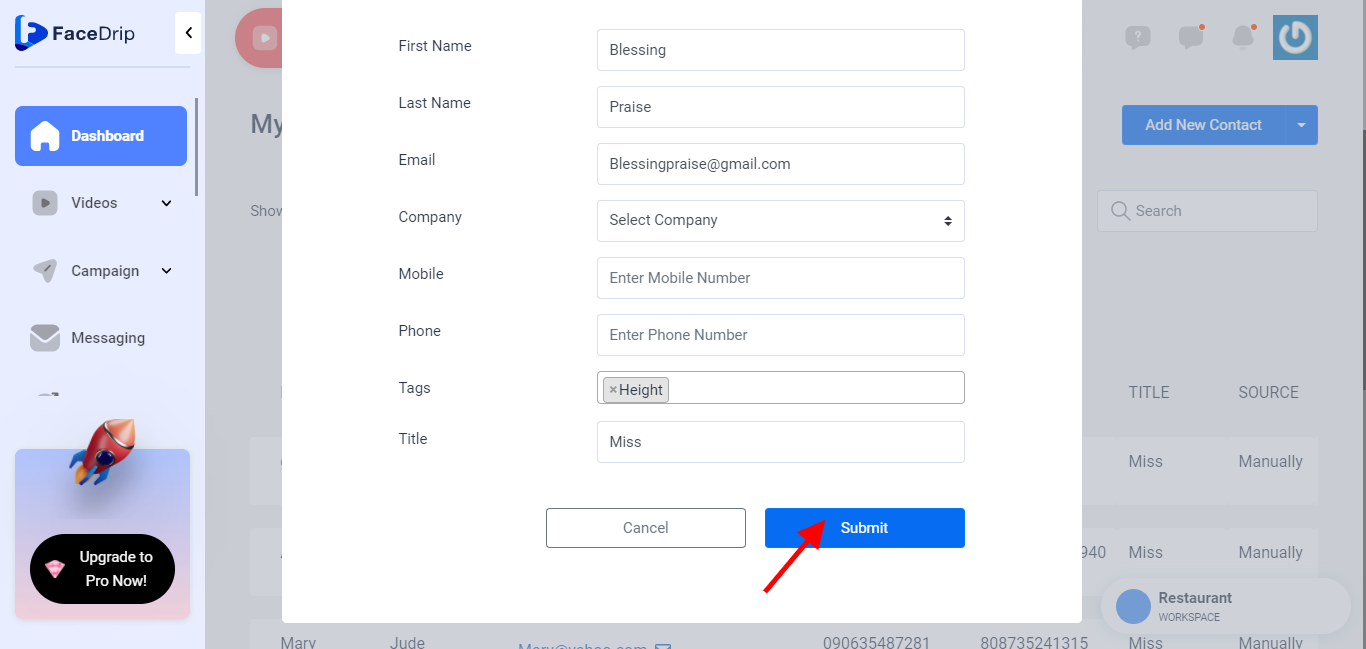
STEP 7: Input the necessary information needed such as First Name, Last Name, Email, Company, Mobile, Phone, Tags, Title, Notes. in the space provided
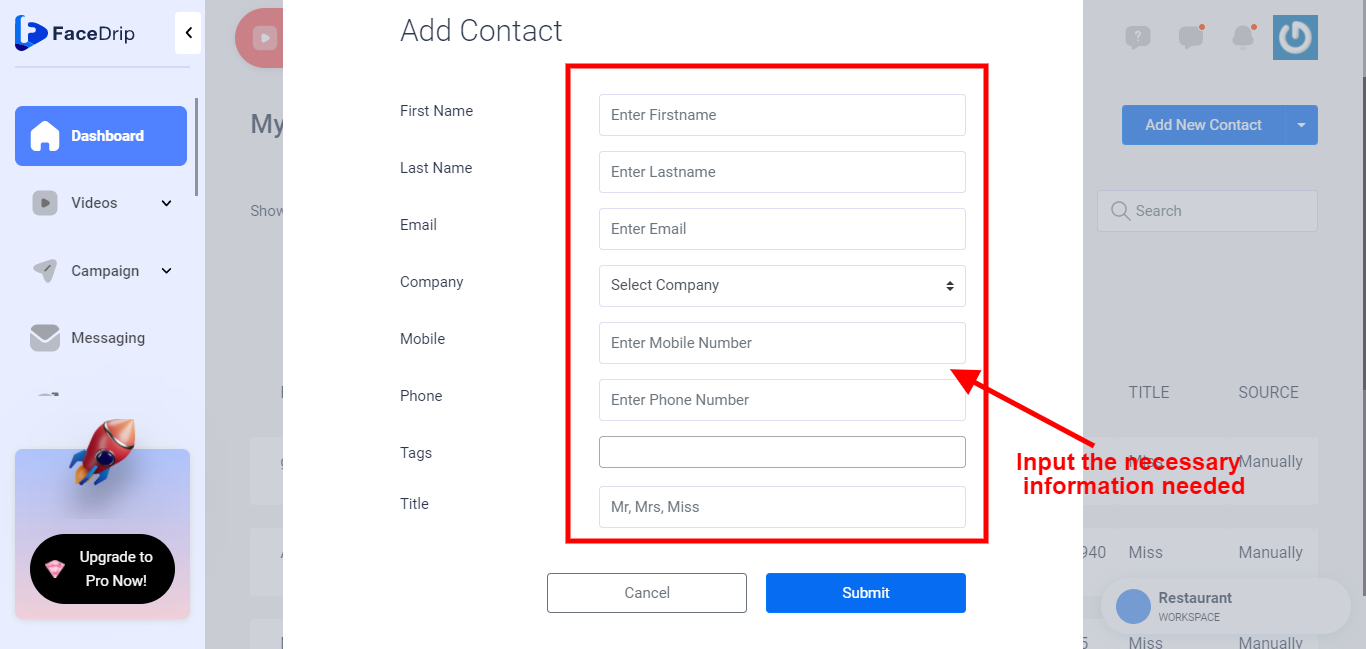
Enter First Name:
provide a valid unique name “FIRST NAME” eg Blessing

Enter Last Name
Provide a valid unique last name “LAST NAME” eg Praise

Enter Email Address
Enter a valid “EMAIL ADDRESS” eg Blessingpraise@gmail.com

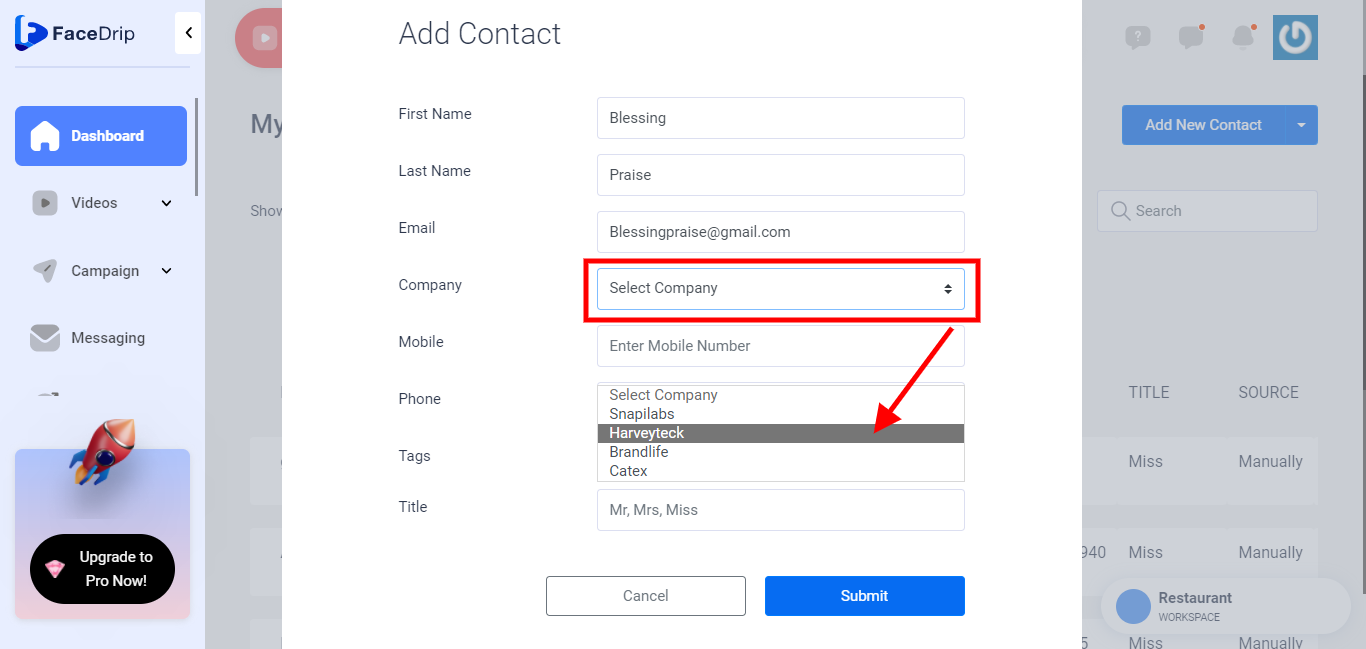
Enter Company Name
Provide company name by selecting from the drop-down list of companies you already created (Hp). Kindly find the knowledge base article on (How To Add New Company)
Enter Mobile Number
Enter a valid mobile number
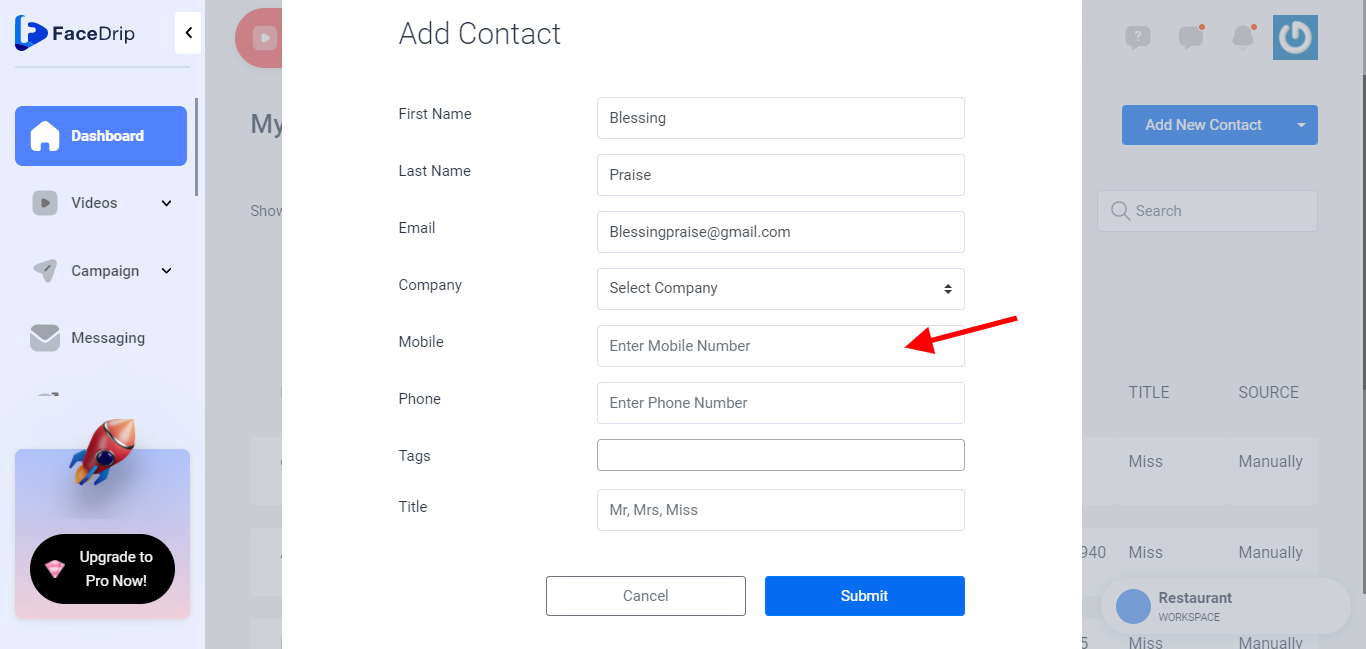
Enter Phone Number
Enter a valid phone number

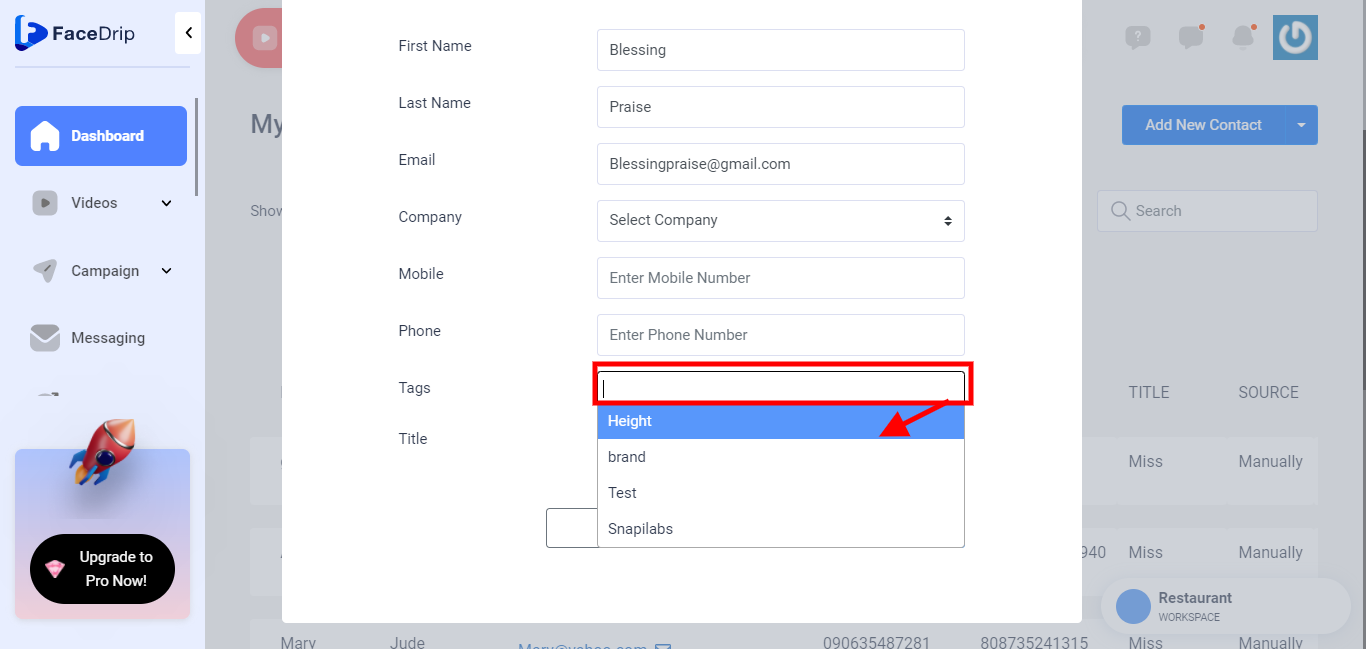
Enter Tag
Provide tag by selecting from the drop-down list of tags you already created eg (Heights). Kindly find the knowledge base article on How To Add New Connection Tag)
Enter a Tittle
Provide a valid and unique “Tittle” Select a title from the list below

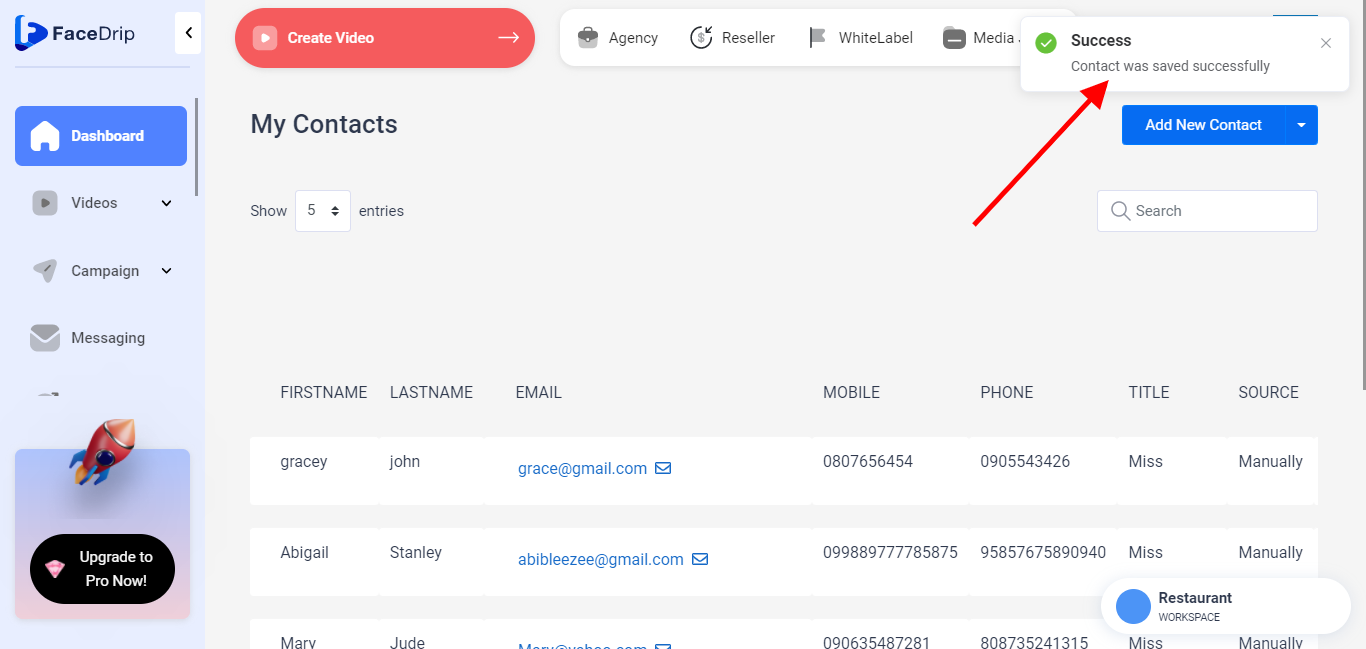
STEP 8: Click on “Submit” to save created contact.
STEP 9: A success message will pop up saying ” Contact was saved successfully”