You can build templates and make edits to them by following the steps below, templates include elements like logo, social icons, CTAs, and more.
You’ll find the following email templates:
- Thank you Email
- First engagement Email
- Second Engagement Email
- Third Engagement Email
- Webinar Registration Email
- Webinar Confirmation Email
- Webinar Replay Email
- Offer/Sales Page Email
- Wait-List Email
All templates are result-driven and are well funneled to help you build high-converting email campaigns for your business. We have selected the following digital marketing agency listed below for you. You may as well customize the email template to suit your business needs.
- Social Media Marketing Agency
- Email Marketing Agency
- Content Marketing Agency
- Graphic Design Agency
- Video Marketing Agency
- SEO Marketing Agency
How To Create A New Email Template
Step 1: Log in to your Facedrip account.
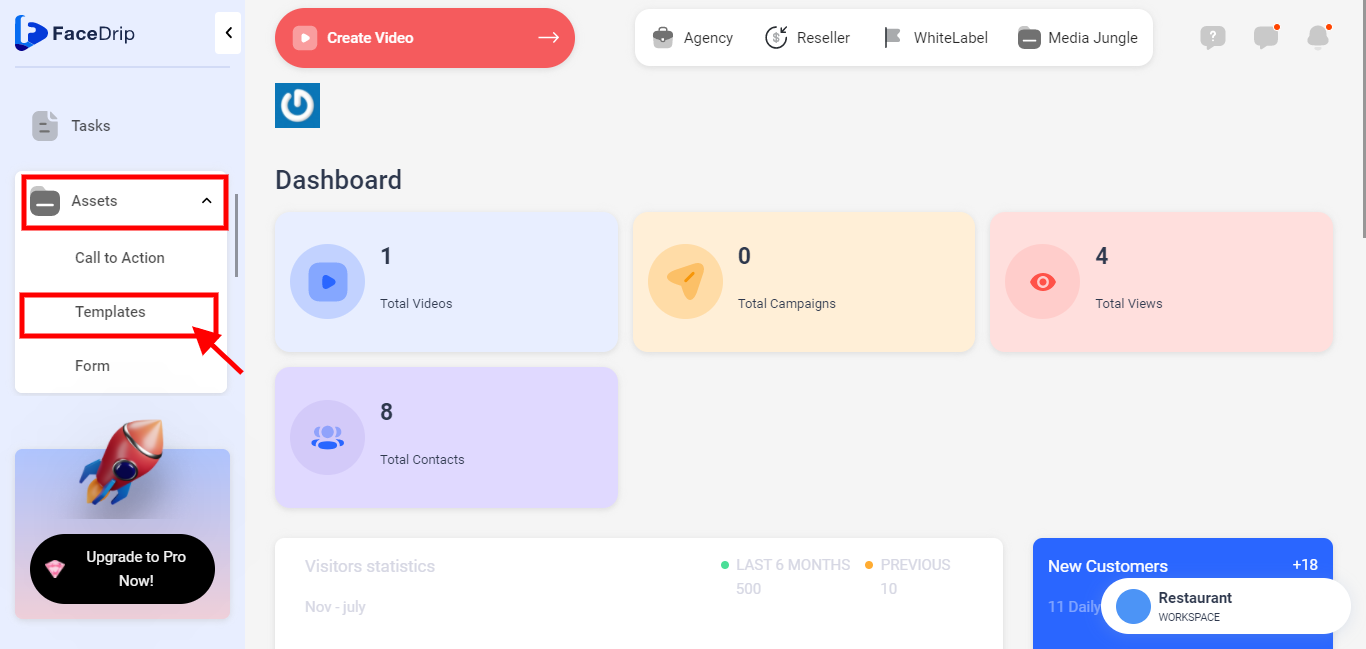
Step 2: Click on the Assets >Templates menu on your dashboard.
Step 3: Click the Plus Icon or blue new template button.
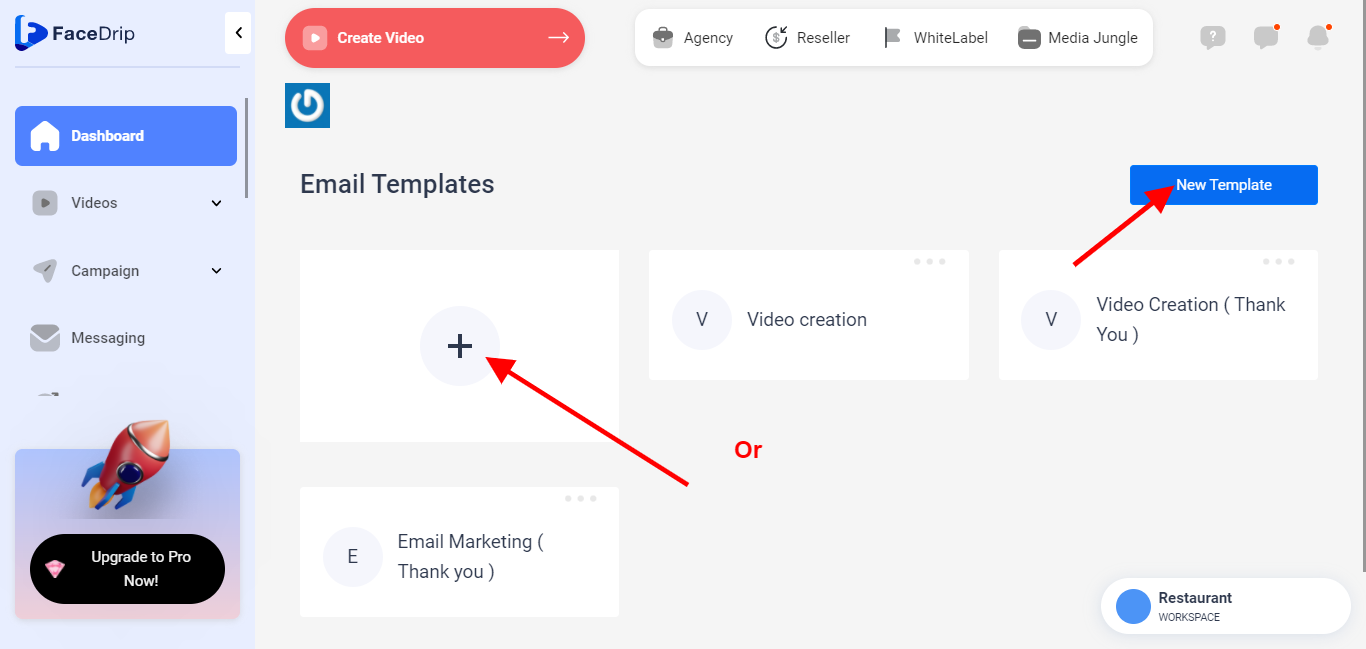
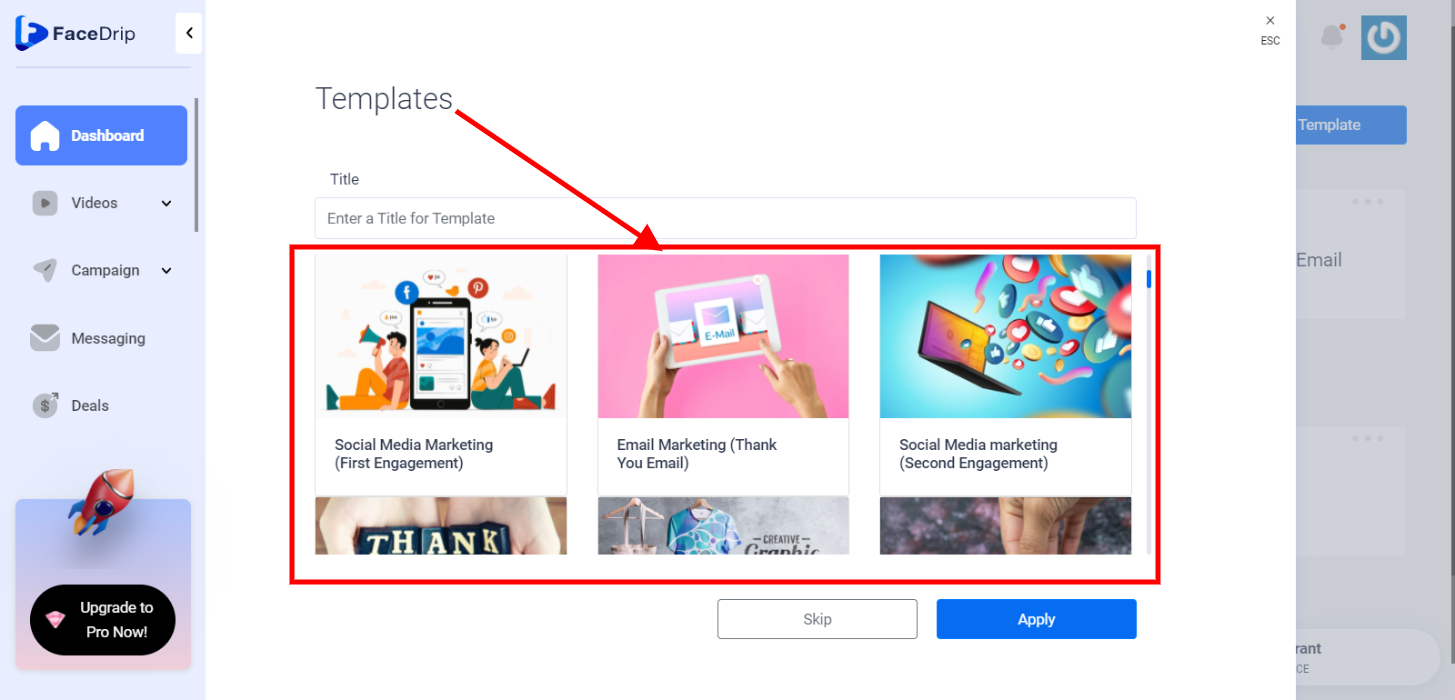
Here you have options to create from blank or from our library of prebuilt templates.
==> If you chose the “Blank” option, the template will be created and would automatically open the Email Builder with an already preset width, and allow you to paste your own HTML as well.
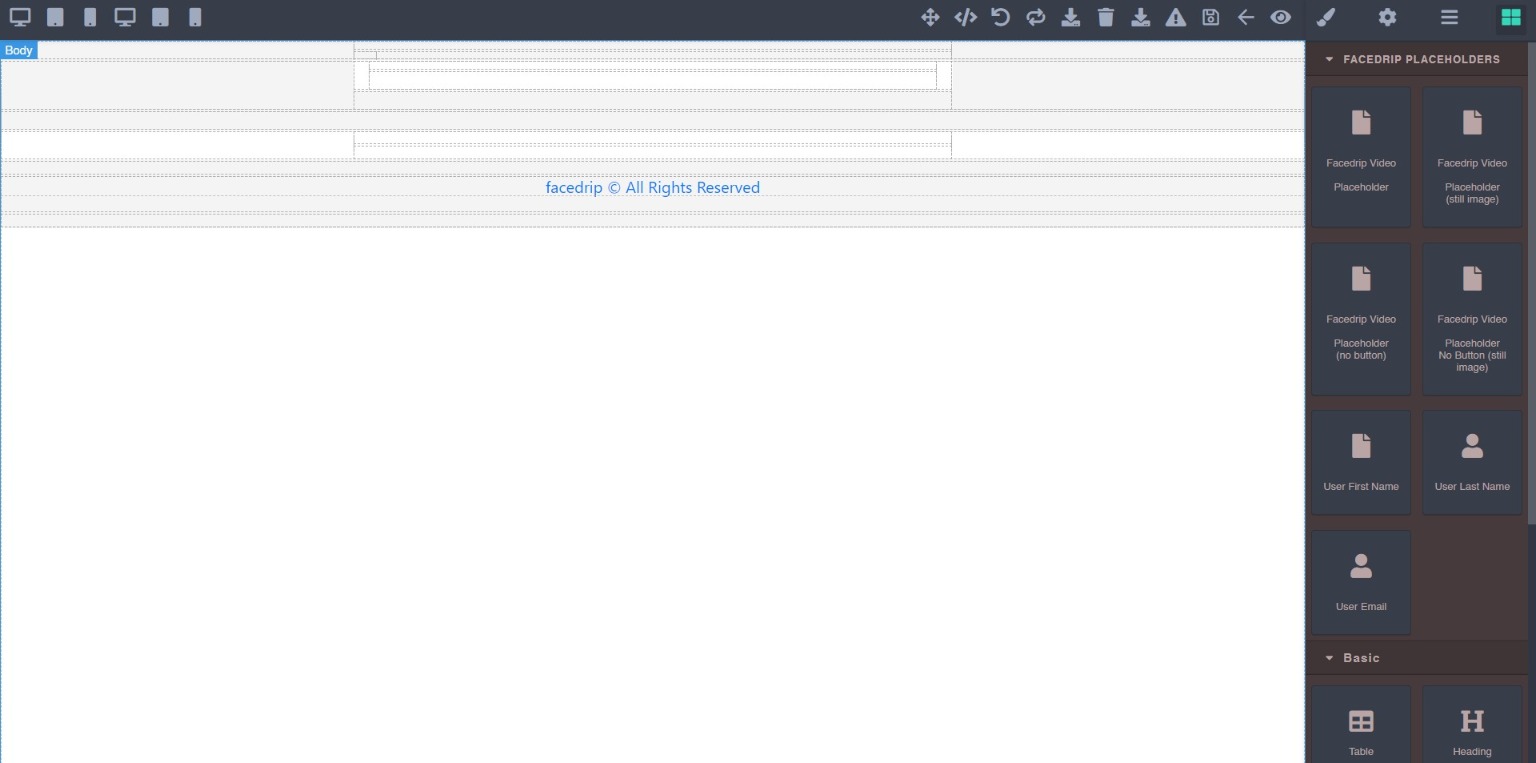
In the opened Email Builder, we have three (3) segments:
- The Top menu bar
- The Right side panel and
- The Body/Canvas
TOP MENU BAR: This is where you find the components for easy navigation through the Email Builder. They are; fullscreen, View code( for export), Undo, Redo, Import, Delete, Toggle Images, Save, Go back, and Preview.
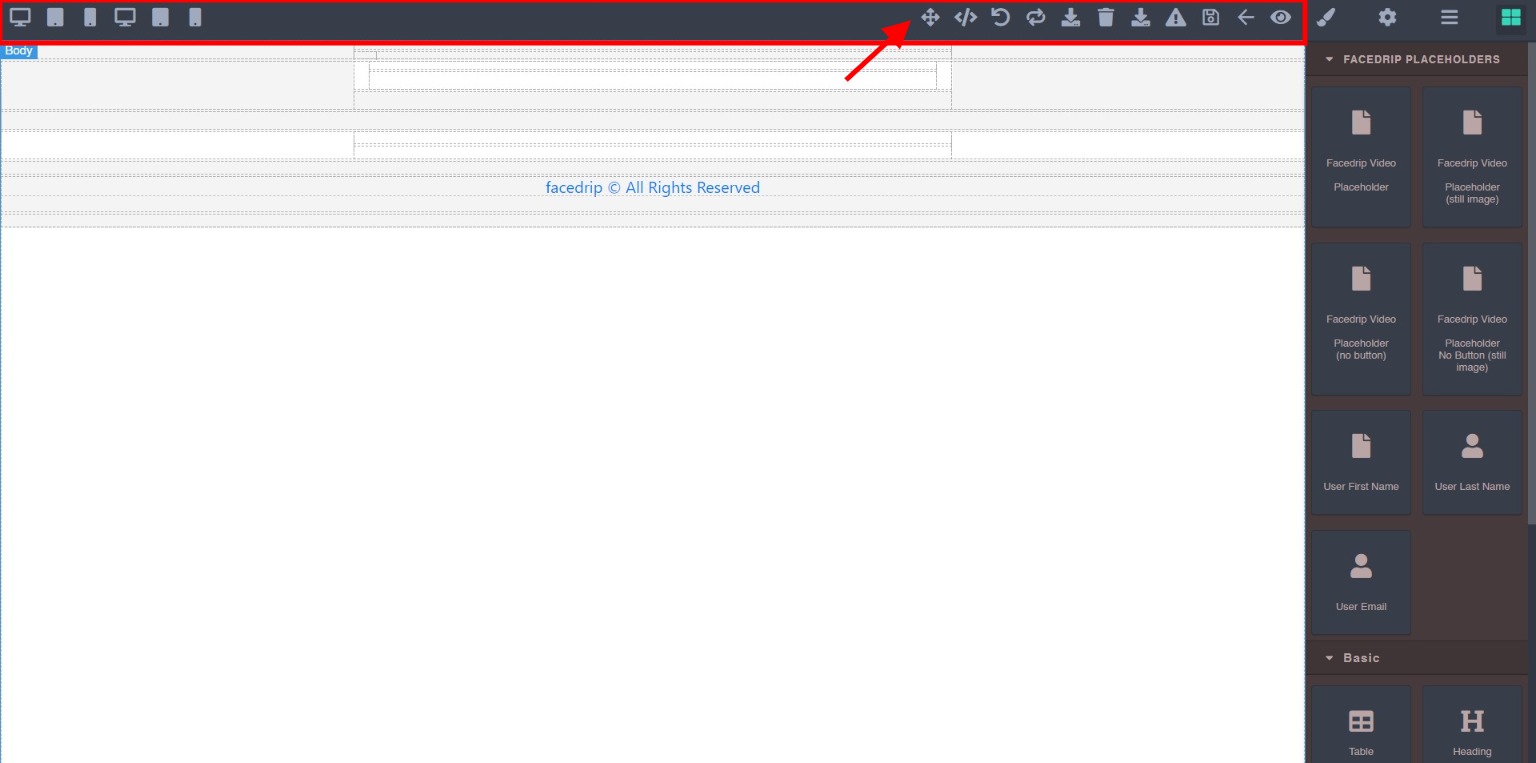
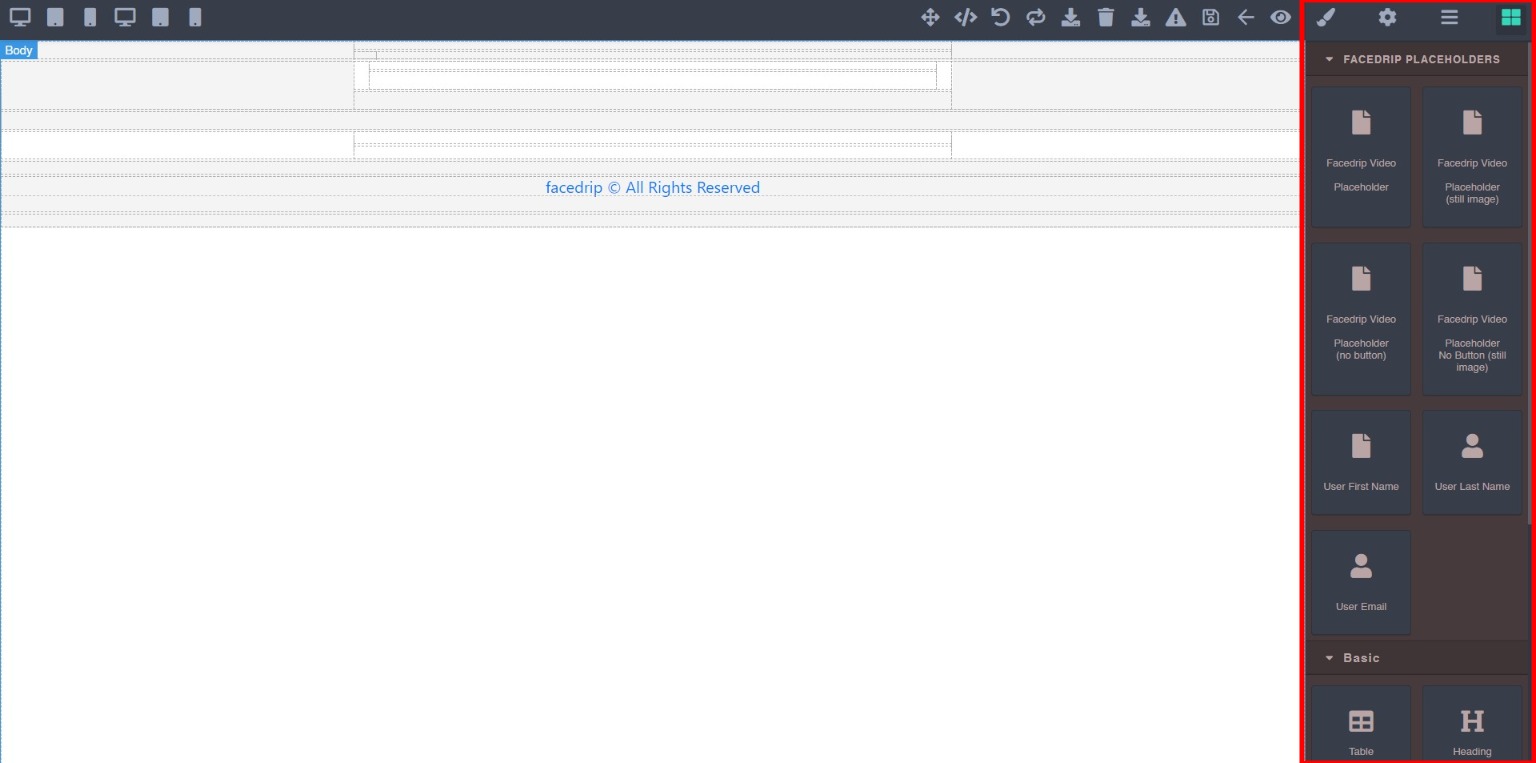
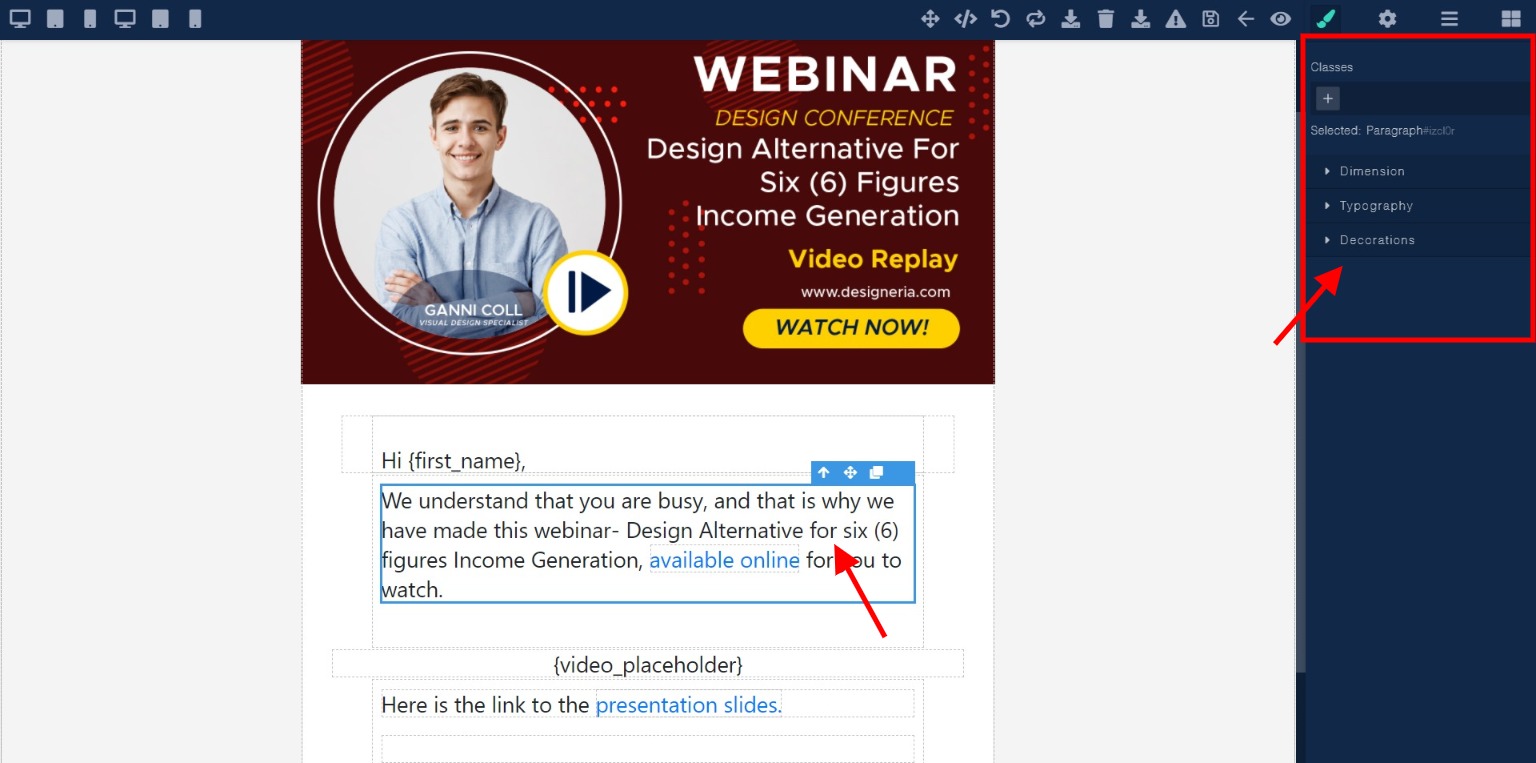
RIGHT SIDE PANEL: This panel is where you find the Style manager, Settings, Layer manager and Blocks.
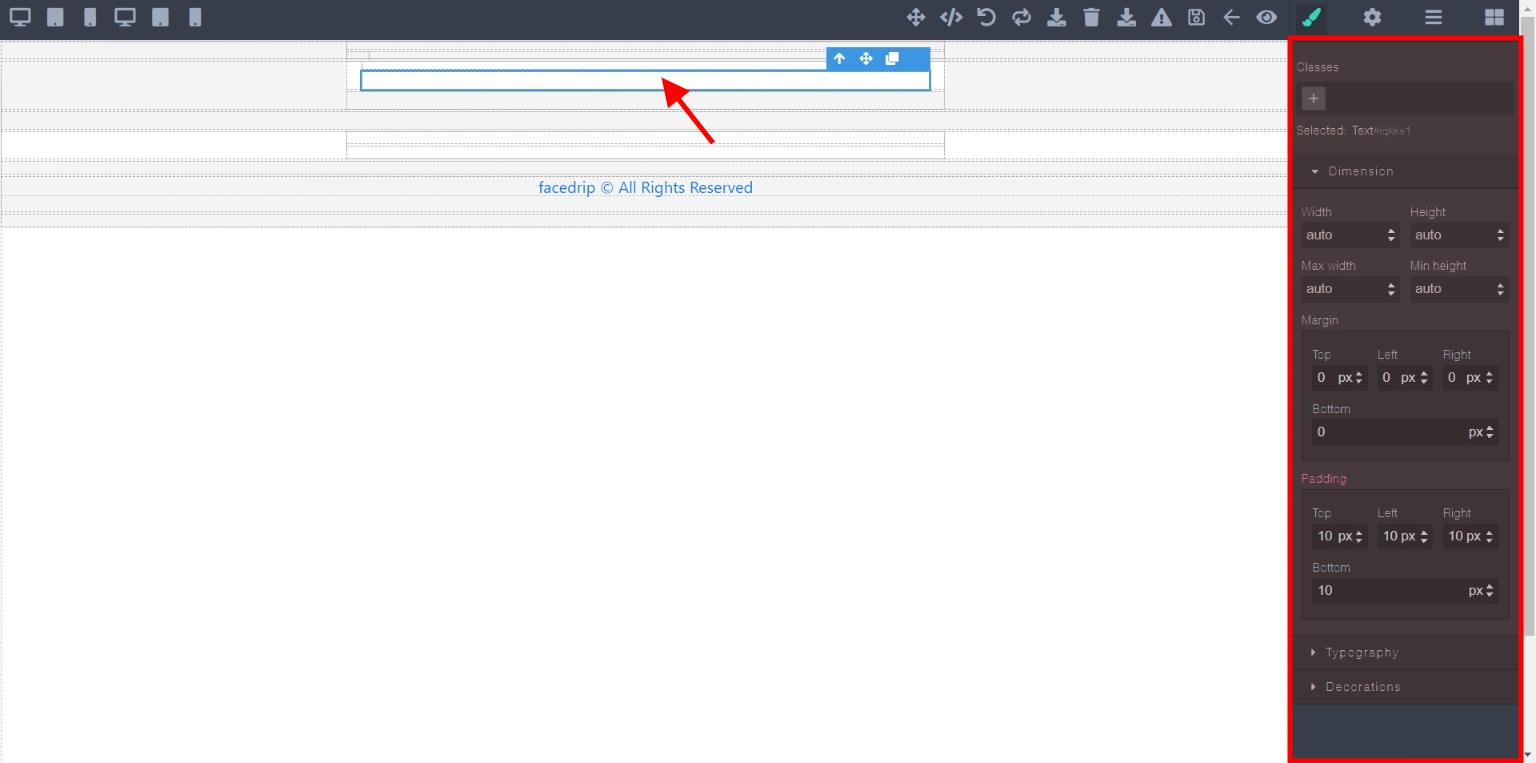
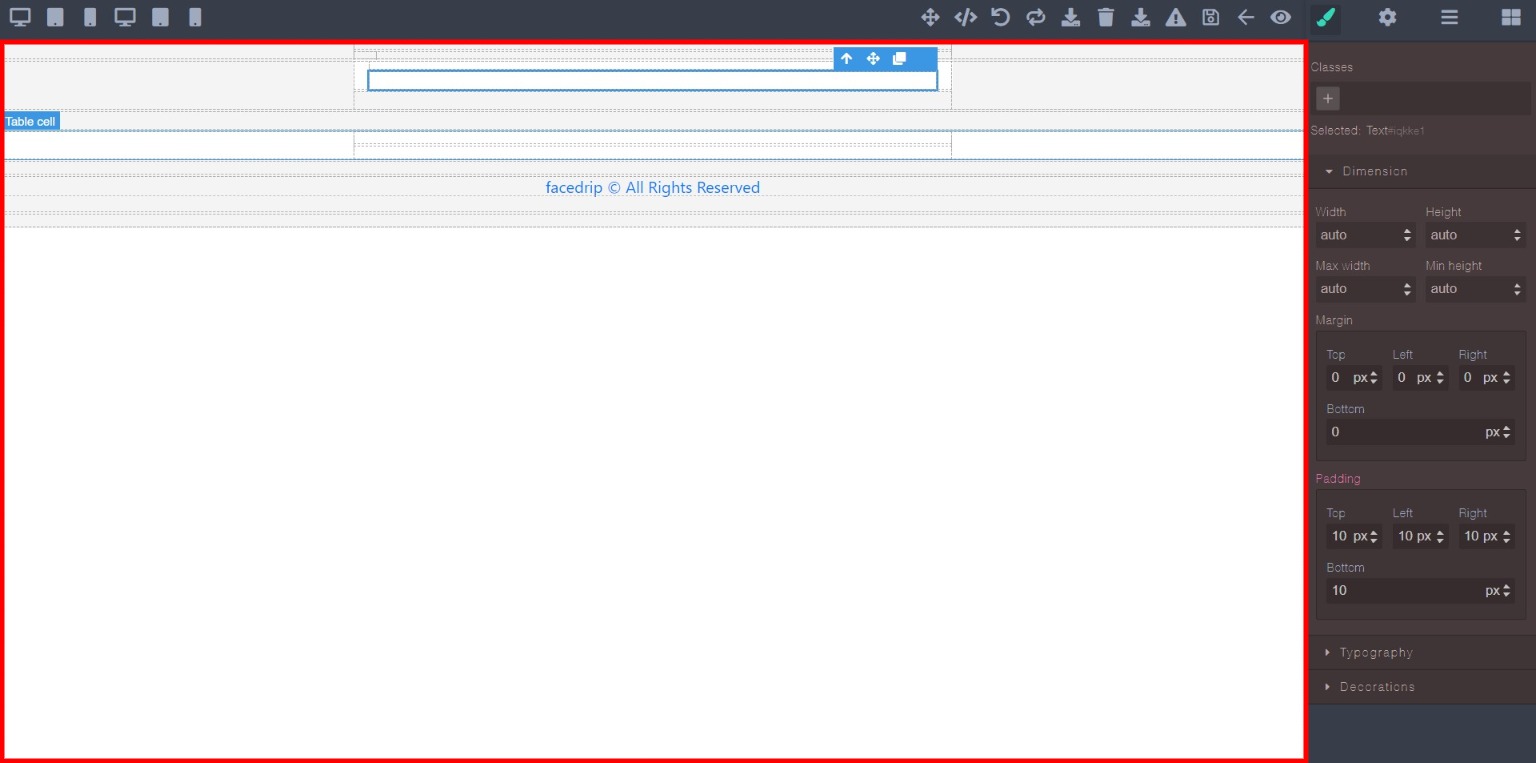
Style Manager- the style manager is selected on clicking on any of the cells on the body segment, the right side panel shows the Dimension menu ( for editing the width, Margin, and padding of the widgets on the body), Typography menu (for editing text fonts, font color and text decoration), and Decorations menu (for editing Background and Border)
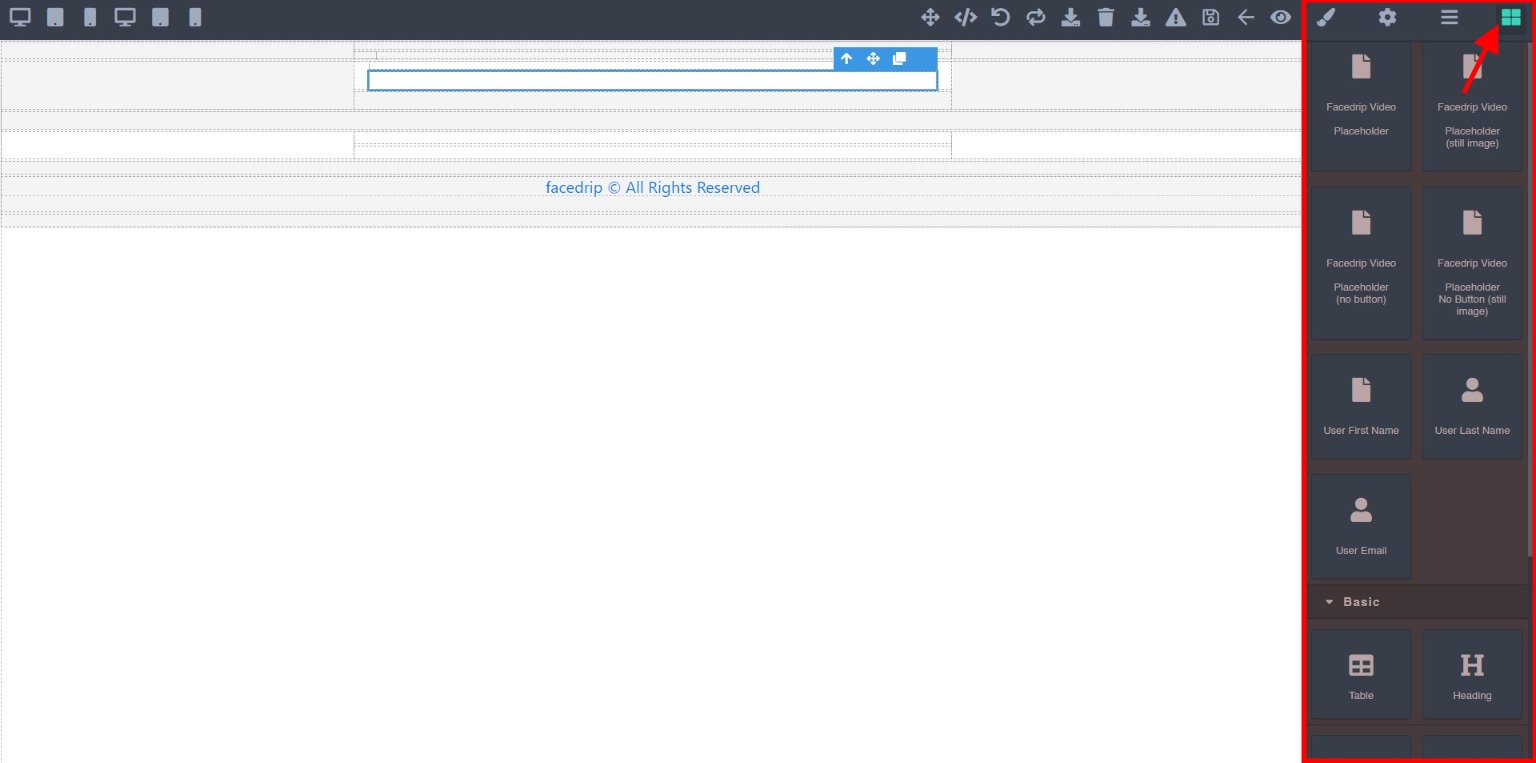
Blocks- houses the various builder widgets which includes; Image widget, Text widget, Button widget, link Block, various Section blocks, divider, quotes etc.
Click on the Block Icon to reveal the widgets.
To move any widget or block to the Body/Canvas area, drag the particular widget and Drop on the box on the canvas.
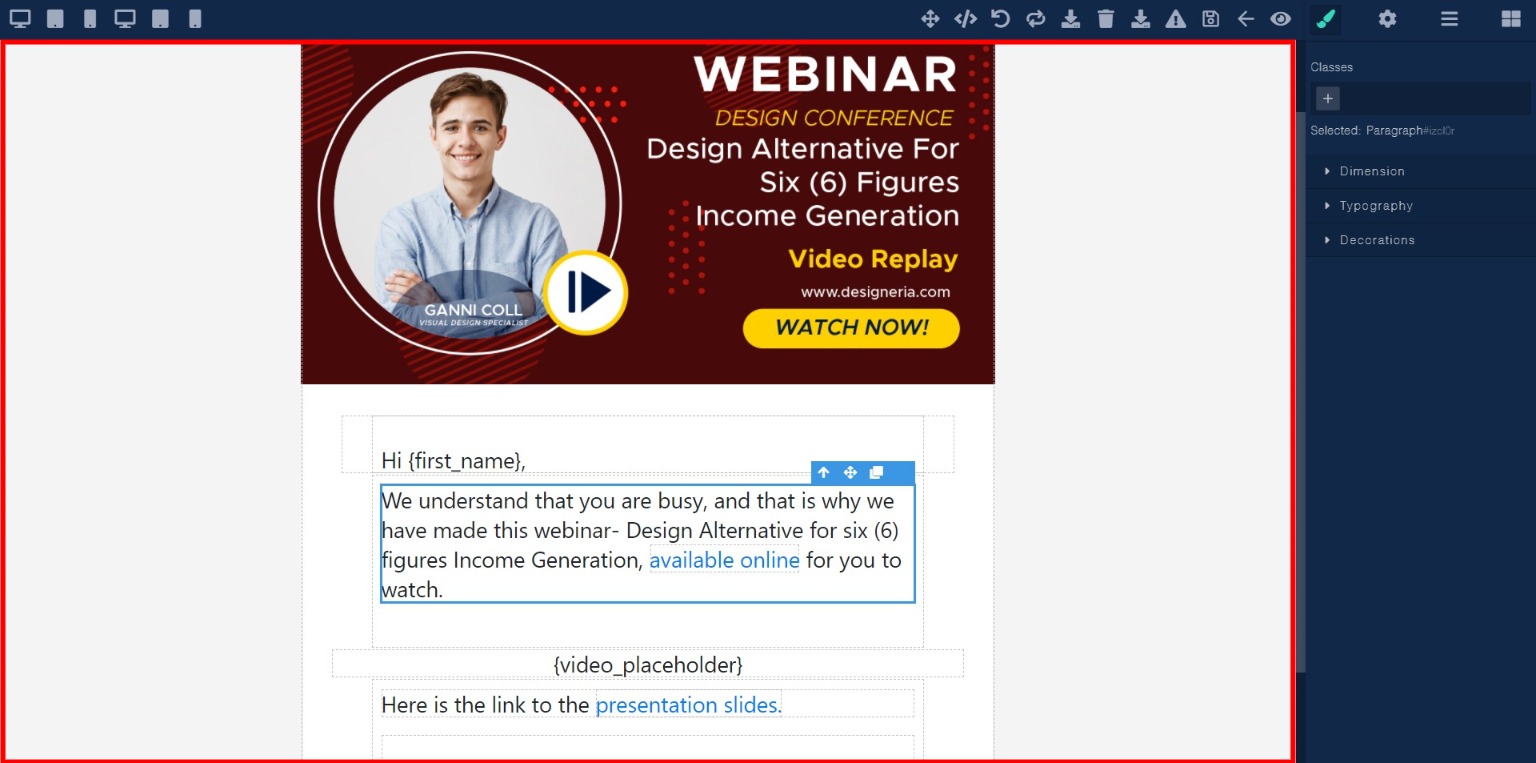
BODY/CANVAS: this is where Blocks and widgets(text images, and Colors) are arranged to form/build your email templates. It has the preset width which comes with table cells and text boxes.
When any of the cells are clicked on, the side panel revels the setting.
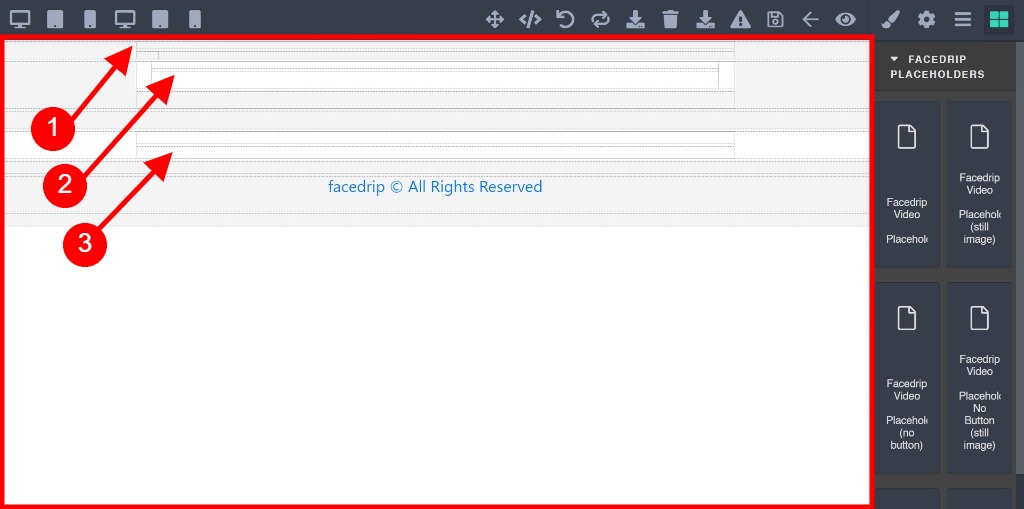
NB: You should work within the boundaries of the preset width. the top most part of it serves as the header (1), the mid part as the body of your content (2), and the bottom part as your footer (3).
Watch the video below on how to create from a blank template
[EMBED VIDEO HERE]
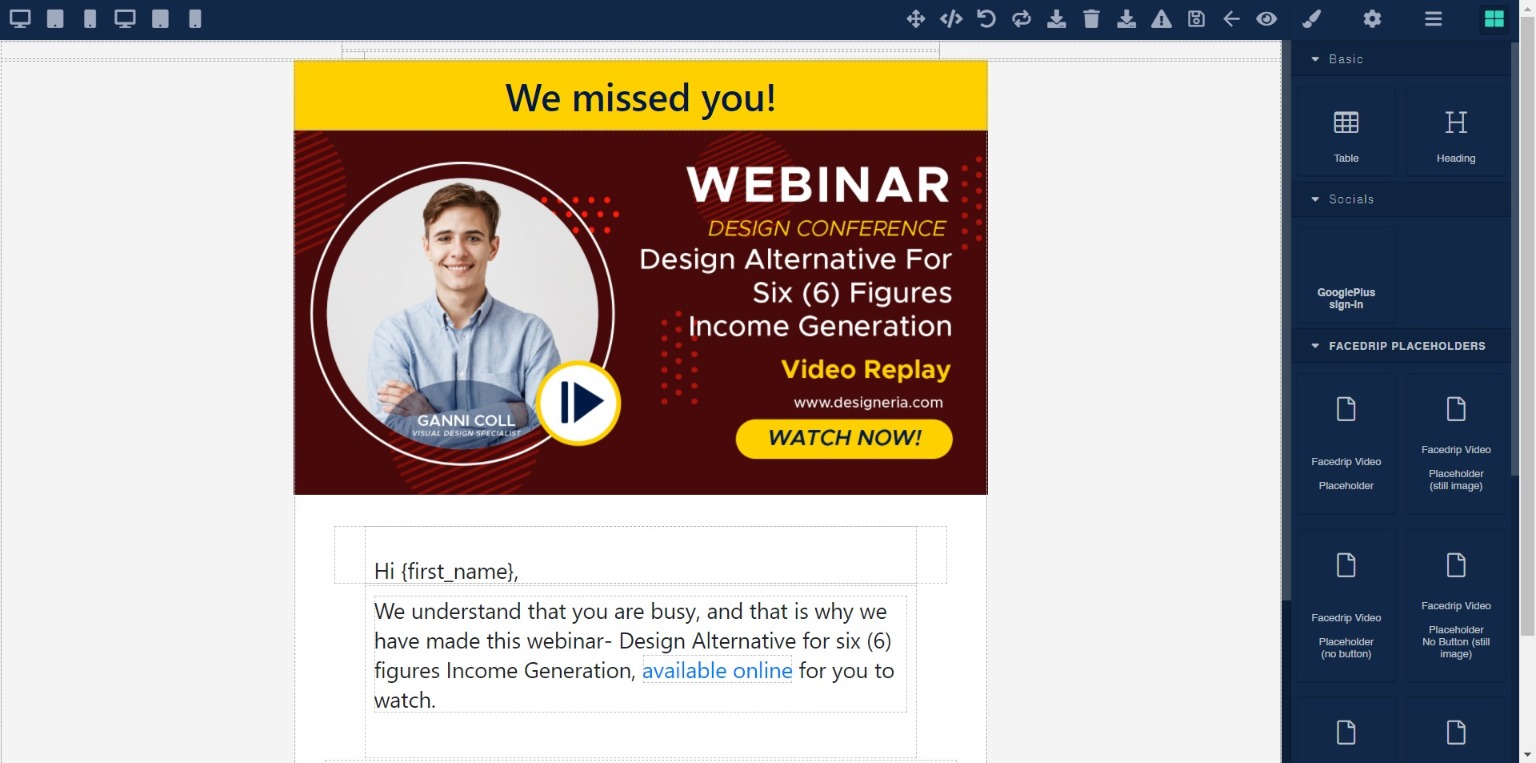
==> you may choose from prebuilt templates and modify the contents of the template to suit your needs, then save your changes.
In the opened Email Builder for the prebuilt template, you can edit by double clicking on the various elements to customize them to your desire.
Here as well we have three (3) segments:
- The Top menu bar
- The Right side panel and
- The Body/Canvas
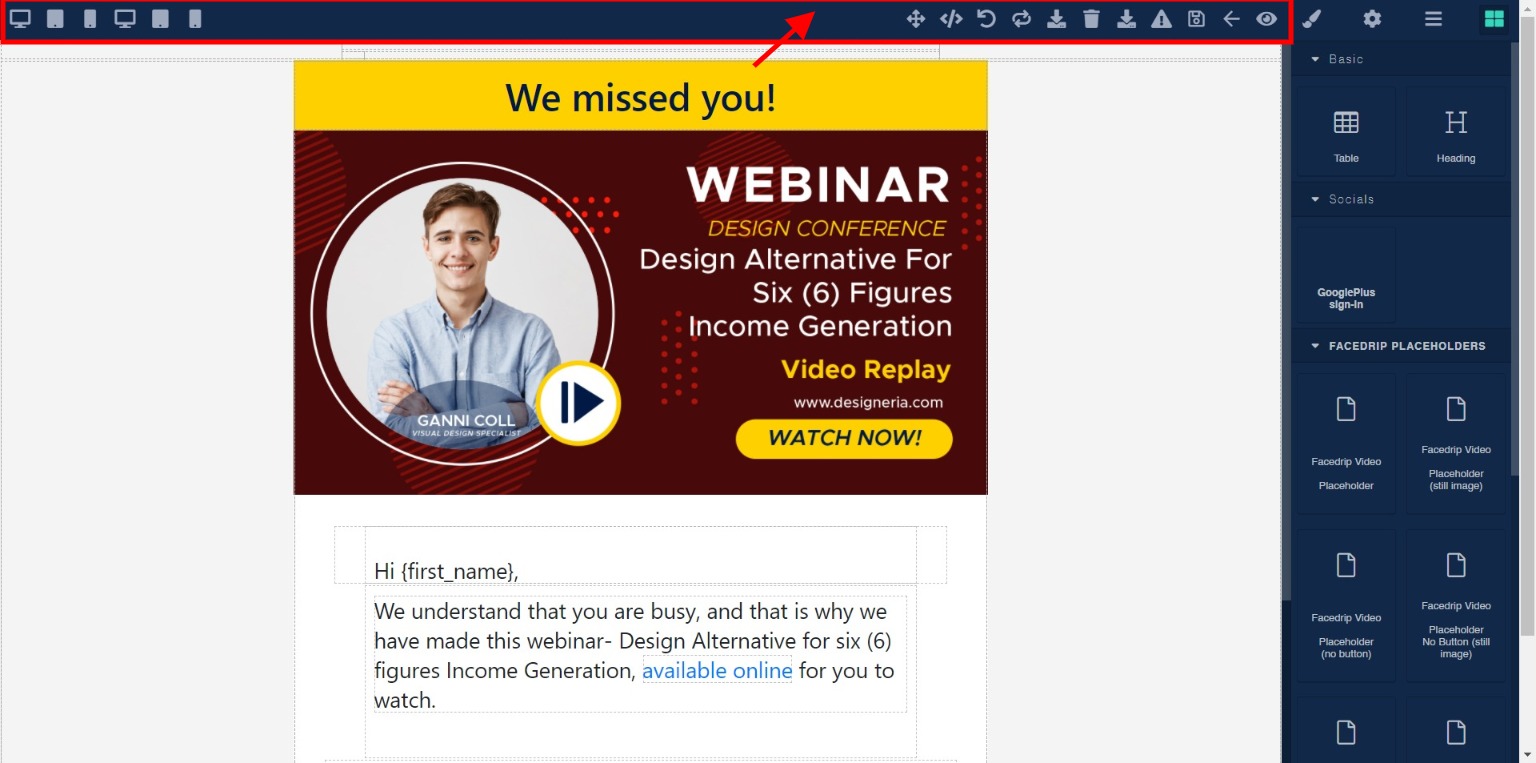
TOP MENU BAR: This is where you find the components for easy navigation through the Email Builder. They are; fullscreen, View code( for export), Undo, Redo, Import, Delete, Toggle Images, Save, Go back, and Preview.
RIGHT SIDE PANEL: This panel is where you find the Style manager, Settings, Layer manager and Blocks.
Style Manager- on clicking any of the elements on the body, the right side panel shows the Dimension menu ( for editing the width, Margin, and padding of the widgets on the body), Typography menu (for editing text fonts, font color and text decoration), and Decorations menu (for editing Background and Border).
Blocks- houses the various builder widgets which includes; Image widget, Text widget, Button widget, link Block, various Section blocks, divider, quotes etc.
To move any widget or block to the Body/Canvas area, drag the particular widget and Drop on the box on the canvas.
BODY/CANVAS: this is where you find the prebuilt template
upon clicking on any of the cells, widget or block, the side panel revels the setting.
NB: You should work within the boundaries of the preset width. the top most part of it serves as the header, the mid part as the body of your content, and the bottom part as your footer.
Watch the video below on how to create from a Prebuilt template
[EMBED VIDEO HERE]
Step 4: Applied templates to 1-1 direct email or Campaigns or Automations
==> When sending videos 1-1 directly from Facedrip you can select from existing email templates.
Watch the video below on how to send videos 1-1 directly from facedrip selecting from existing email templates.
[EMBED VIDEO HERE]
==> When sending videos through Campaigns or Automations you can select from the list of existing templates.
Watch the video below on how to send videos through campaigns or automation from facedrip selecting from existing email templates.
[EMBED VIDEO HERE]