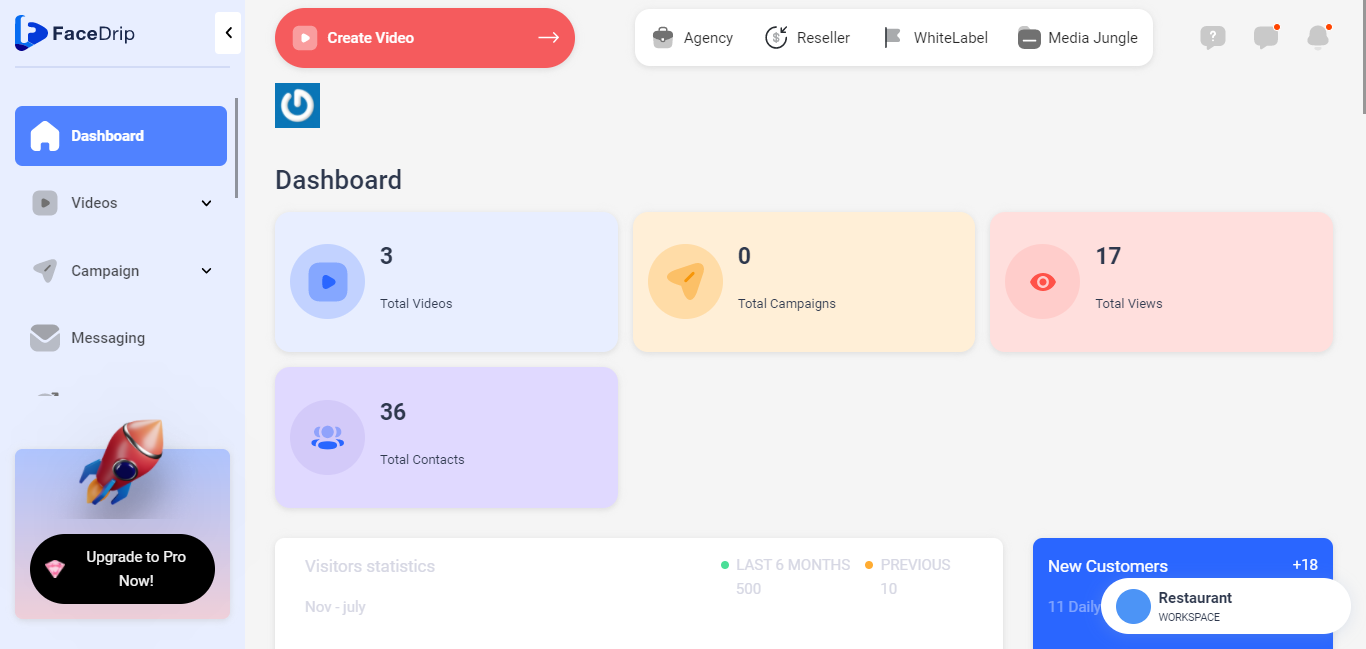
Log in to your Facedrip account.
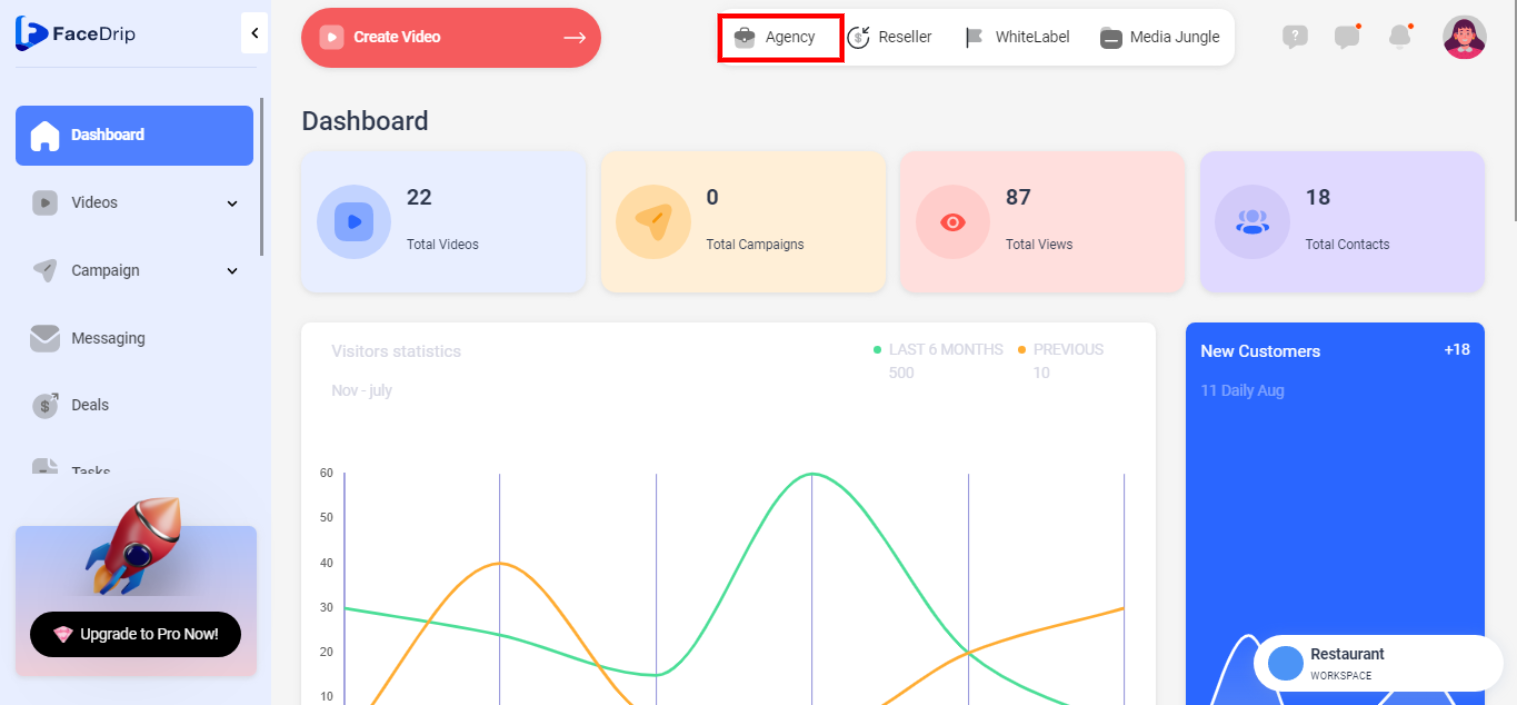
Step 1: Click on the ‘Agency’ at the top of your dashboard.
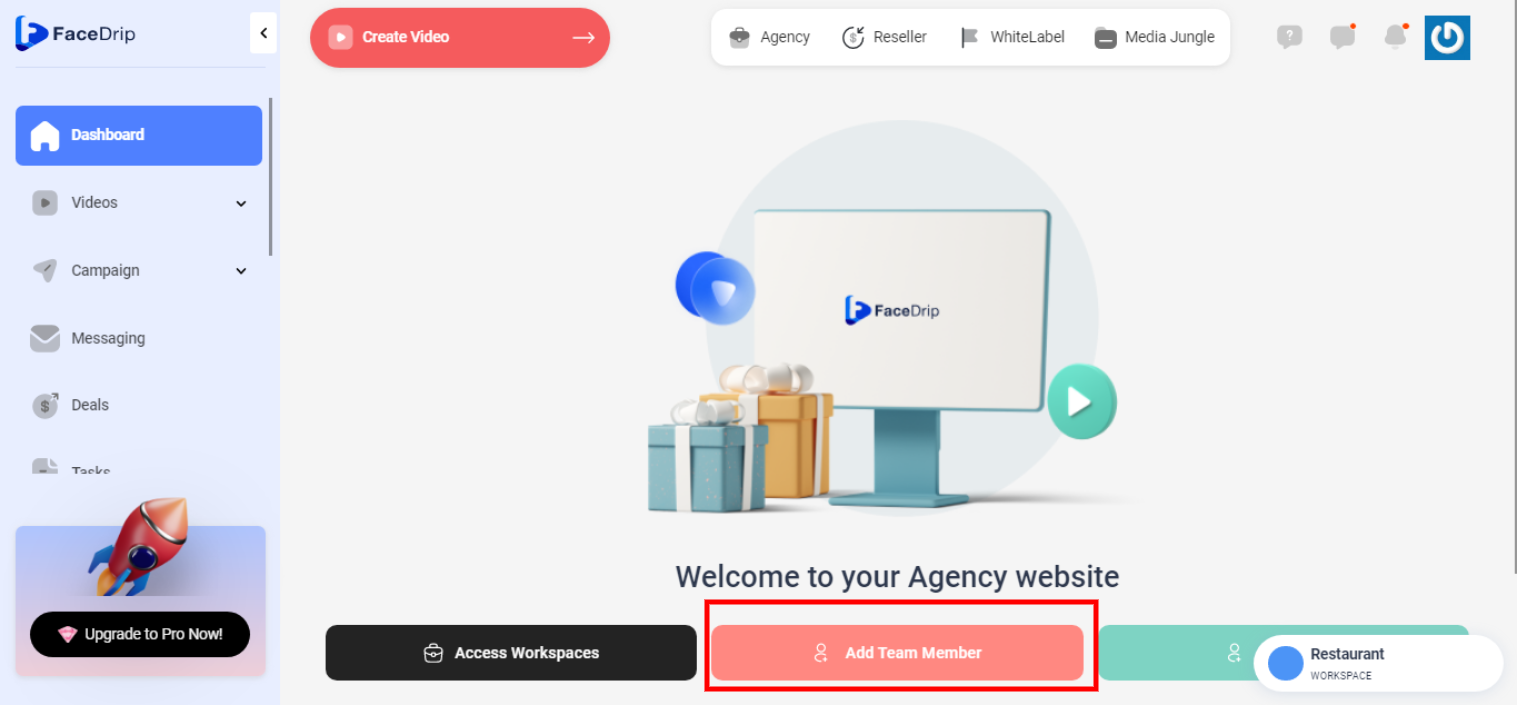
Step 2: Select ‘Team-member’ in the menu option below.
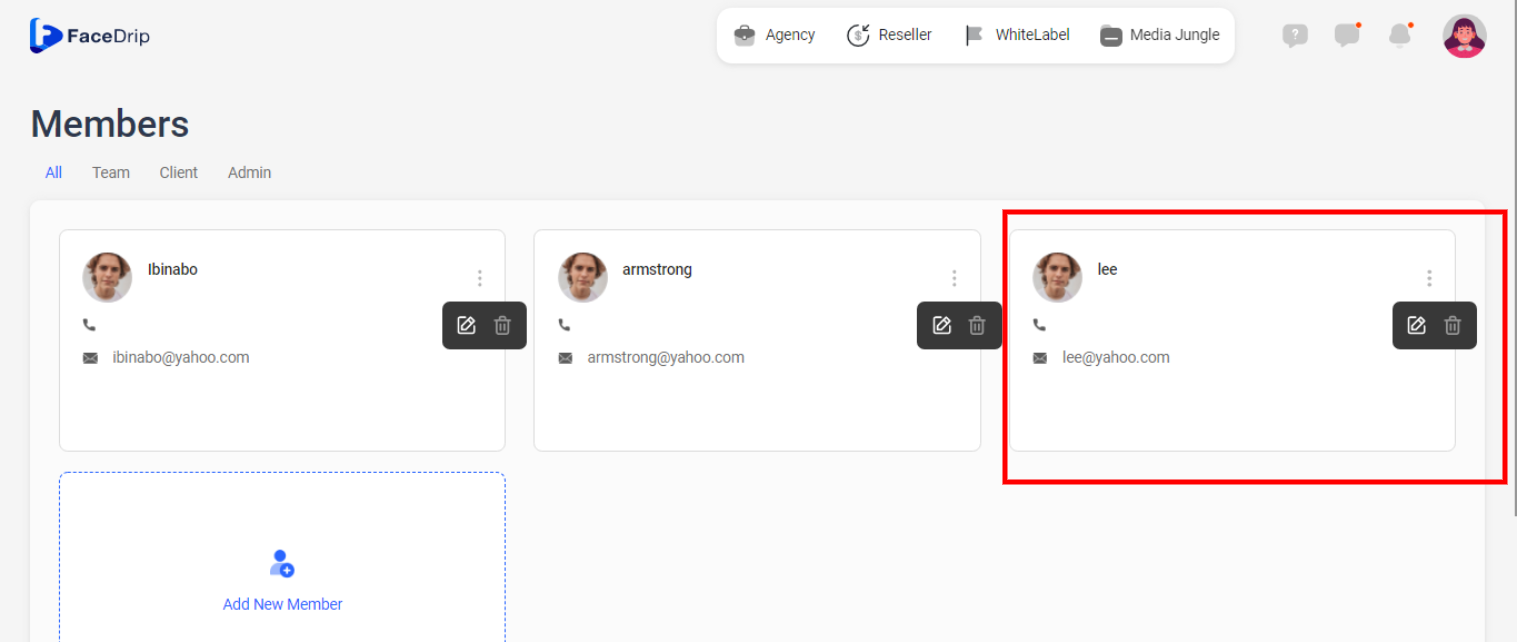
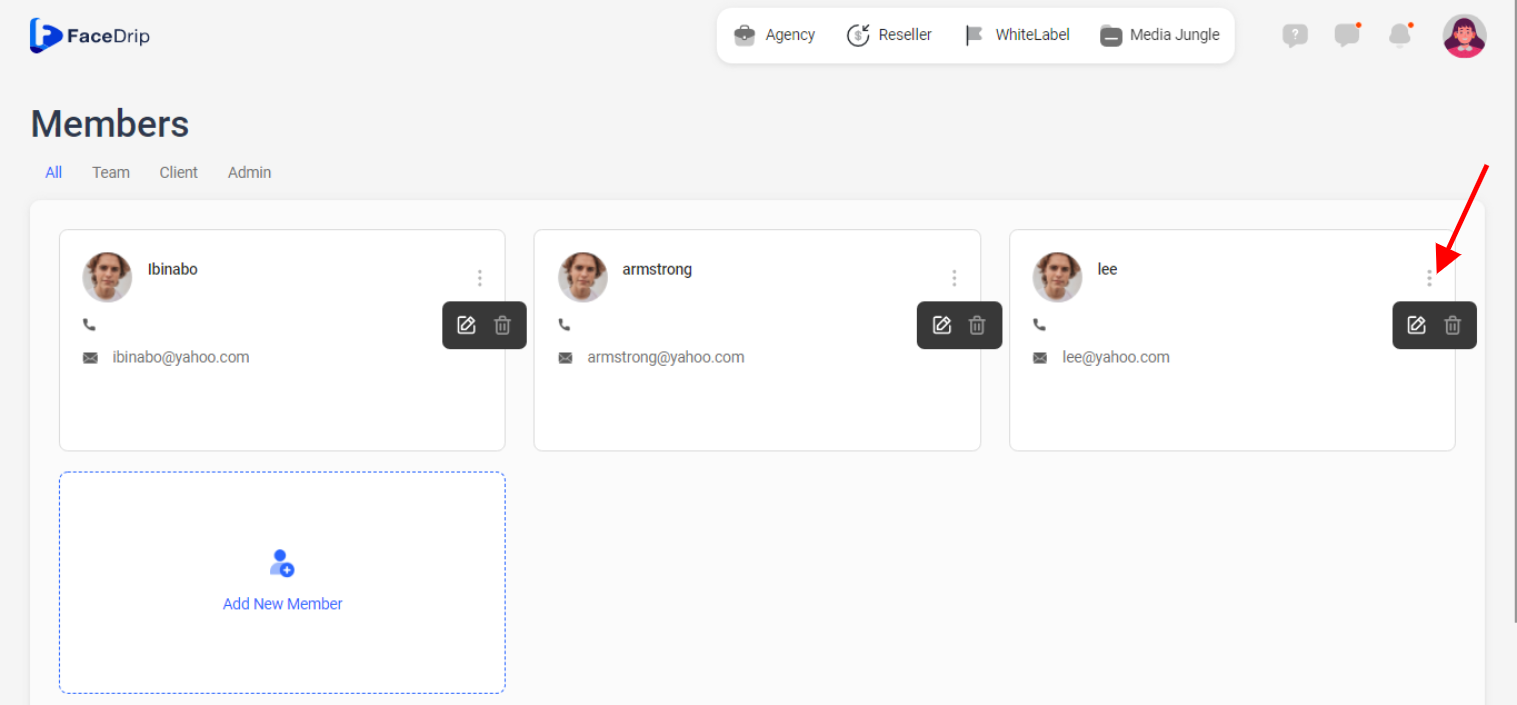
Step 3: On the Team Member dashboard, click on the ‘triple-dot icon’ by the top right corner of the particular Team member card you want to update.
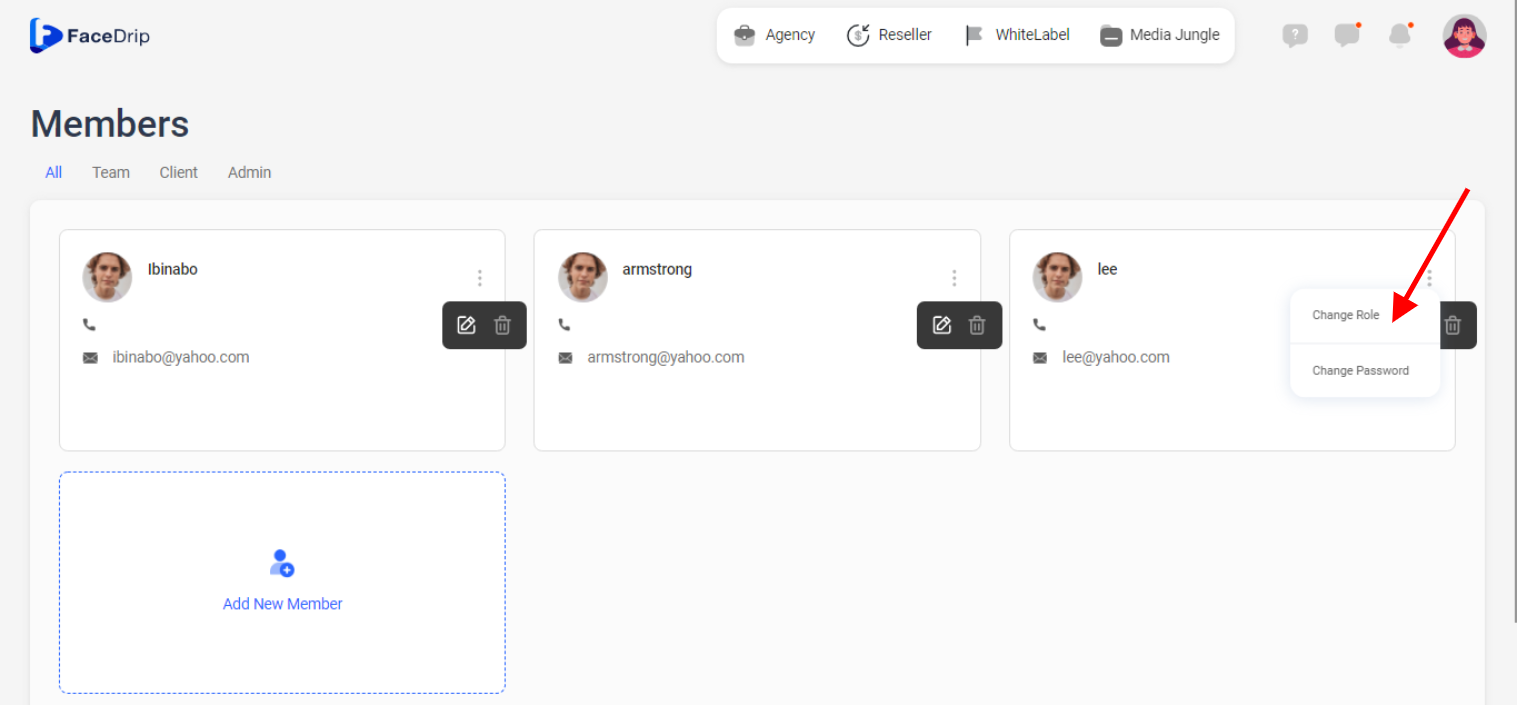
Step 4: On the select menu, click on the ‘Change Role’ drop-down item.
Step 5: . Click on the toggle button for the particular workspace to assign one or more workspaces to the team member then click the ‘Save Changes’ (3) button.
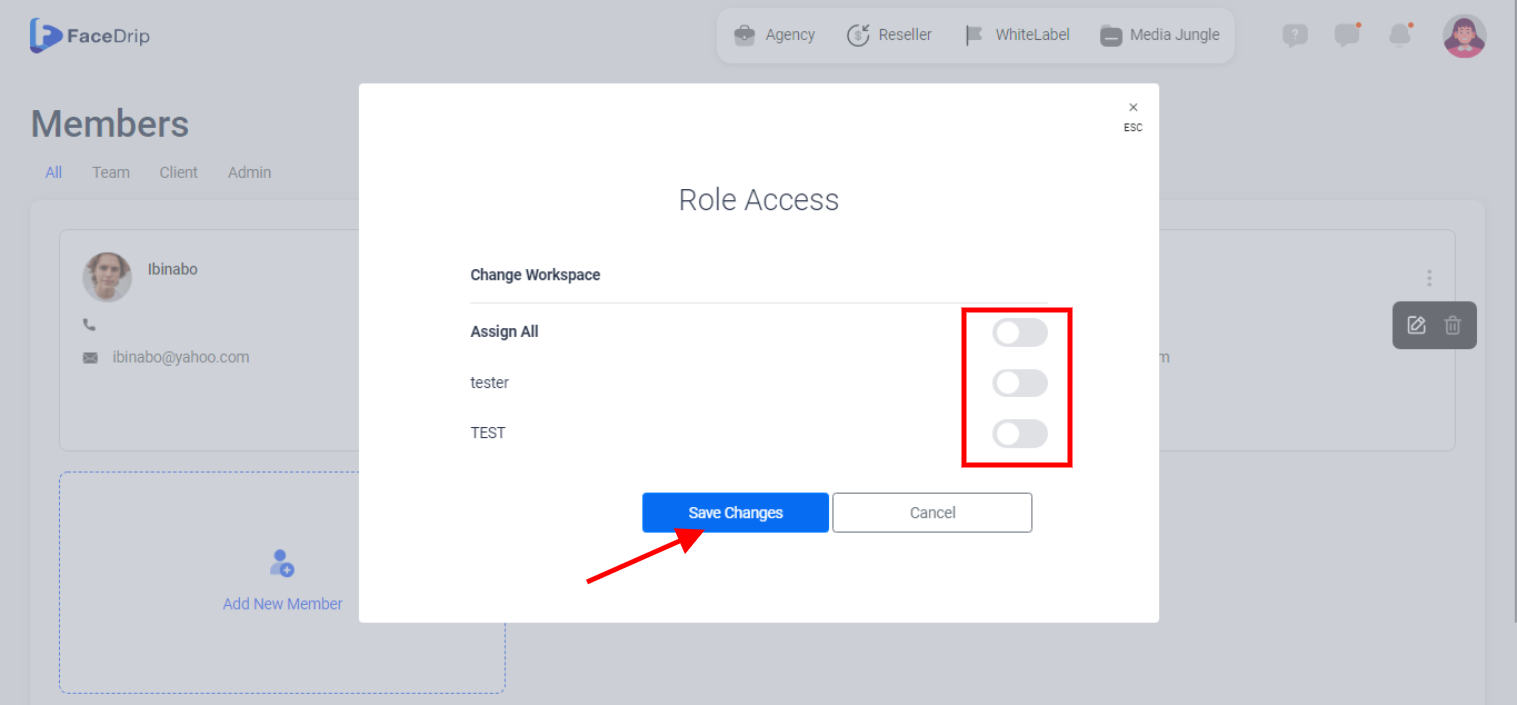
Member Access in workspace has been updated successfully!