You can add video details in a few easy steps. Follow teh steps below:
Getting Started On How To Add Video Details
Log in to your Facedrip account.
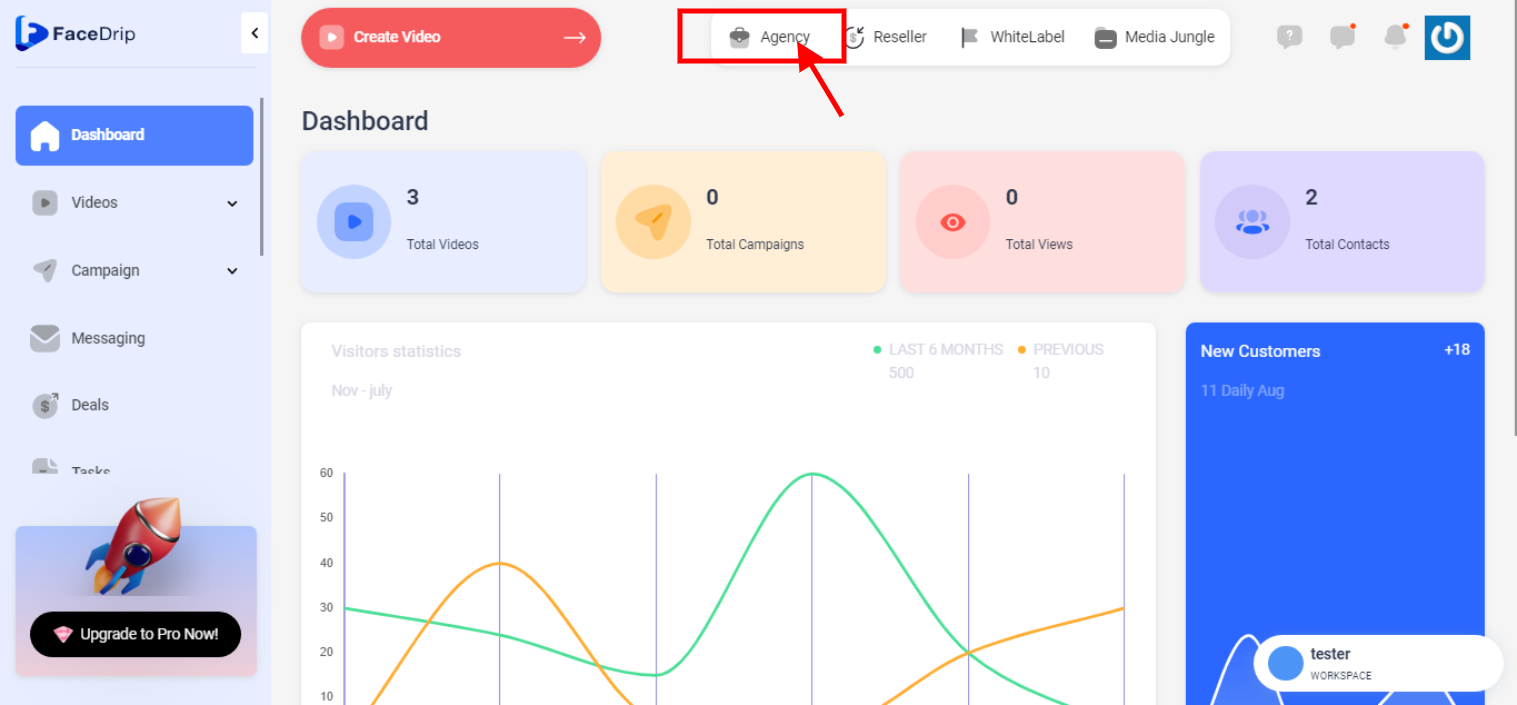
STEP 1: Click on the “agency” on the top side menu bar of your dashboard
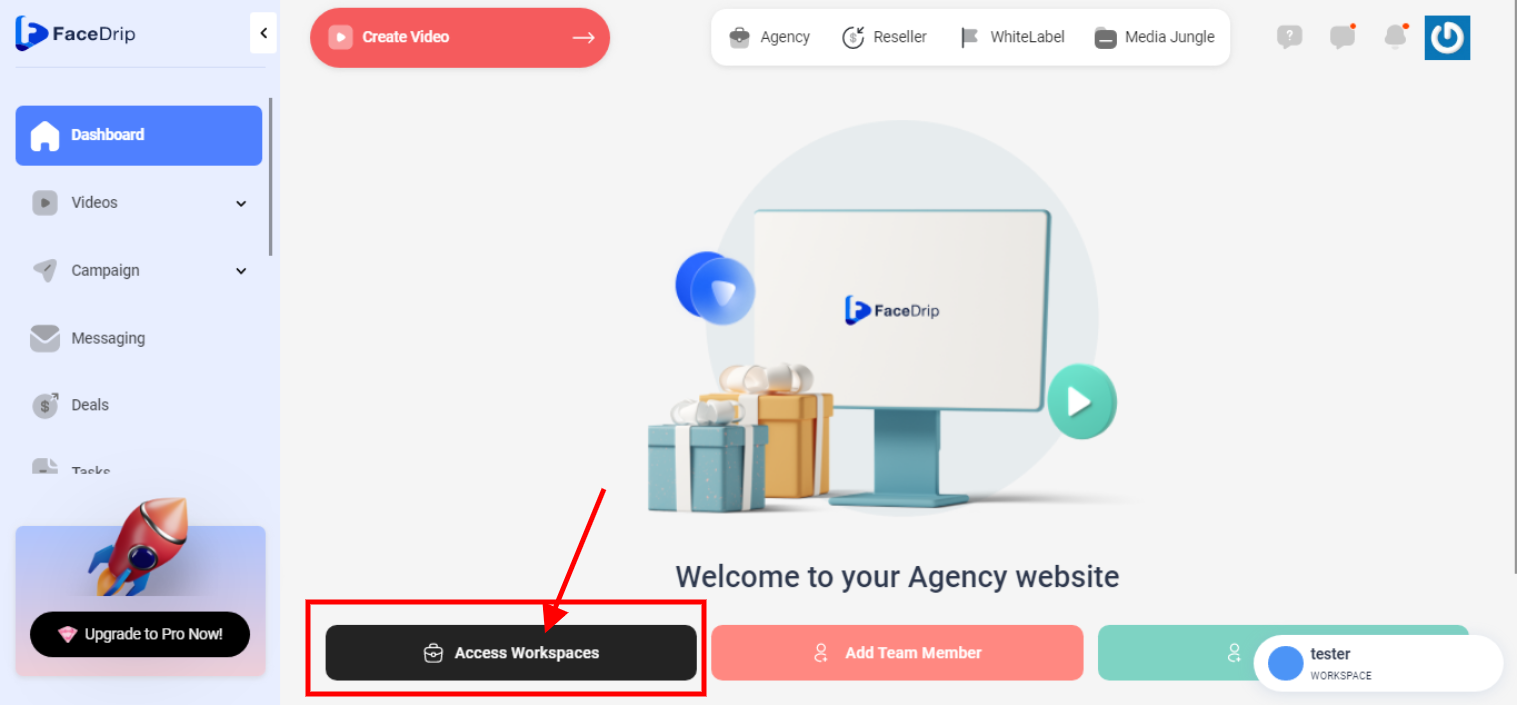
STEP 2: Click on “workspace” in the options below.
STEP 3: Choose the workspace you want to add video details and click the “activate workspace” button. (follow dis link on How To Create New Workspace)
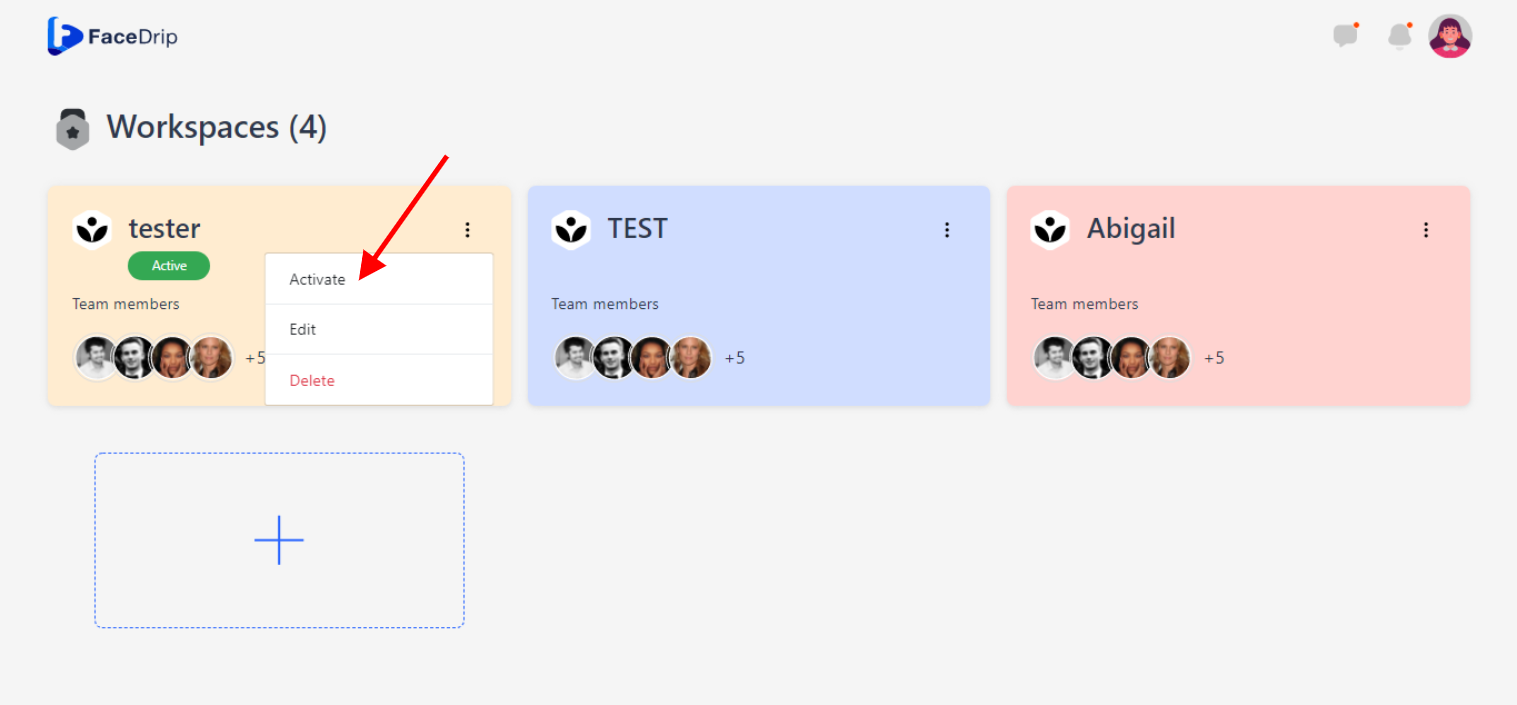
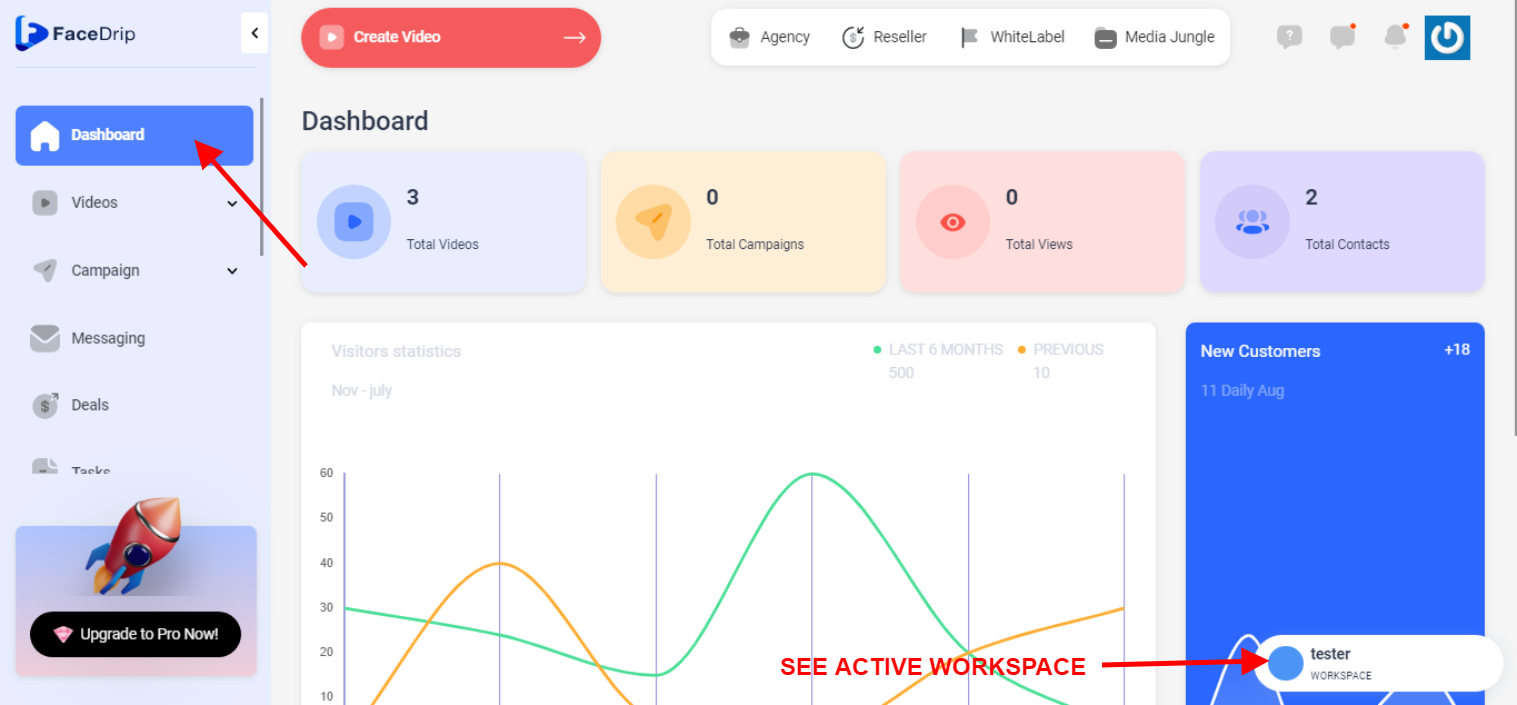
Your workspace will be activated successfully! (PS: Go back to your dashboard module to see the active workspace).
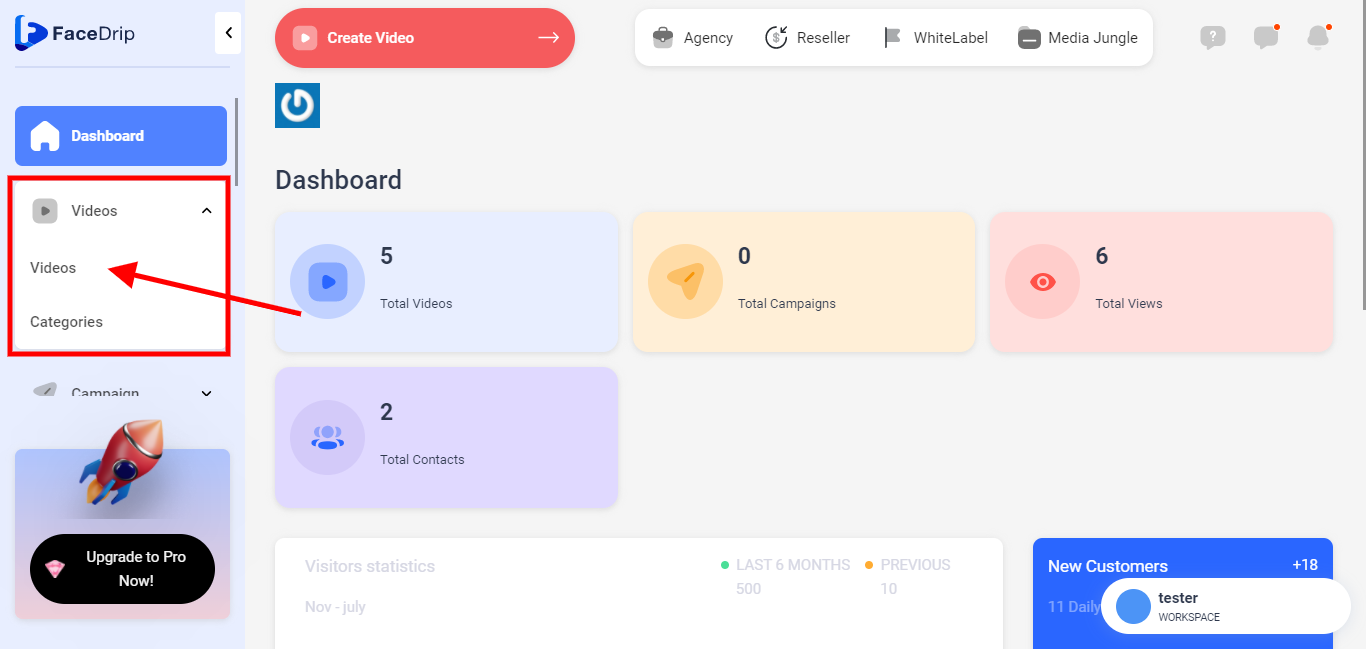
STEP 4: Click on the “video” menu on the left-hand side menu bar of your dashboard.
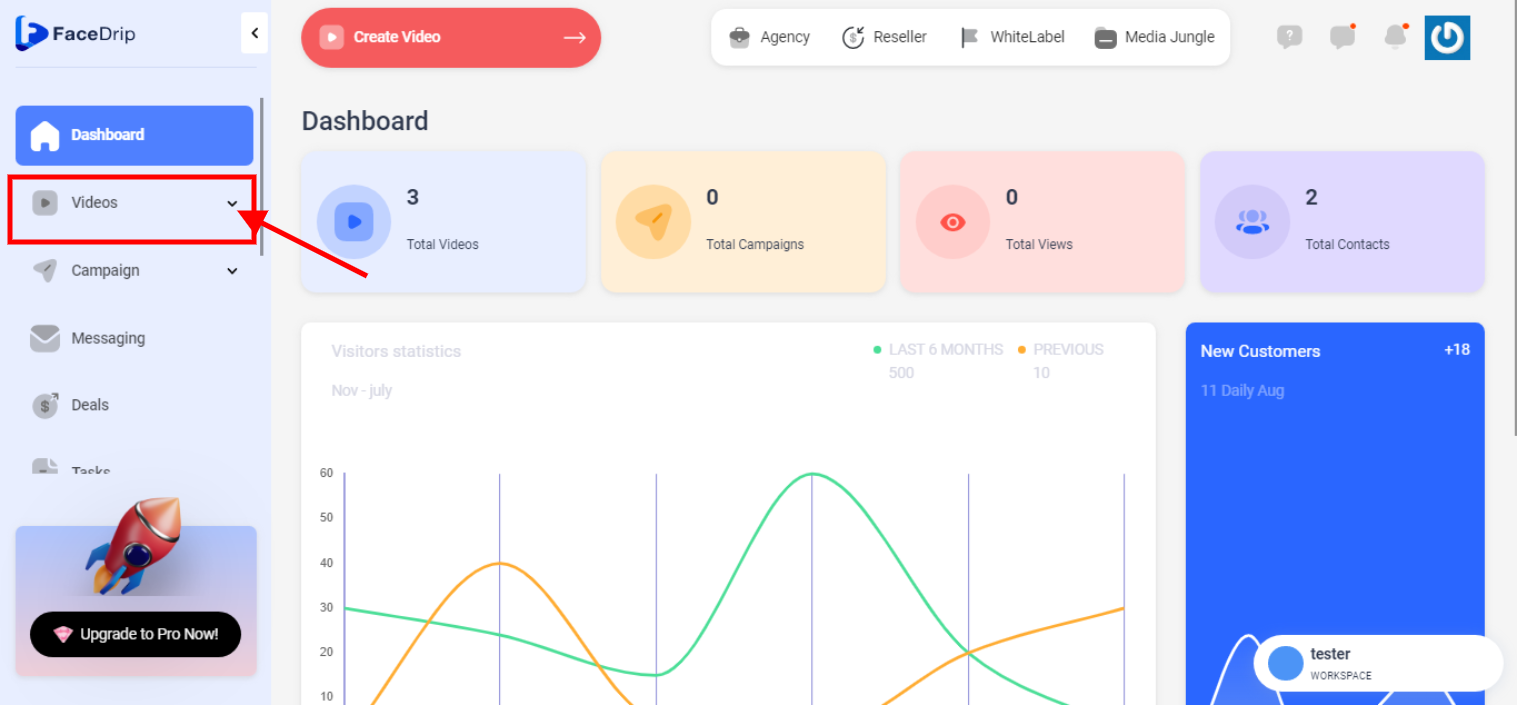
STEP 5: Click on “video” in the drop-down options.
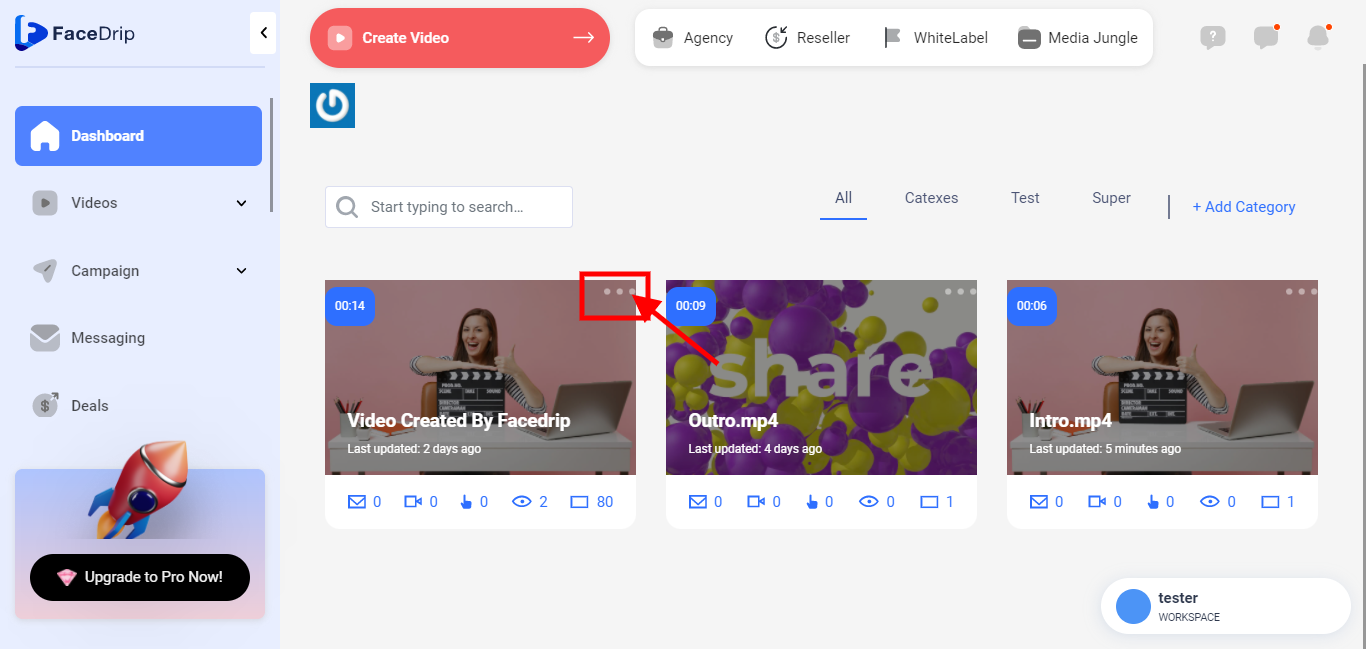
STEP 6: Click on the “triple-dot icon” on the video you want to add details
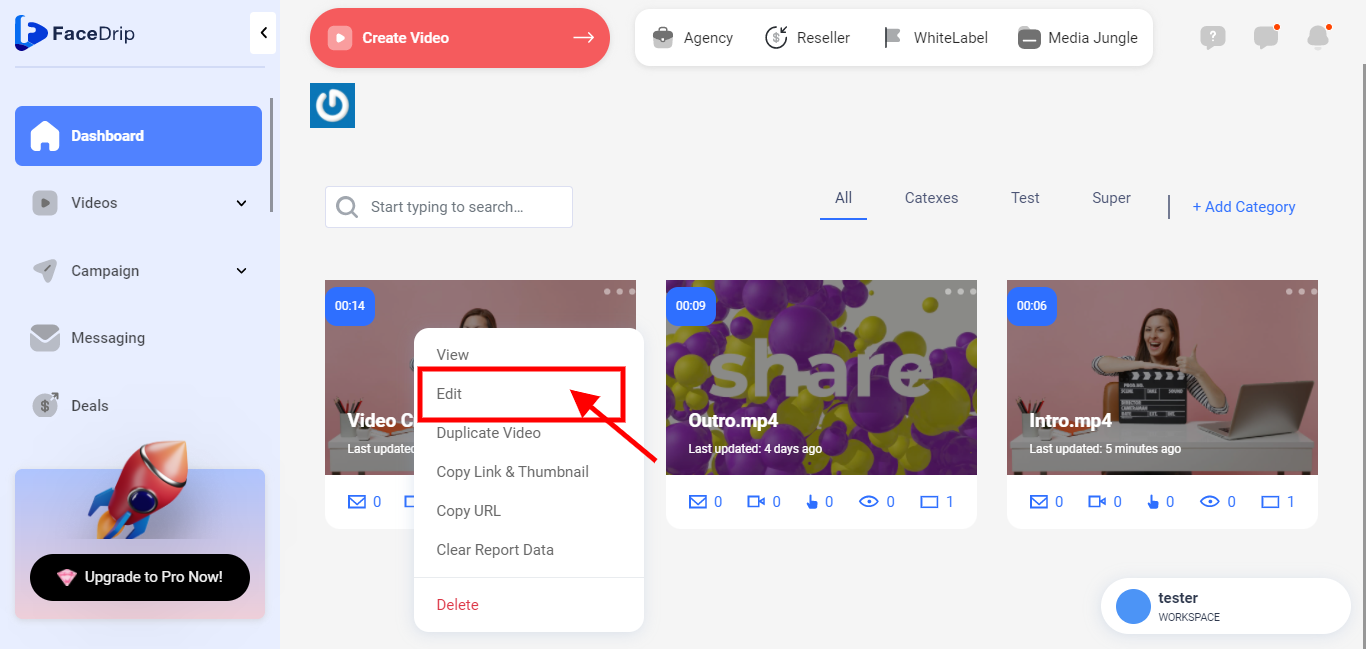
STEP 7: click on the “edit” from the drop-down menu options
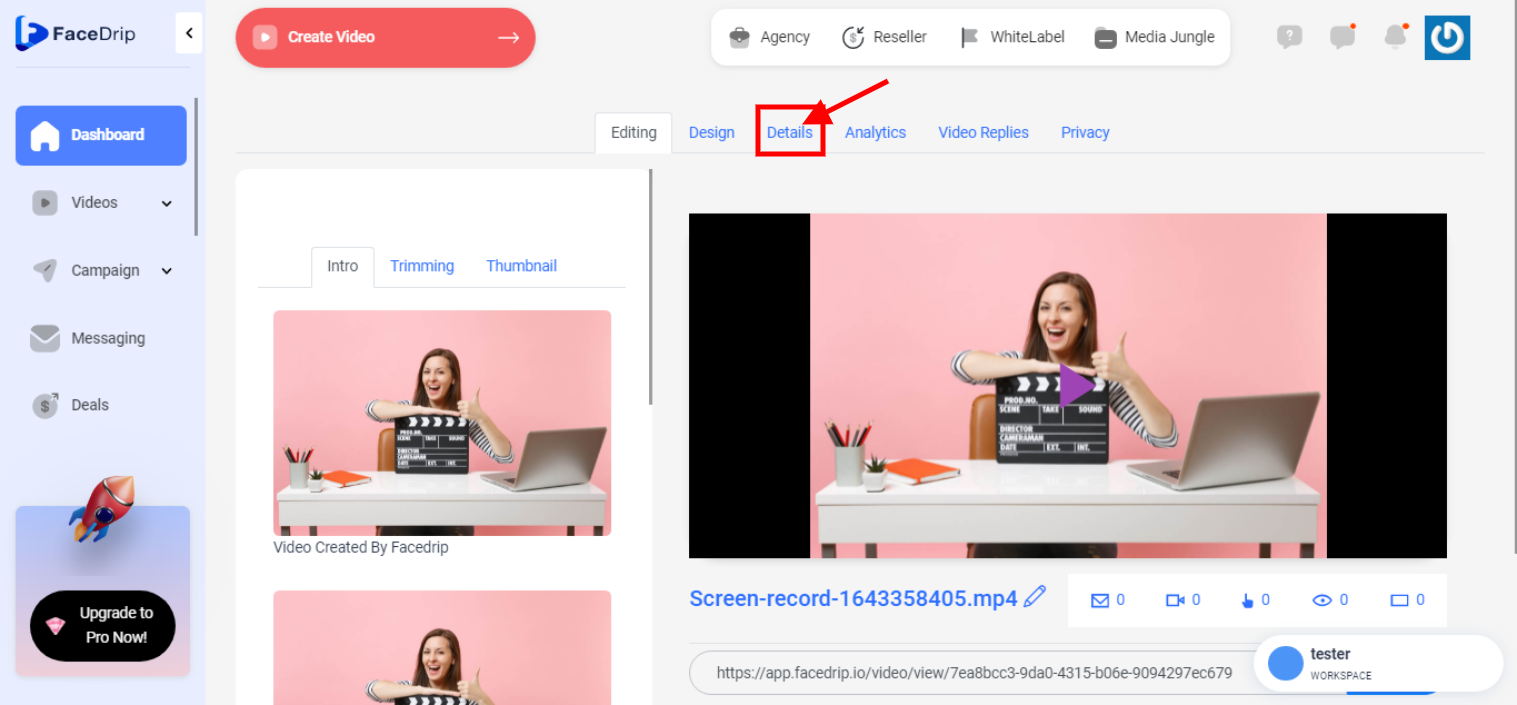
STEP 8: Click on the “Details Tab’ to set customization for Description, tags, Calls-to-Action, Playlist, Display animated thumbnail, Autoplay Video, Add exit intent modal, Add emoji response buttons, Add Facebook comment widget, Add FaceDrip Messaging, Share and allow collaboration, Disable tracking, Schedule Auto Delete, Don’t show Signature, Allow video download, Display video title
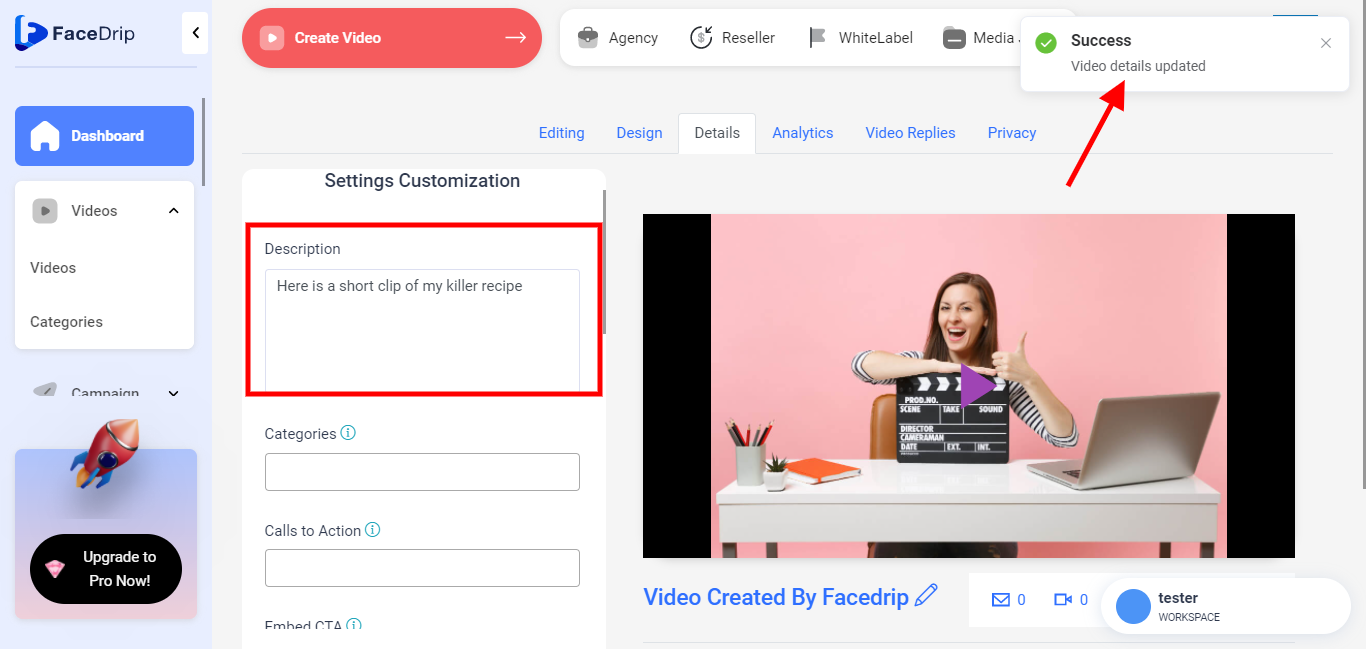
Set Customization For Description
Enter a short description for your video (e.g Here is a short clip of my killer recipe) and then click outside the text box area, then you will see a success alert message saying video details uploaded
Set Customization For Categories
Tags are descriptive keywords you can add to your video to help viewers find your content.
Select a Category from the drop list of already created Categories (follow the link on how to create video Categories) and then click outside the text box area, then you will see a success alert message saying video details uploaded

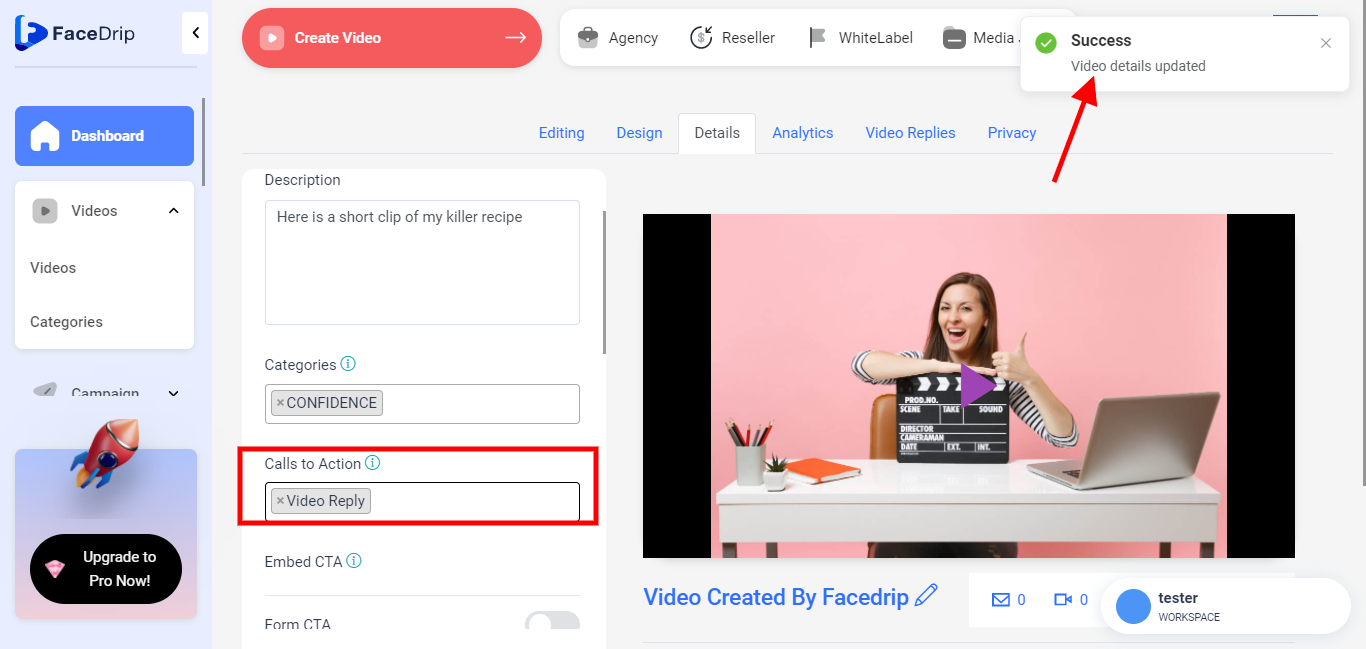
Set Customization For CTA
Select a CTA from the drop-down list of already created CTA (follow the link on how to create different CTA types) and then click outside teh text box area, then you will see a success alert message saying video details uploaded.
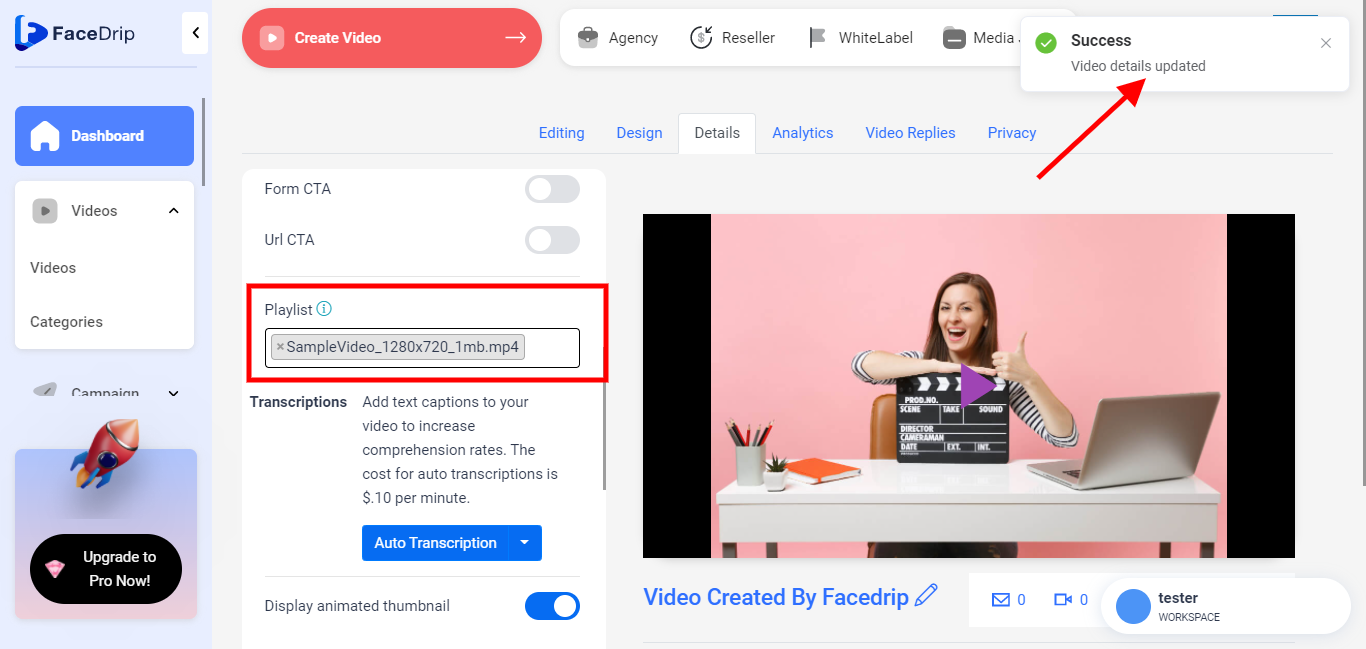
Set Customization For Playlist
Select a video from the drop-down list of already created videos (follow the link on how to create a video) and then click outside teh text box area, then you will see a success alert message saying video details uploaded
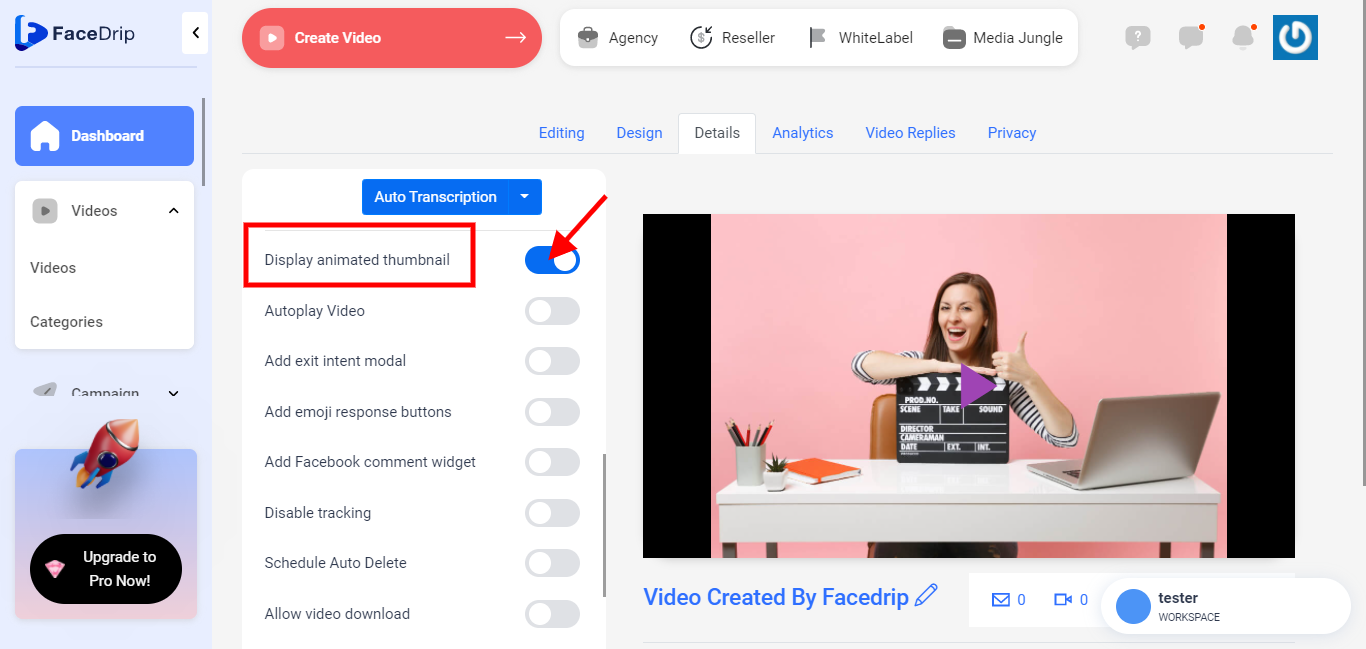
Set Customization For Animated Thumbnail
Turn “ON” the toggle button to enable the animated thumbnail for the video. A success alert message will pop up saying video details uploaded
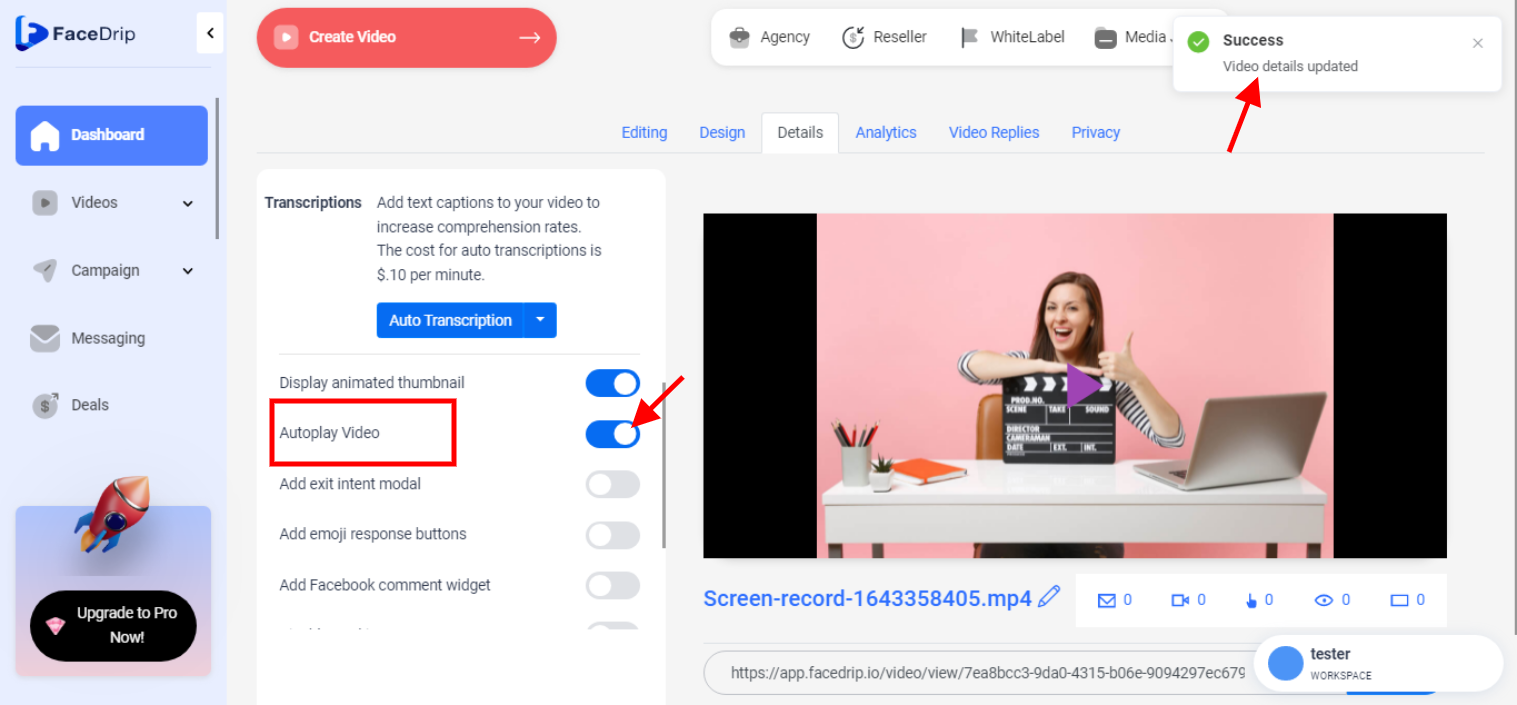
Set Customization For Autoplay Video
Turn “ON” the toggle button to enable the ” Autoplay Video “. A success alert message will pop up saying video details uploaded
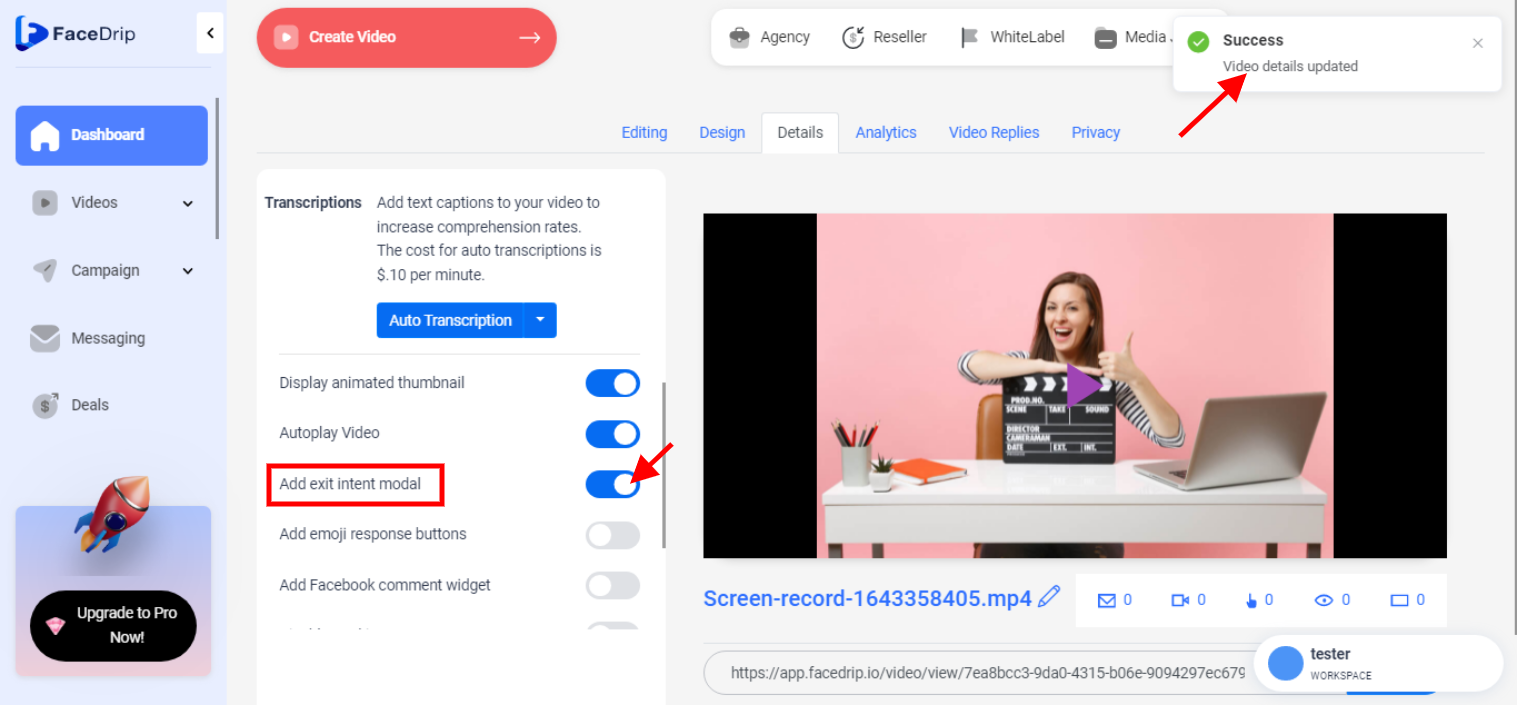
Set Customization For Exit Intent Modal
Turn “ON” the toggle button to enable the ” Exit Intent Modal “ A success alert message will pop up saying video details uploaded
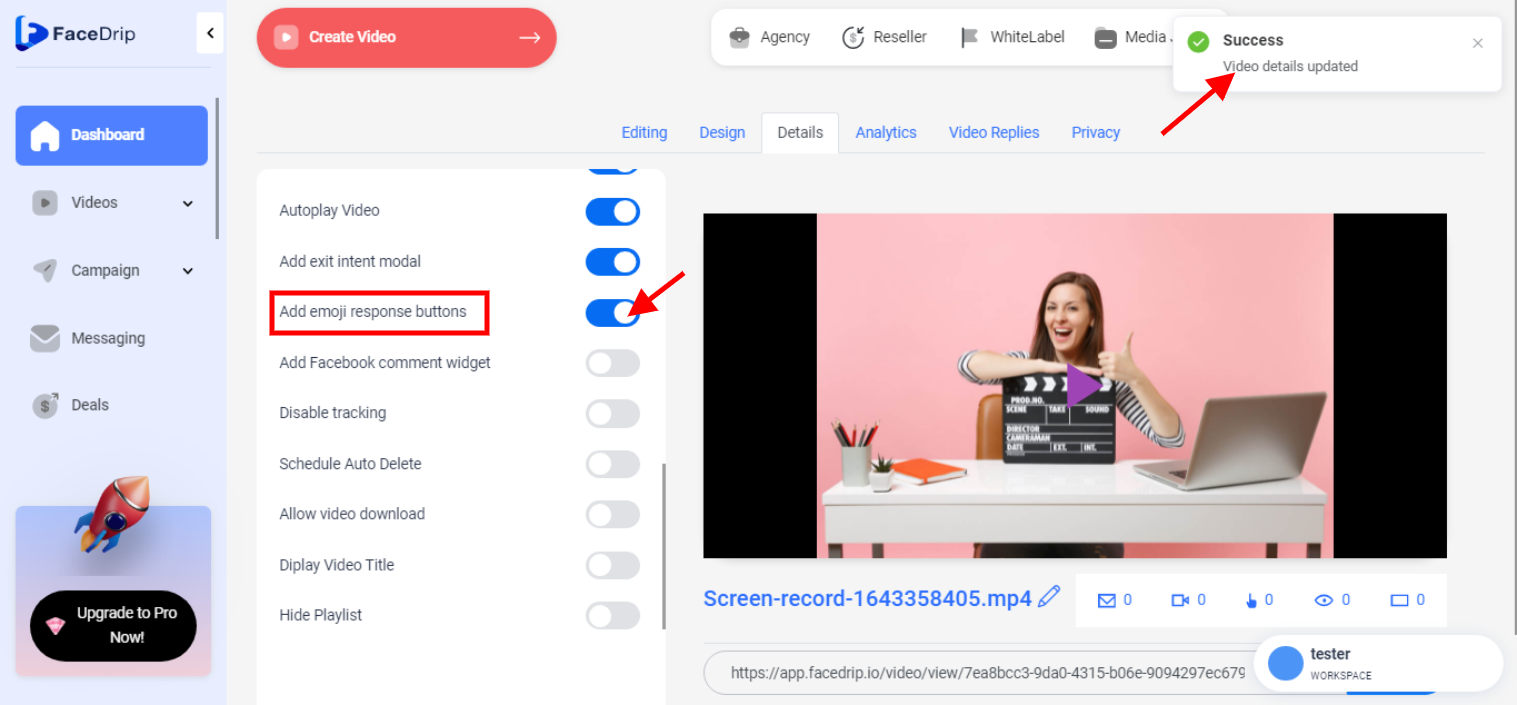
Set Customization For Emoji Button
Turn “ON” the toggle button to enable the ” Emoji Button “ A success alert message will pop up saying video details uploaded
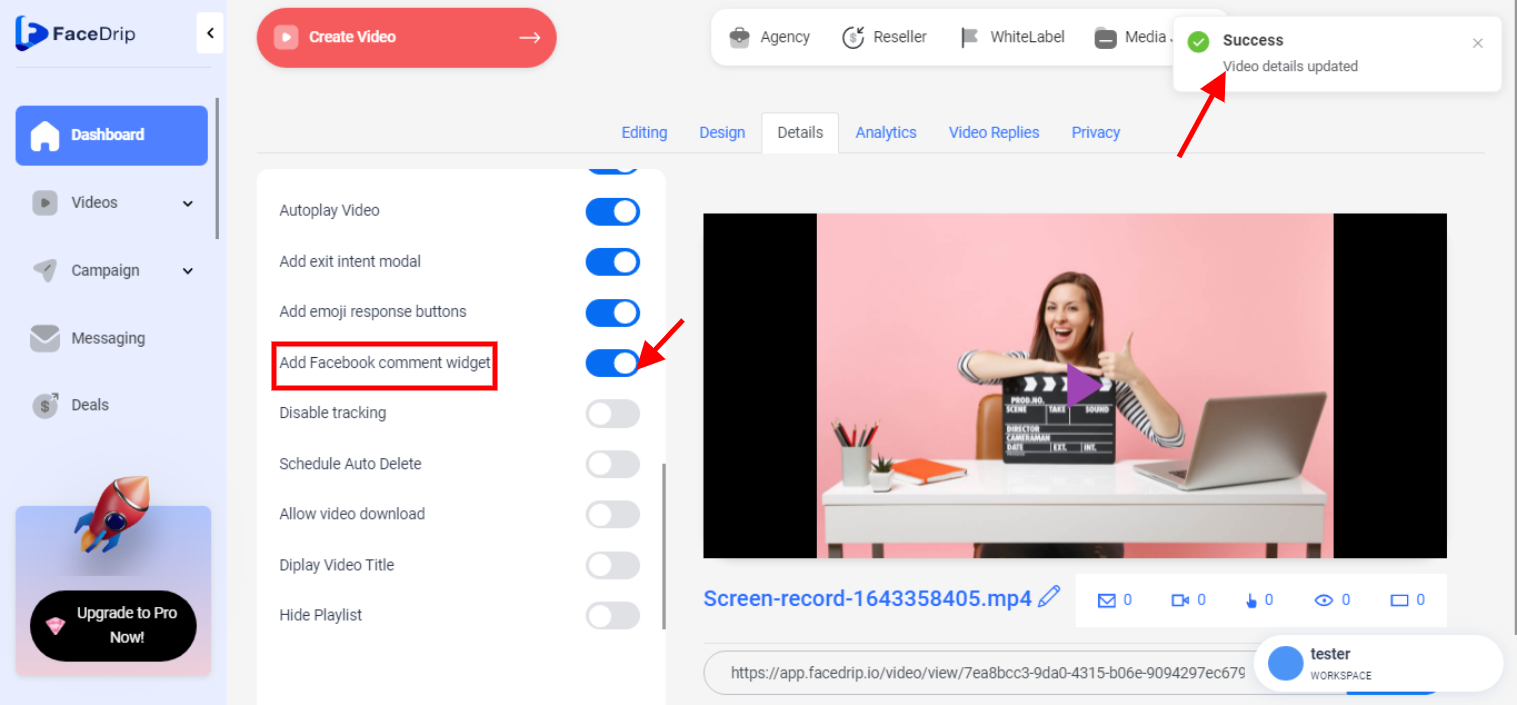
Set Customization For Facebook Comment Widget
Turn “ON” the toggle button to enable the ” Facebook Comment Widget “ A success alert message will pop up saying video details uploaded
Set Customization For Disable Tracking
Turn “ON” the toggle button to enable the ” Disable Tracking “. A success alert message will pop up saying video details uploaded. When it is disabled, it implies that you will not be getting user-level reports for CTA CLICK RATES, EMAIL OPEN RATES, REACTION RATES, CALL RATES, WATCH RATES, and EMAIL CLICK RATES.
![]()
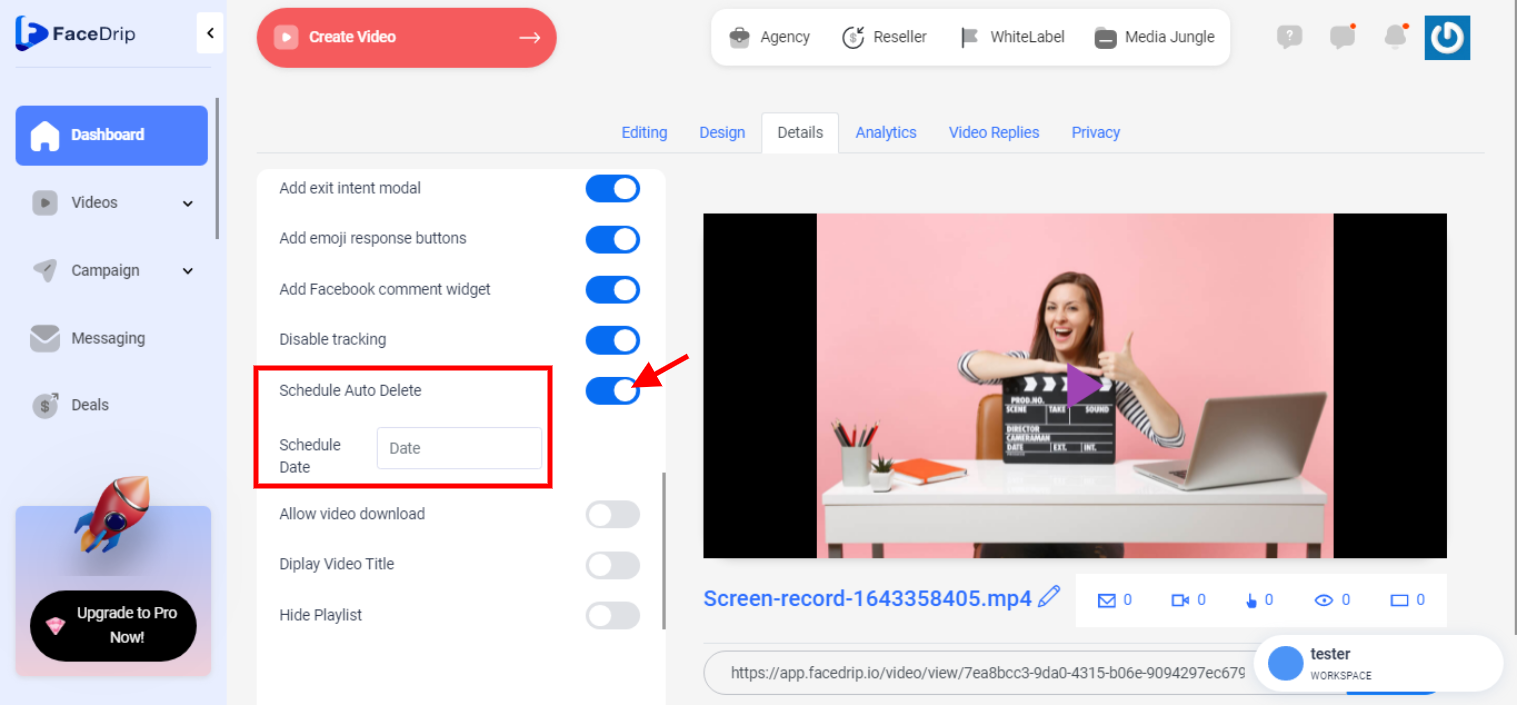
Set Customization For Auto Delete Date
Turn “ON” the toggle button to enable the ” Schedule Date “. Then schedule the date you want the video to be deleted. A success alert message will pop up saying video details uploaded
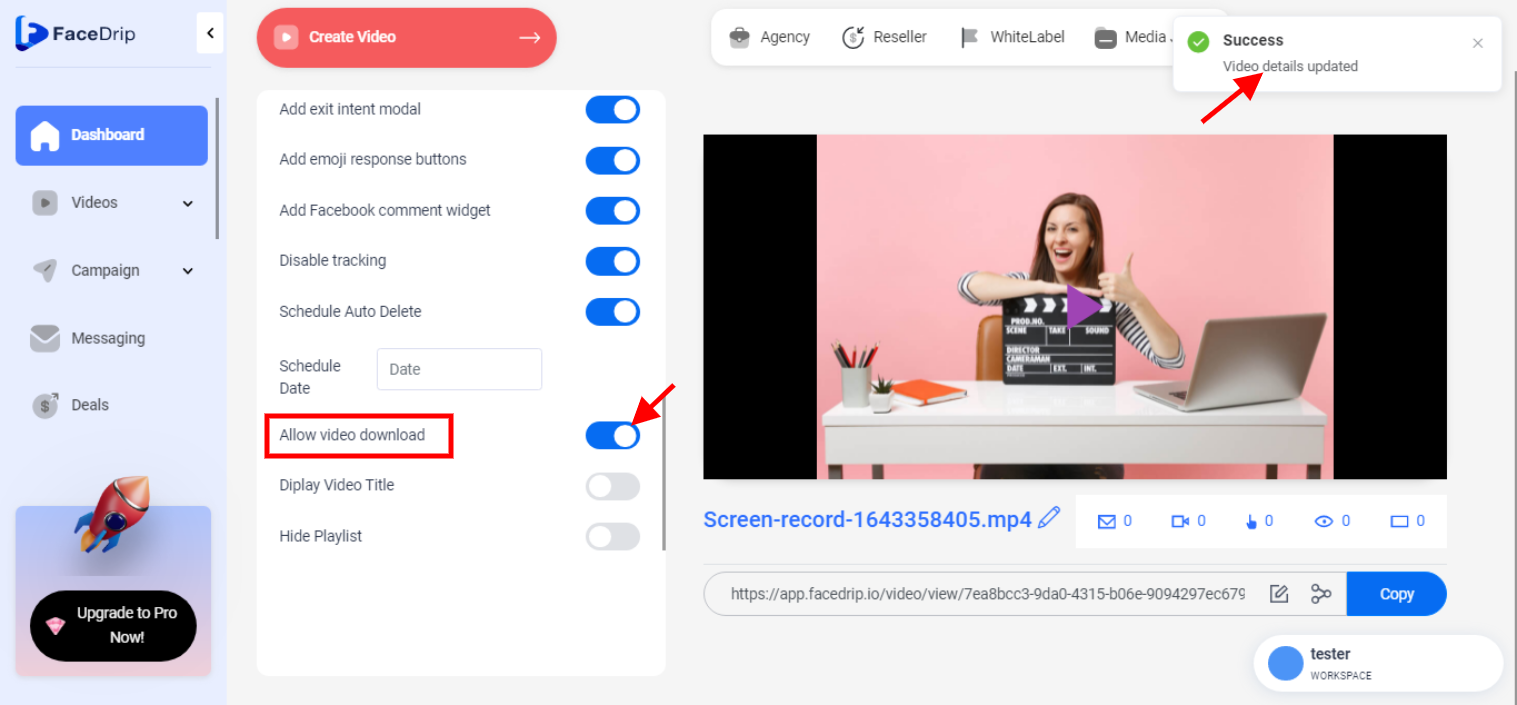
Set Customization For Allow Video Download
Turn “ON” the toggle button to enable the ” Video Download Feature” A success alert message will pop up saying video details uploaded
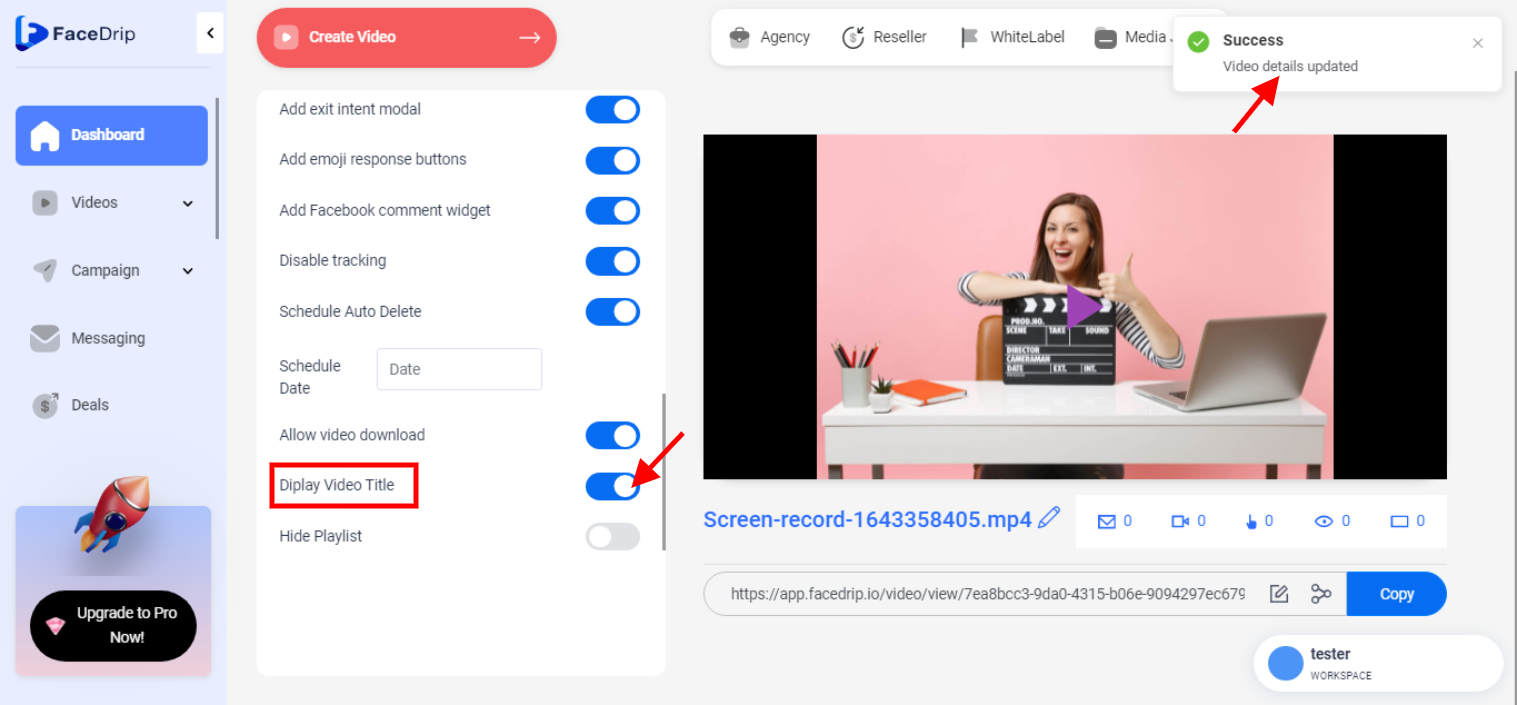
Set Customization For Display Video Title
Turn “ON” the toggle button to enable the ” Display Video Title “ A success alert message will pop up saying video details uploaded
Set Customization Hide Playlist
Turn “ON” the toggle button to enable the ” Hide Playlist “ A success alert message will pop up saying video details uploaded
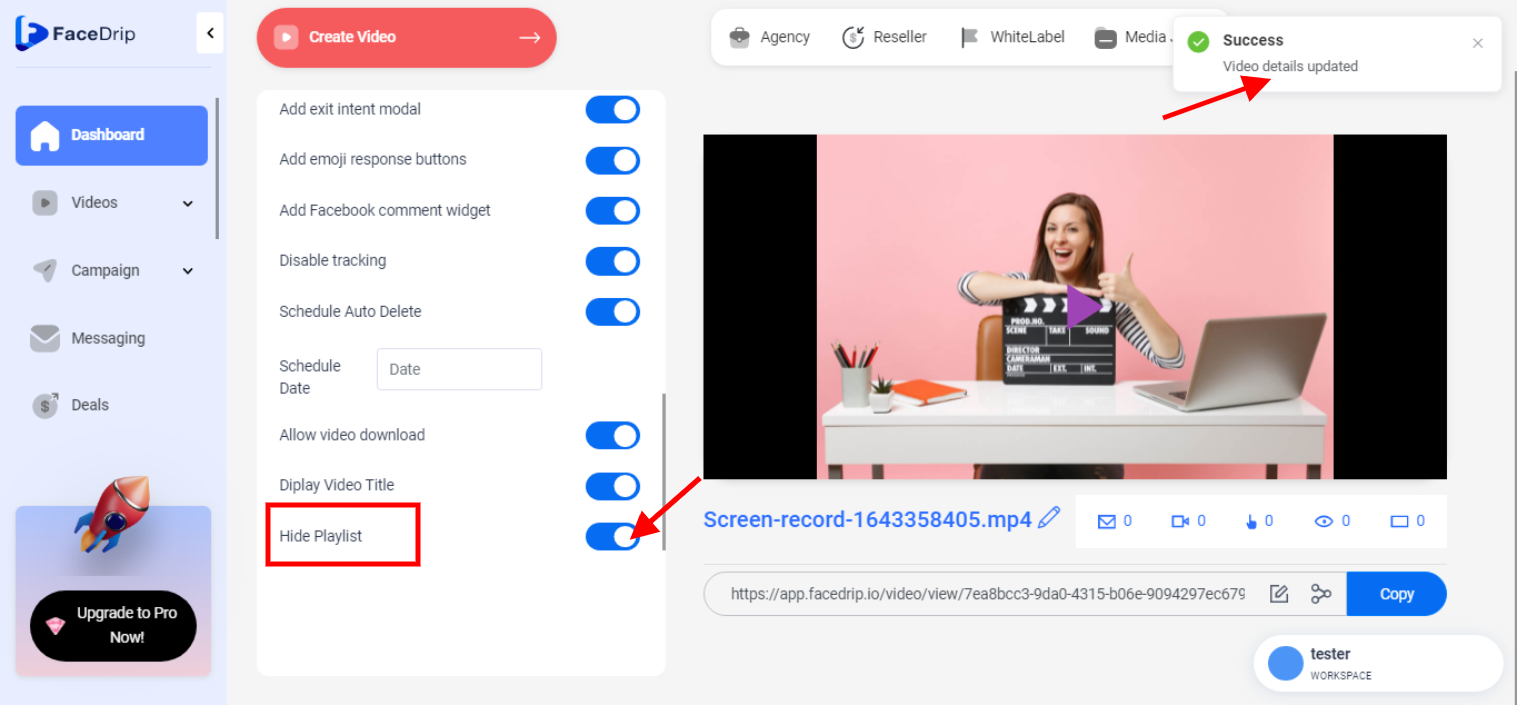
After successfully setting customization for each of the features. Click on “COPY’ on teh blue button and paste it into another tab to see respective changes.
