Getting Started With Creating Deals
Log in to your Facedrip account.
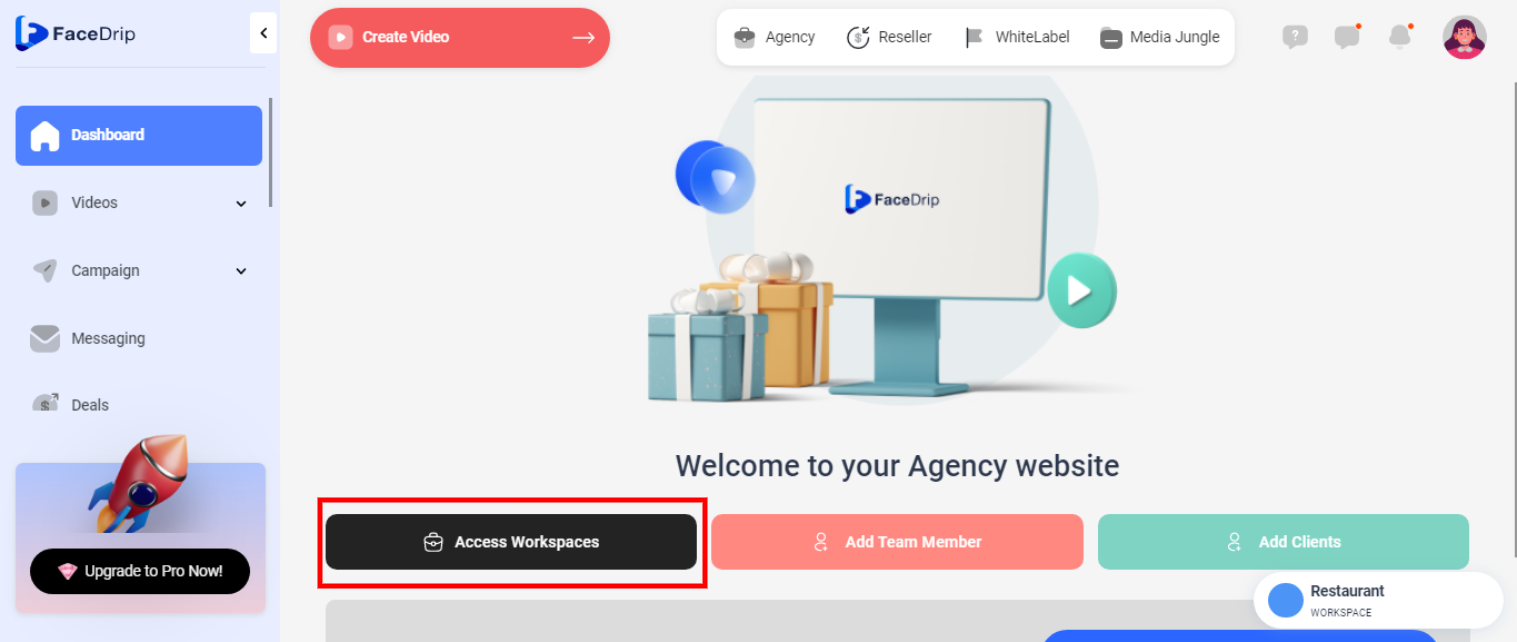
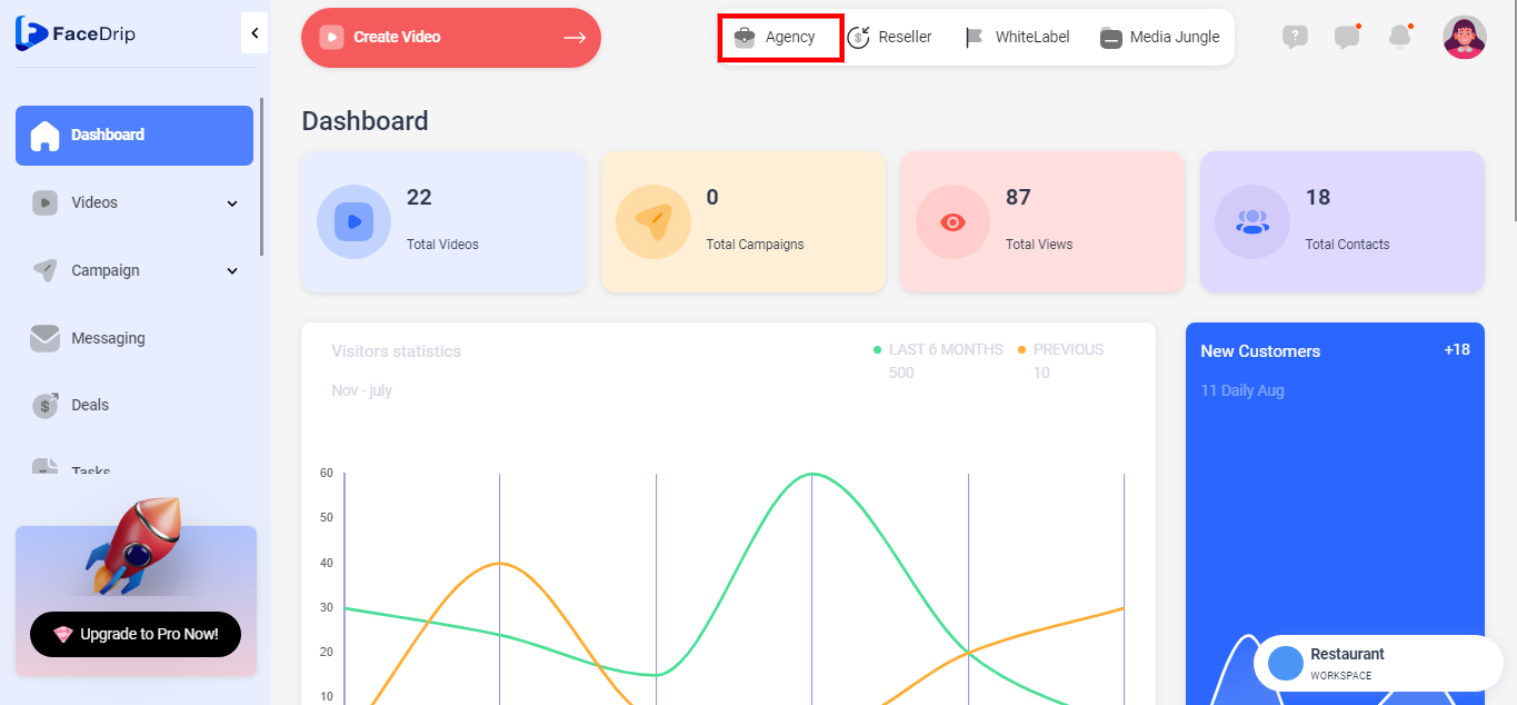
STEP 1: Click on the “agency” on the top side menu bar of your dashboard.

STEP 2: Click on “workspace” in the options below.
STEP 3: Choose the workspace you want to create a new deal and click the “activate workspace” button. (follow this link on How To Create New Workspace)
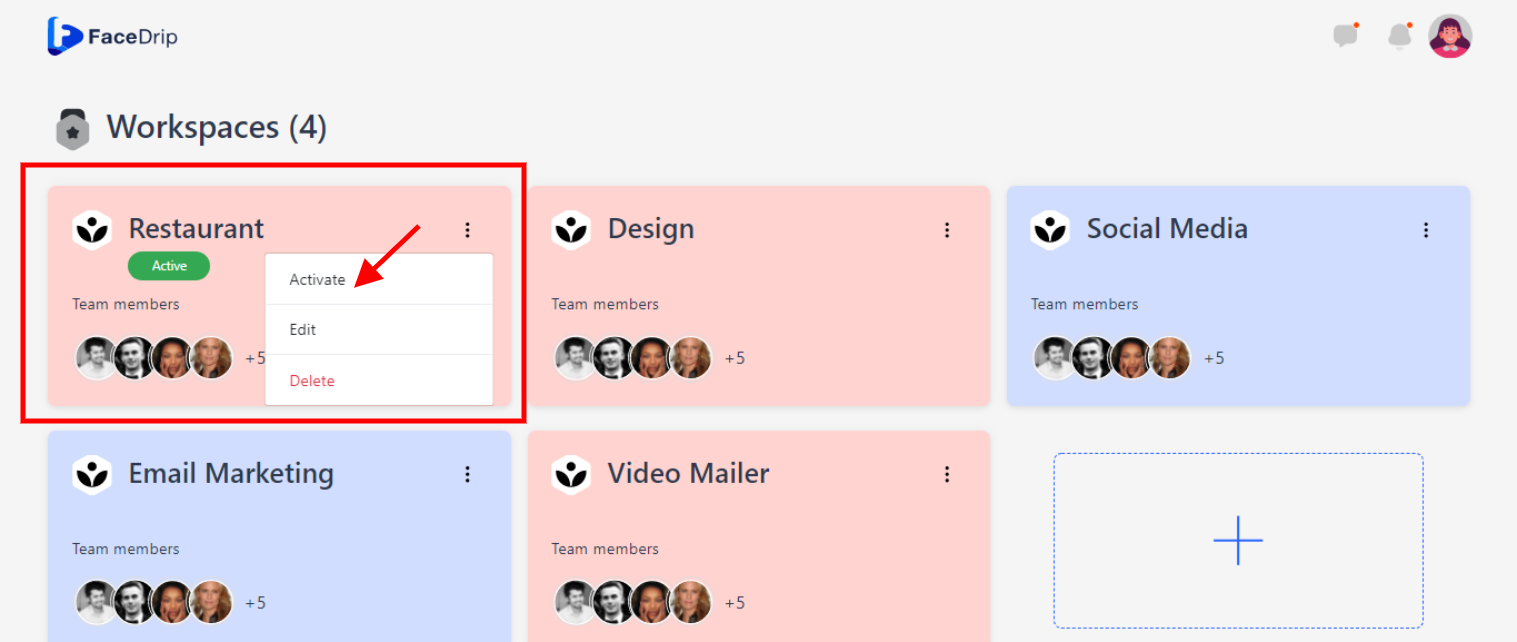
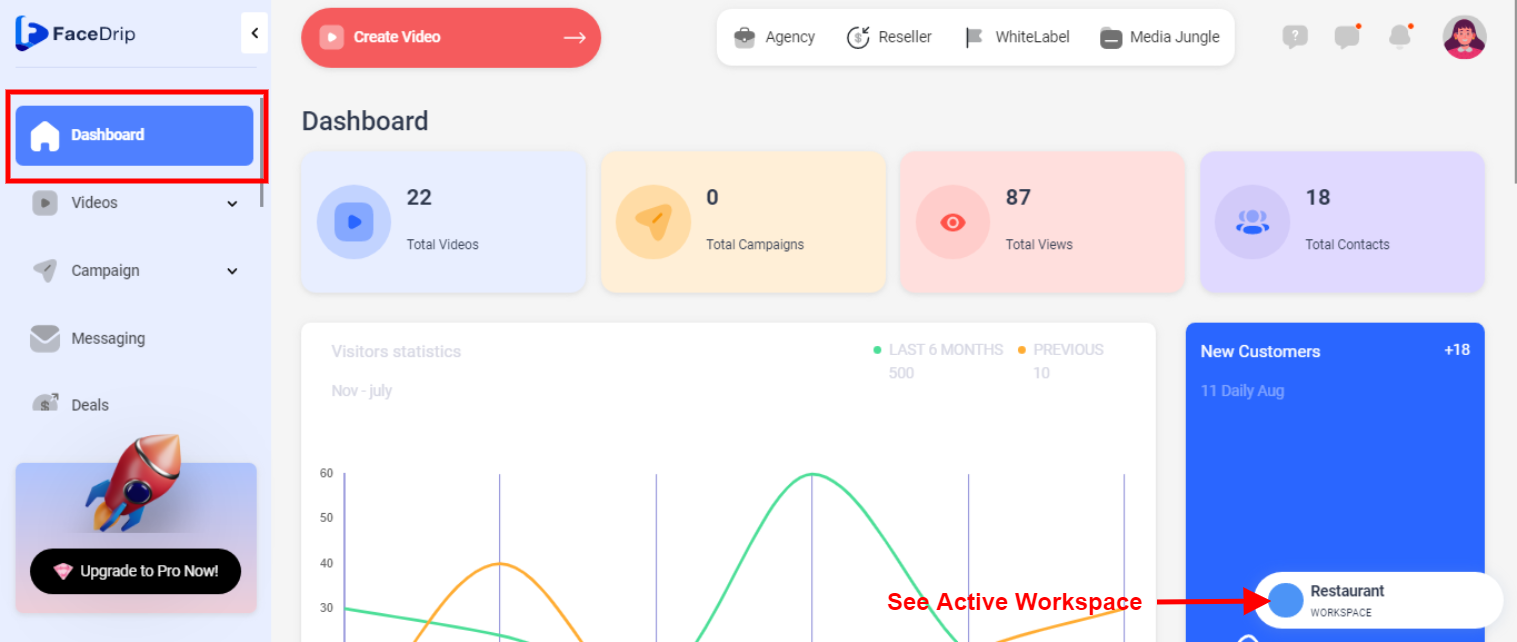
Your workspace will be activated successfully! (PS: Go back to your dashboard module to see the active workspace).

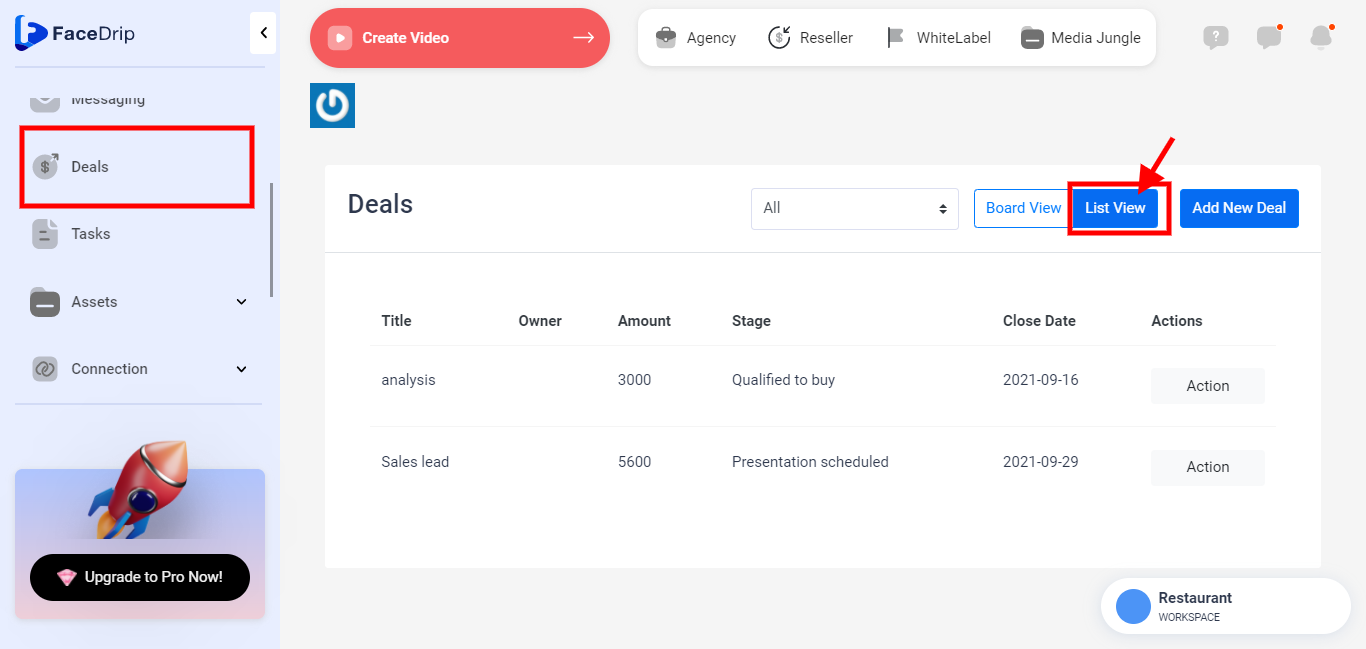
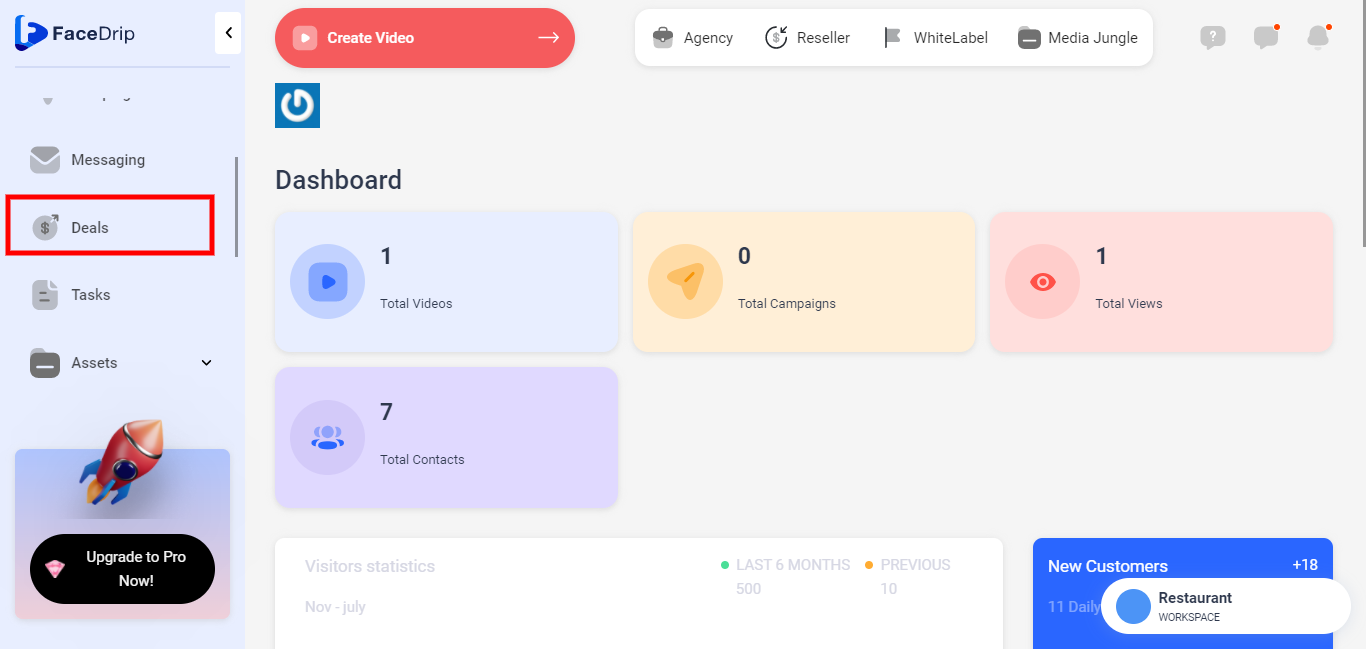
STEP 4: Click on the “Deals” menu on the left-hand side menu bar of your dashboard.

How To Create New Deals In List View
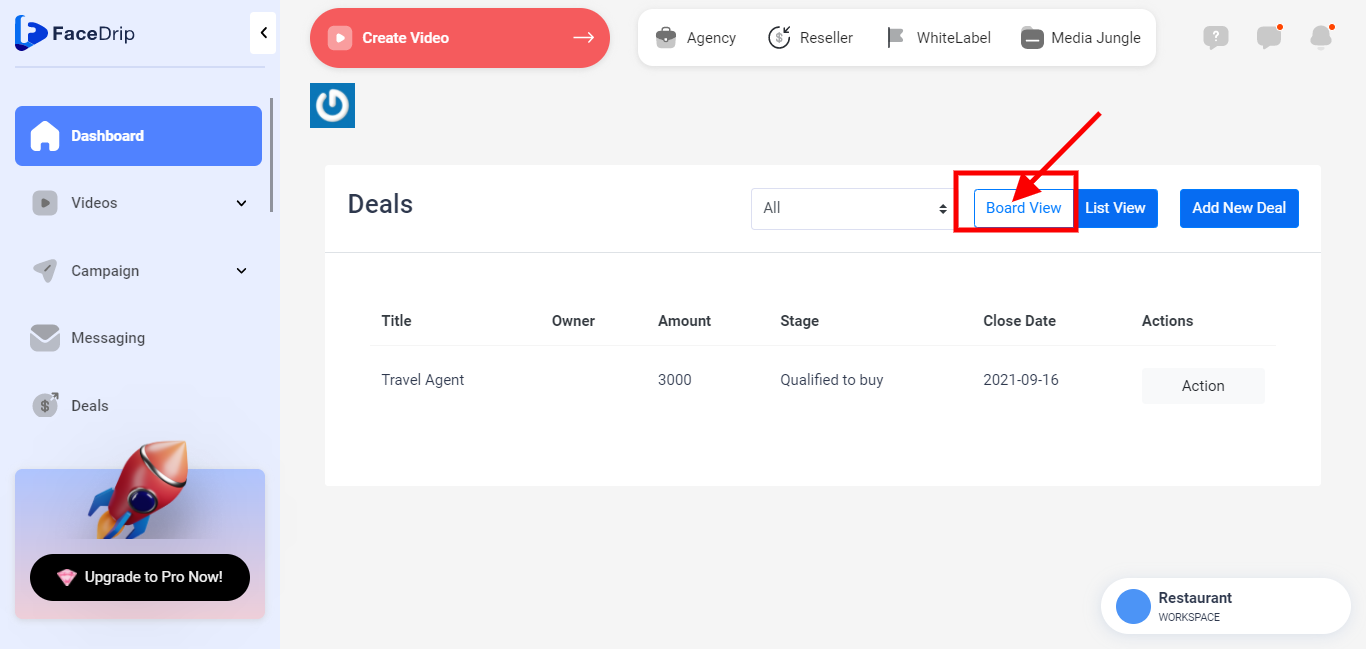
STEP 5: Select the blue “List View” button in the top right-hand end of the middle section.
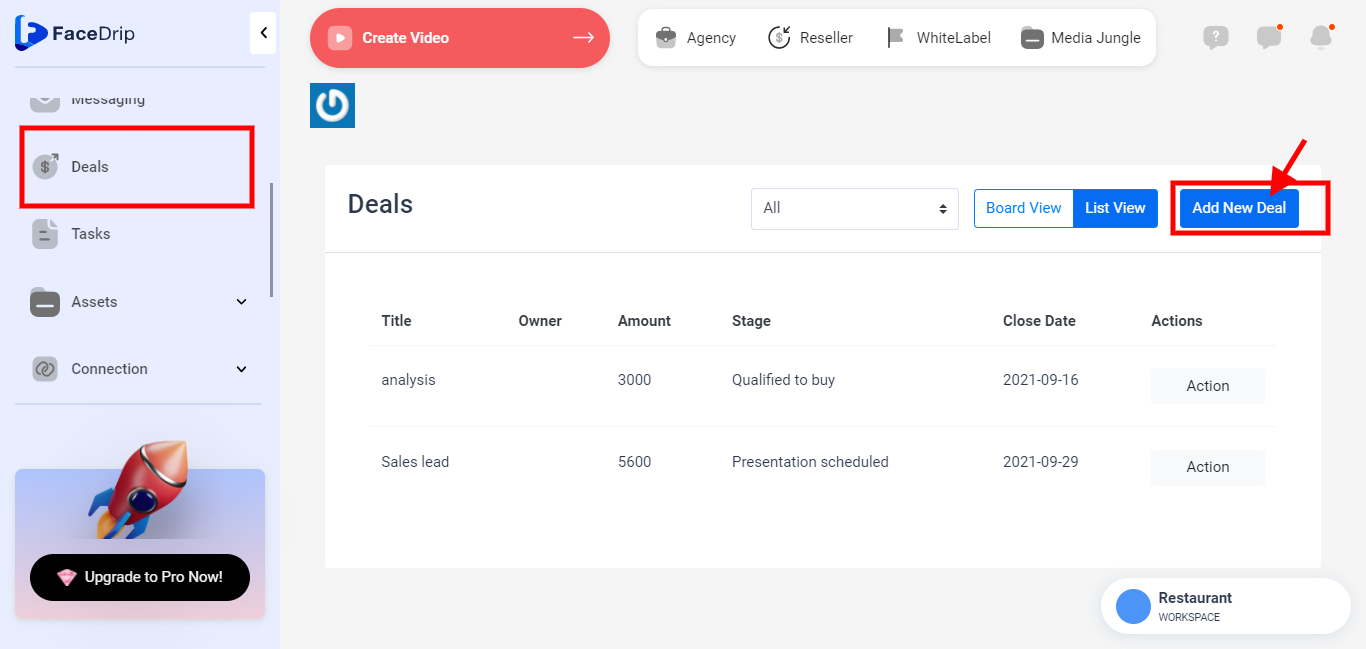
STEP 6: click on the blue “Add New Deal” button in the top right-hand end of the middle section.
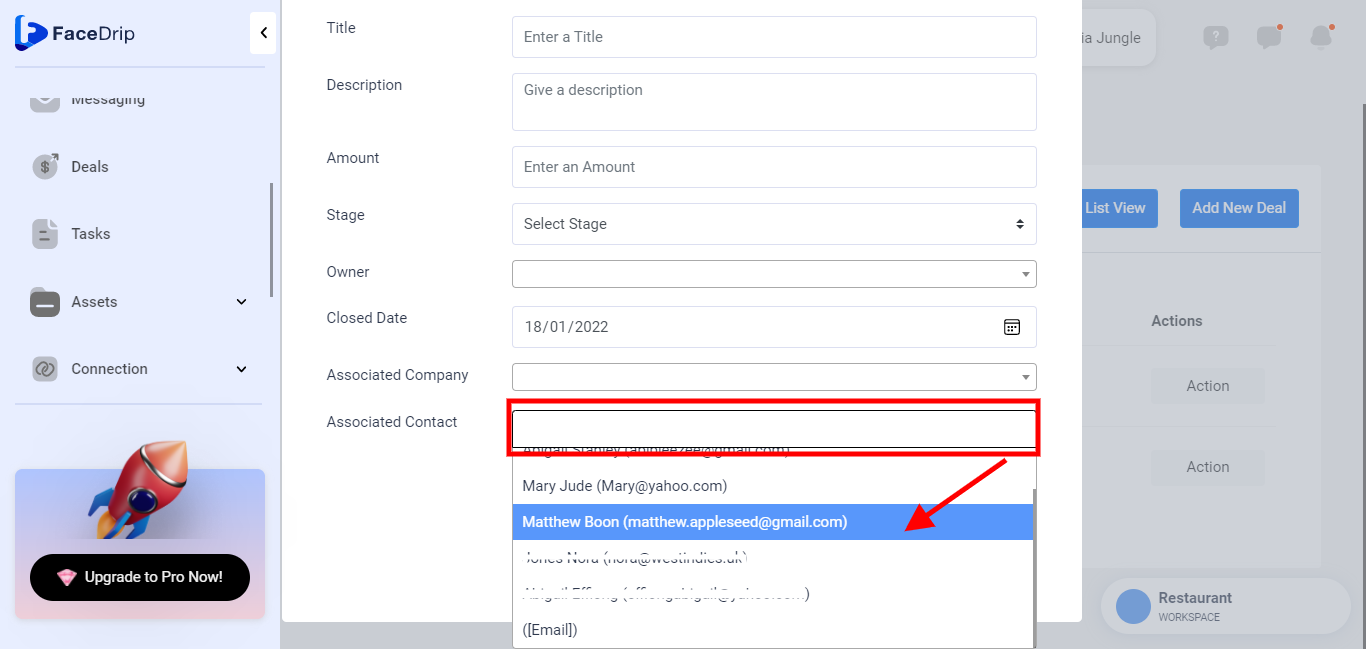
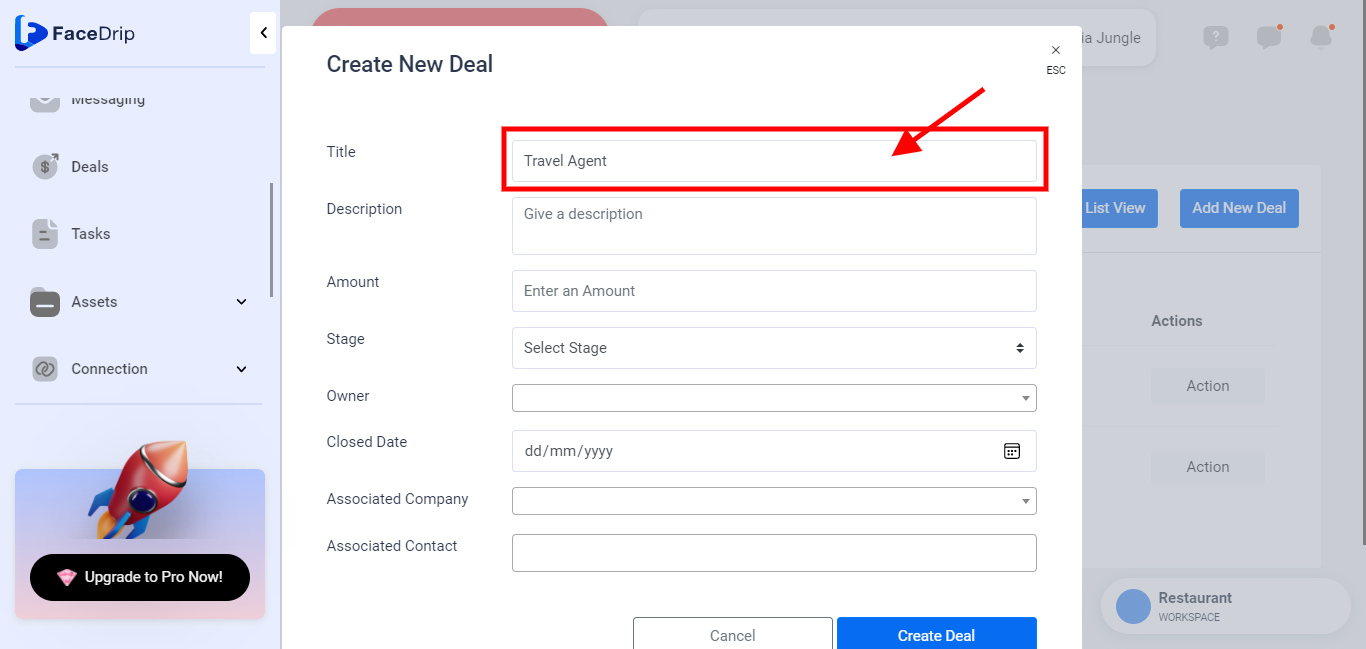
STEP 7: Enter information for the respective fields in the form shown below
Enter a Tittle
Provide a valid and unique “Tittle” of a Deal for which a particular deal should be known.(e.g Travel Agent)

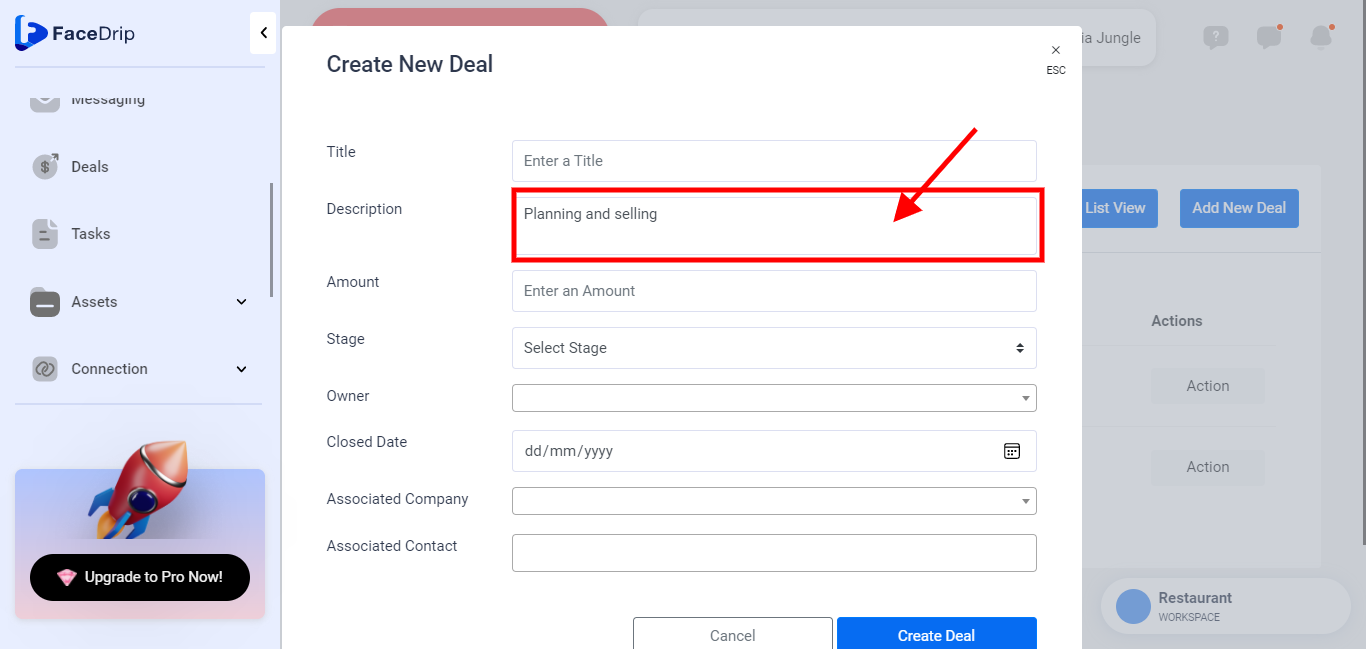
Enter a Description
Provide a valid description of the Deal, as this is a piece of information that explains a particular deal (e.g Planning and selling transportations, accommodations, insurance, and other travel services)

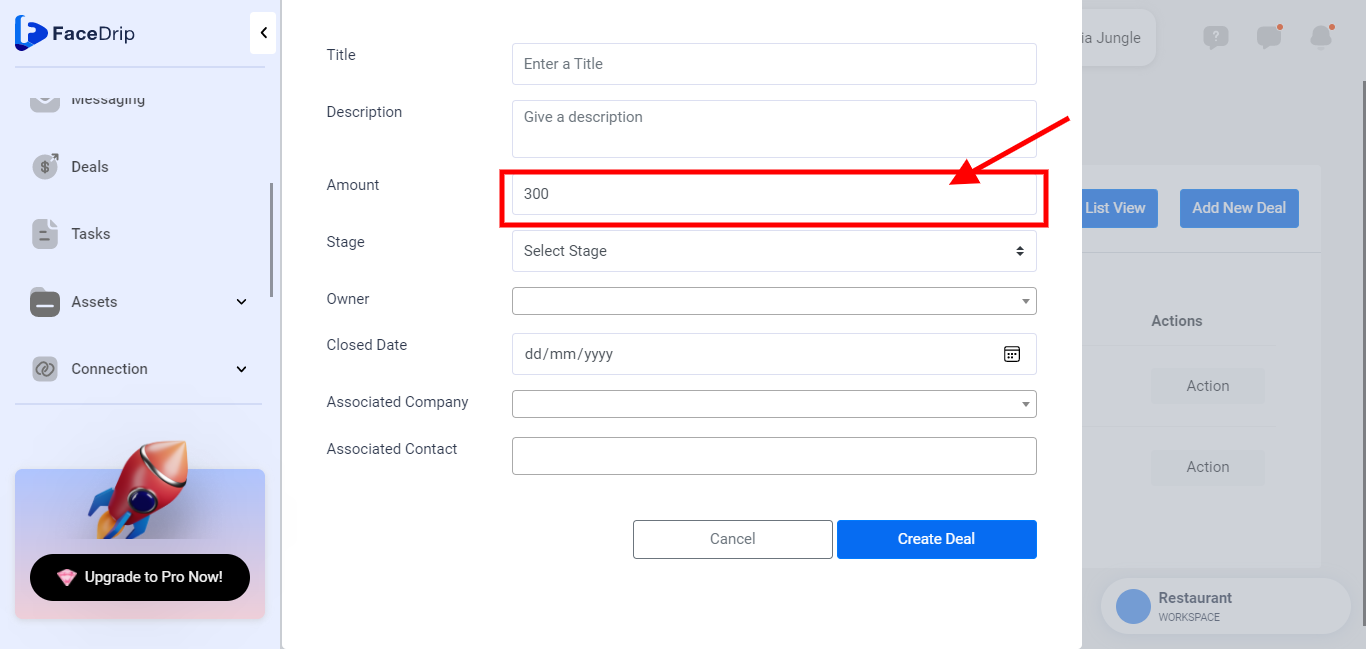
Enter Amount
Provide a valid and special Amount for a deal. (e.g 300)
Enter Stage
Provide a stage from the drop-down options that you want to be applied to the deal. (e.g Qualified to buy)

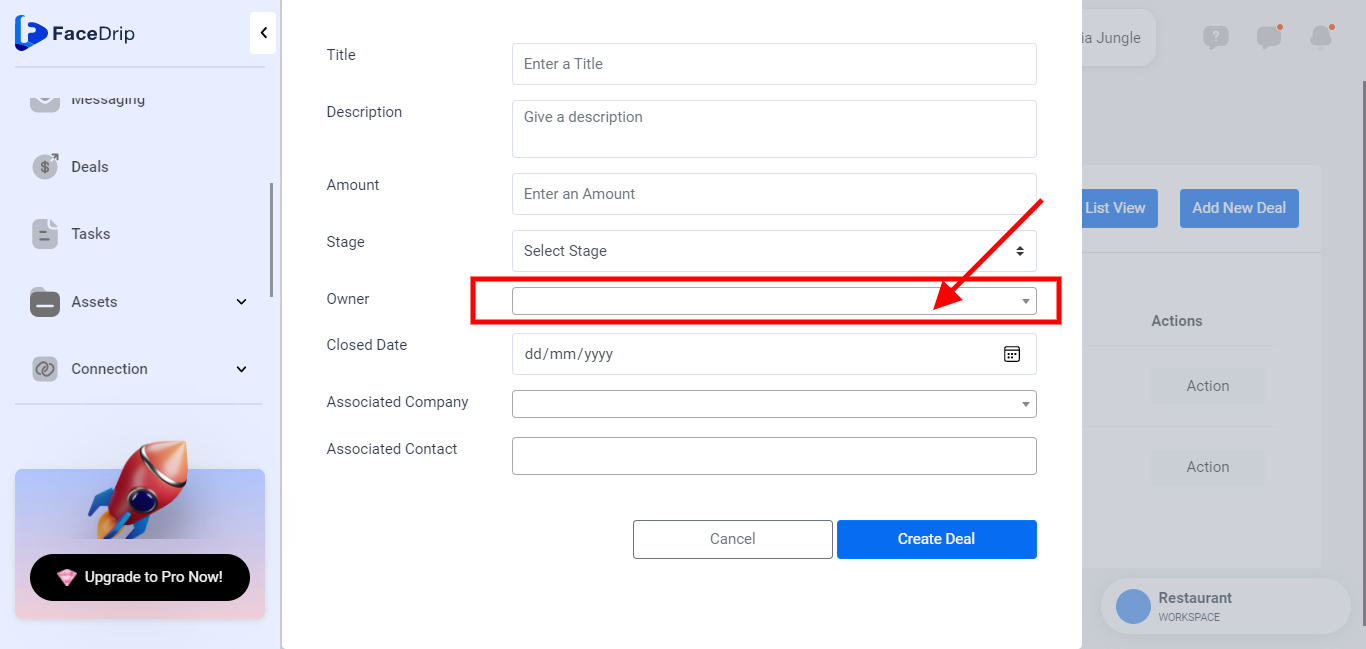
Enter Owner
Provide an owner by selecting from the drop-down list of Owner you already created (e.g Ibinabo). Find a knowledgebase article on how to create owner.
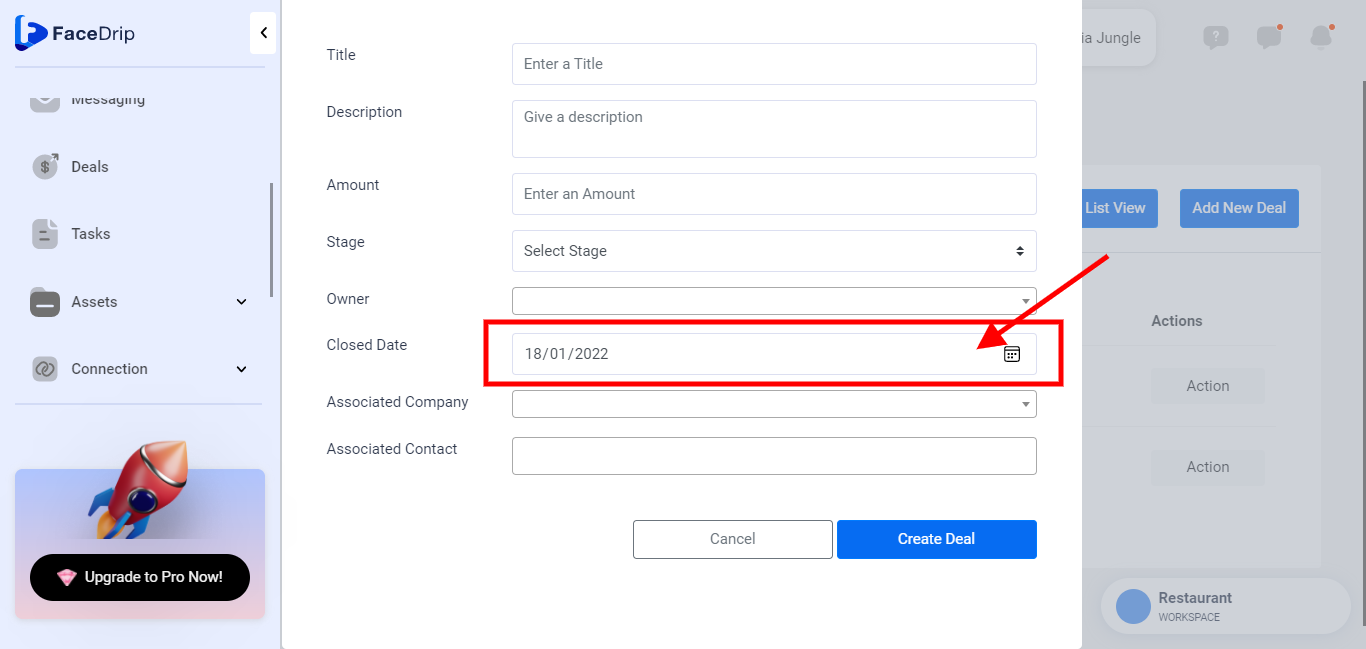
Enter Closed Date
provide a valid closed date from the pop-up calendar to enable you to know a deal that has been closed.(e.g 18/1/2022)
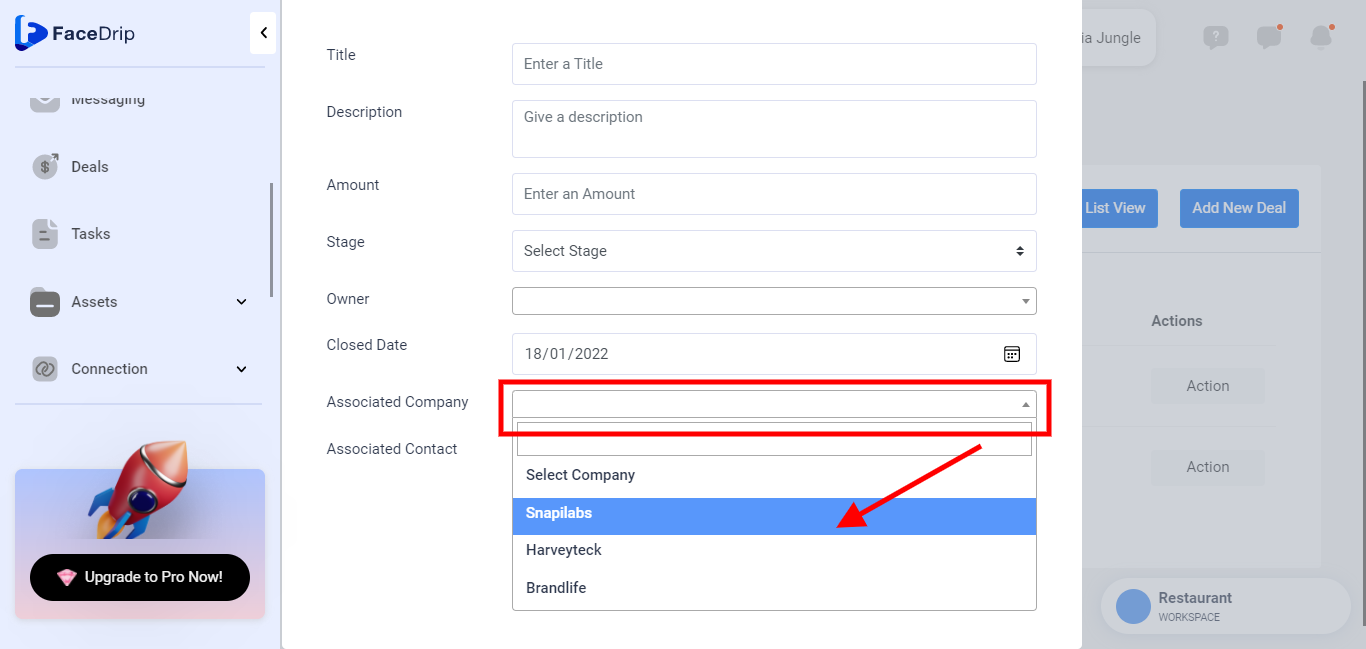
Enter Associate Company
Provide a company by selecting from the drop-down list of companies you already created (e.g Snapilabs). Find a knowledgebase article on how to create a company.
Enter Associate Contact
Provide contact by selecting from the drop-down list of contacts you already created (e.g Mathew ). Find a knowledgebase article on how to create contact.
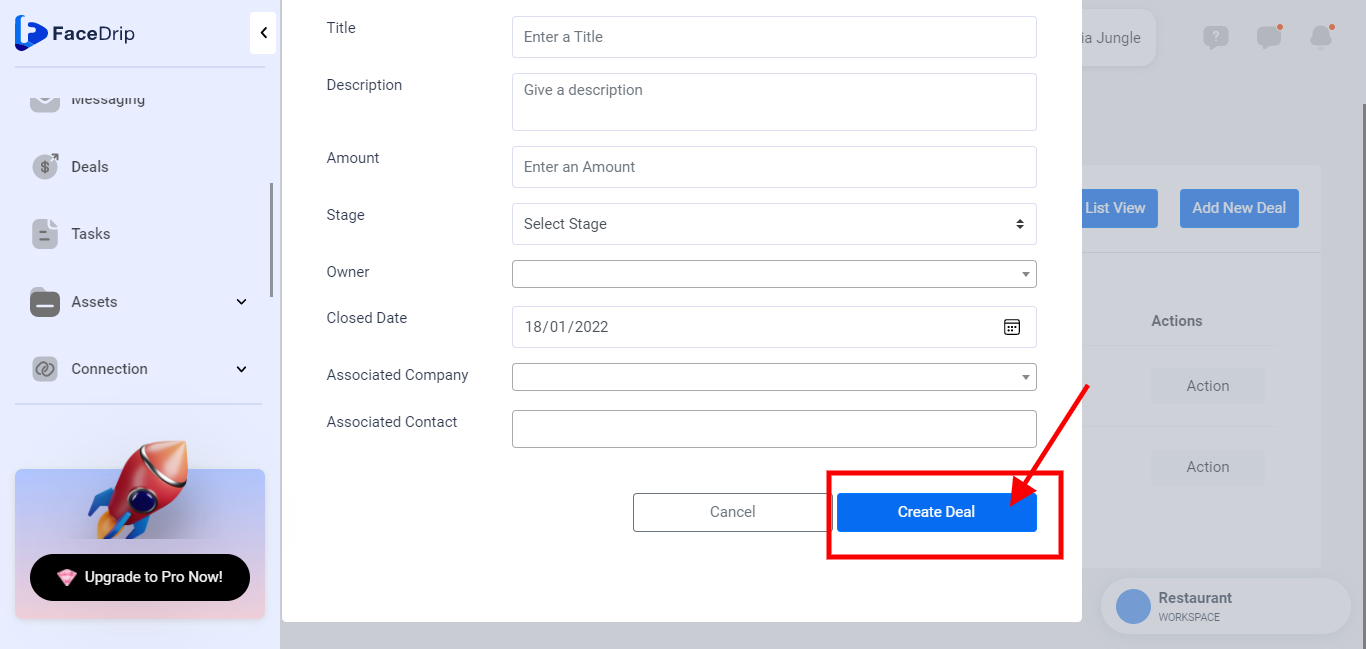
STEP 8: Click on the submit Deal button to save Deal.

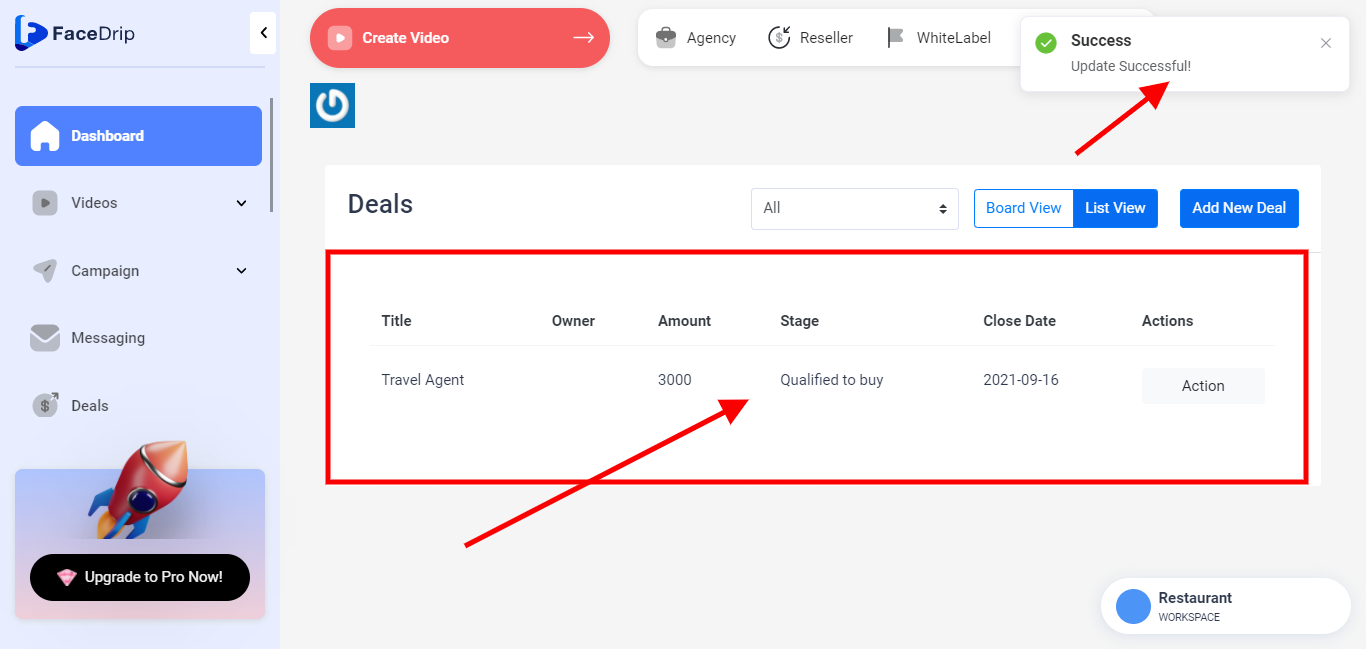
STEP 9: Deal created and saved successfully with a pop-up success alert message stating “Deal Added Successfully”
How To Create New Deals In Board View
Log in to your Facedrip account.
STEP 1: Click on the “agency” menu on the left-hand side menu bar of your dashboard
STEP 2: Click on “workspace” in the drop-down options.

STEP 3: Choose the workspace you want to create a new deal and click the “activate workspace” button. (follow this link on How To Create New Workspace)

Your workspace will be activated successfully! (PS: Go back to your dashboard module to see the active workspace).
STEP 4: Click on the “Deals” menu on the left-hand side menu bar of your dashboard.
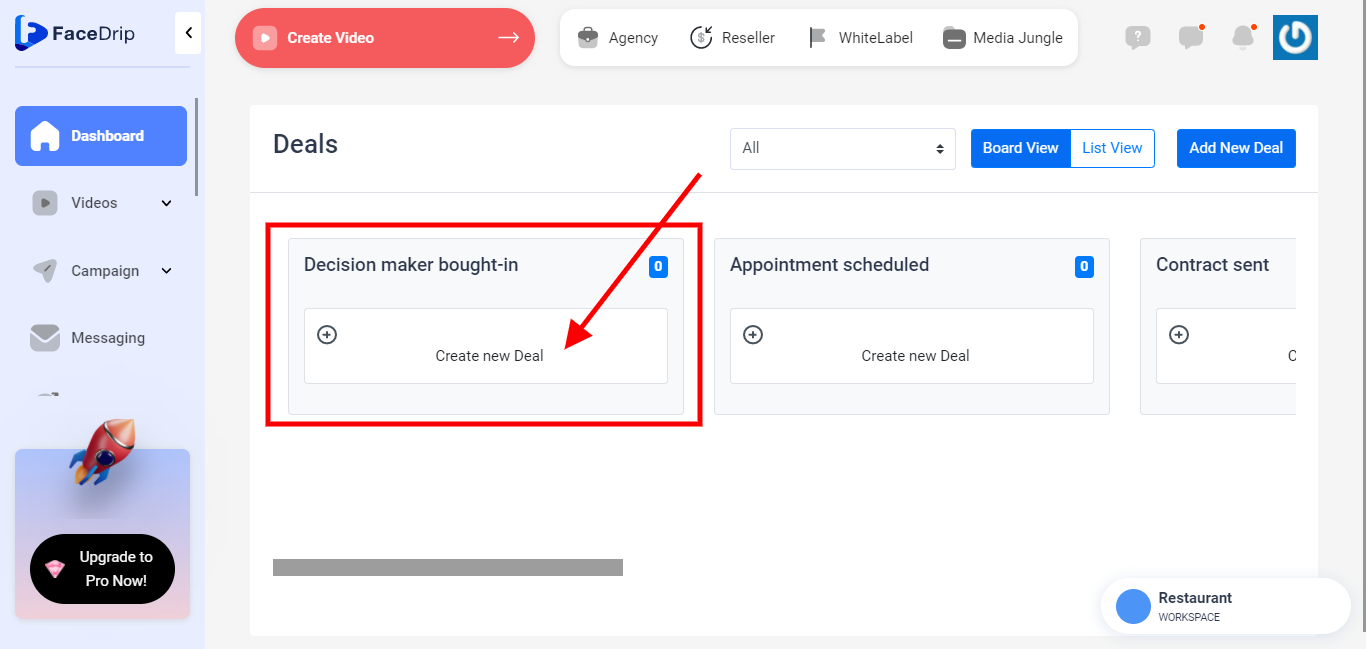
STEP 5: Select the blue “Board View” button in the top right-hand end of the middle section.
STEP 6: you can create deals in Board View by clicking either of the boxes down with the “create new deal” white button to select the stages and then proceed with filling the pop-up form.
STEP 7: Enter information for the respective fields in the form shown below
Enter a Tittle
Provide a valid and unique “Tittle” of a Deal for which a particular deal should be known.(e.g Travel Agent)
Enter a Description
Provide a valid description of the Deal, as this is a piece of information that explains a particular deal (e.g Planning and selling )
Enter Amount
Provide a valid and special Amount for a deal. (e.g 300)

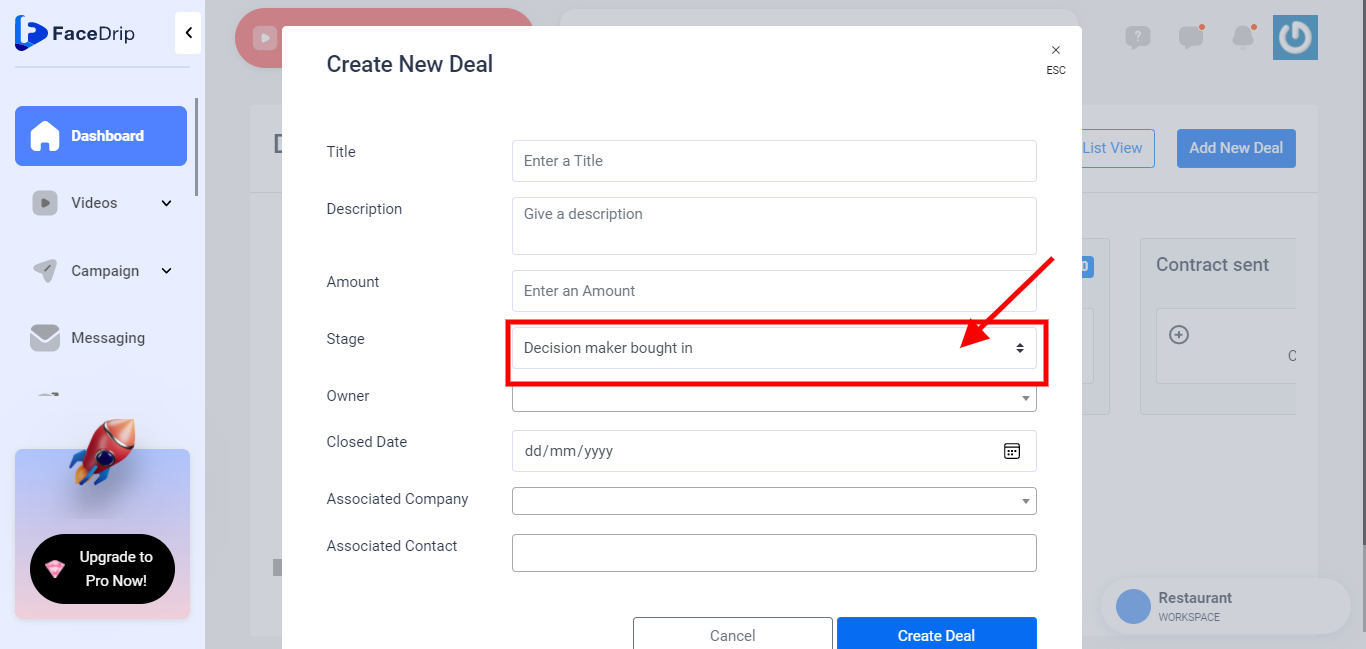
Enter Stage
Provide a stage from the drop-down options that you want to be applied to the deal. (e.g Decision maker bought in)
Enter Owner
provide an owner by selecting from the drop-down list of Owner you already created (e.g Ibinabo). Find a knowledgebase article on how to create owner.

Enter Closed Date
provide a valid closed date from the pop-up calendar to enable you know a deal that has been closed.(e.g 18/1/2022)

Enter Associate Company
Provide company by selecting from the drop-down list of companies you already created (e.g Snapilabs). Find a knowledgebase article on how to create a company.

Enter Associate Contact
Provide contact by selecting from the drop-down list of contacts you already created (e.g Mathew). Find knowledgebase article on how to create contact.
STEP 8: Click on the submit Deal button to save Deal.
STEP 9: Deal created and saved successfully with a pop-up success alert message stating “Request Completed”
