Log in to your Facedrip account.
STEP 1: Click on the “Agency” on the top side menu bar of your dashboard

STEP 2: Click on “Workspace” in the options below.
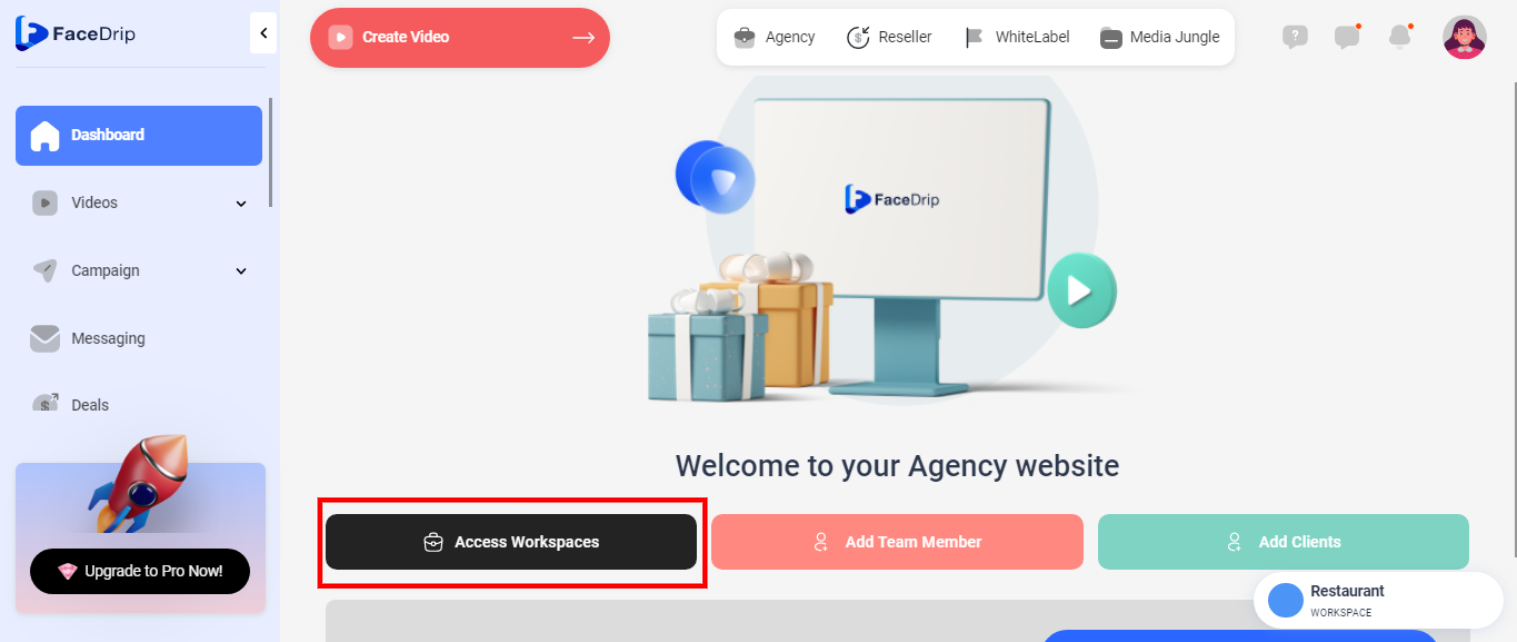
STEP 3: Choose the workspace you want to edit the deal and click the “activate workspace” button. (follow this link on How To Create New Workspace)
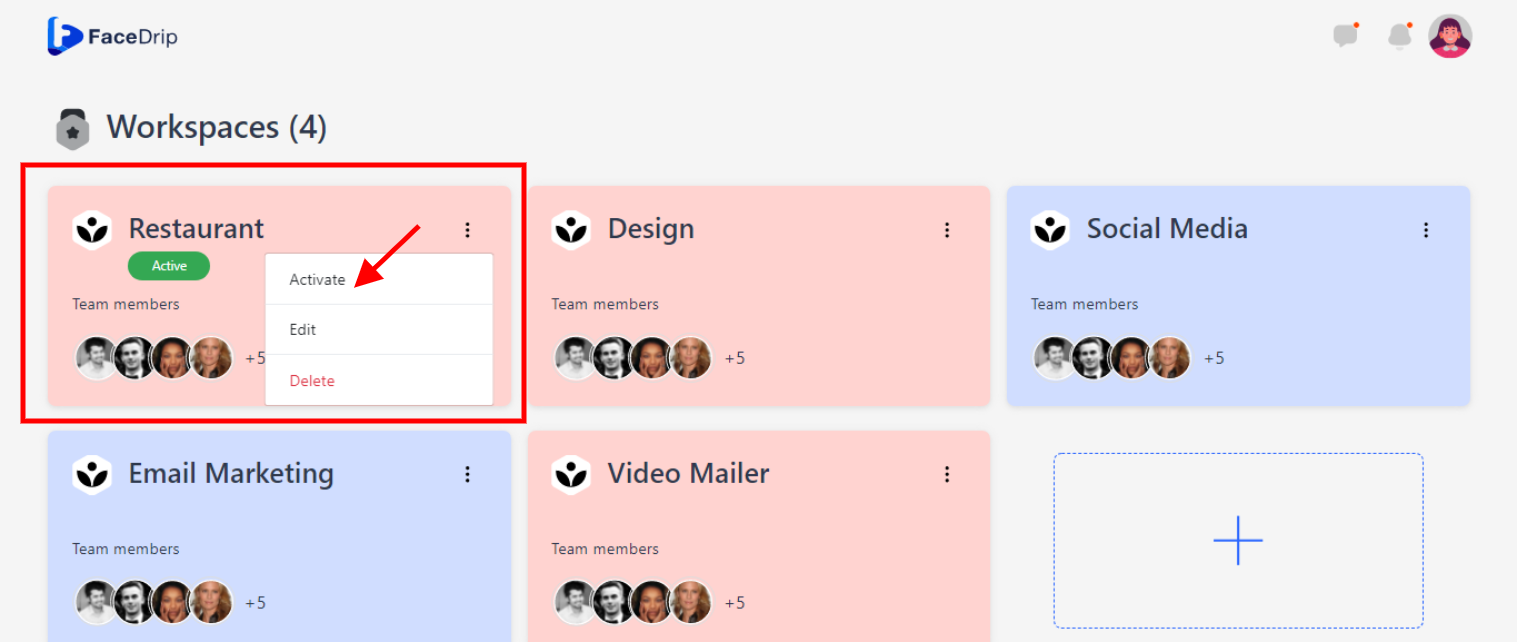
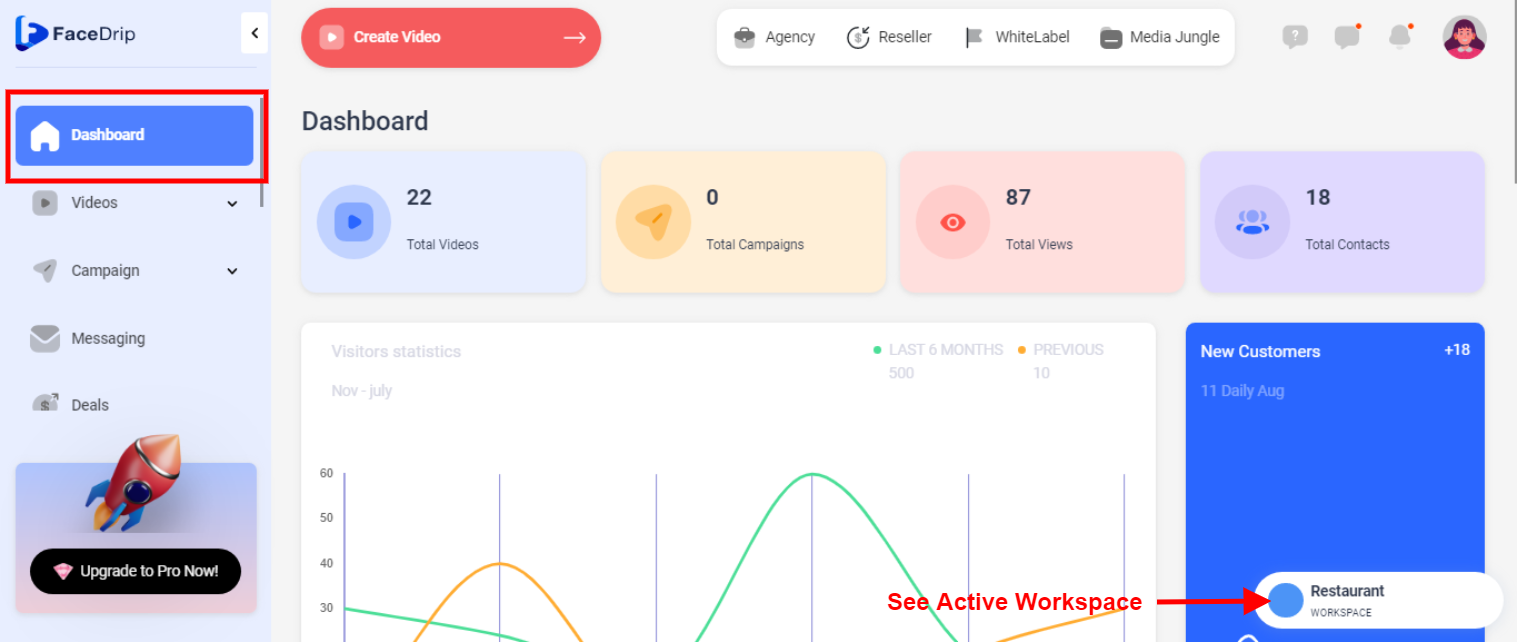
Your workspace will be activated successfully! (PS: Go back to your dashboard module to see the active workspace).
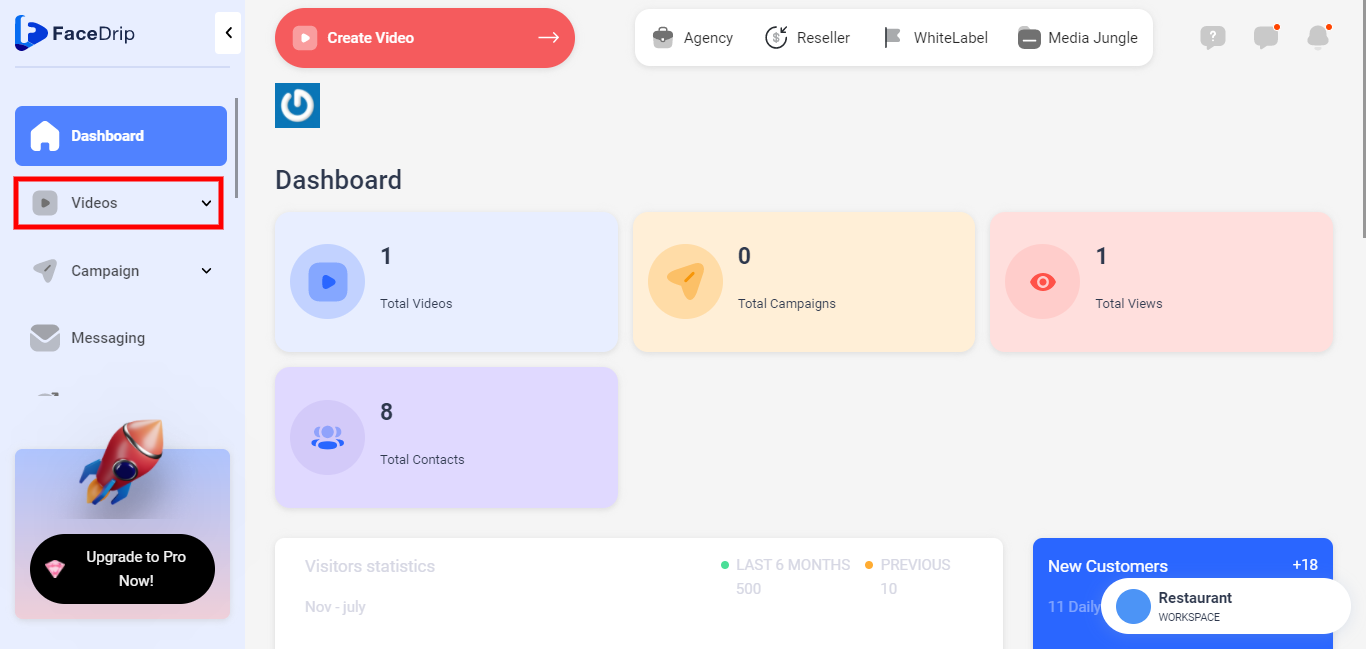
STEP 4: Click on the “Videos” menu on the left-hand side menu bar of your dashboard.
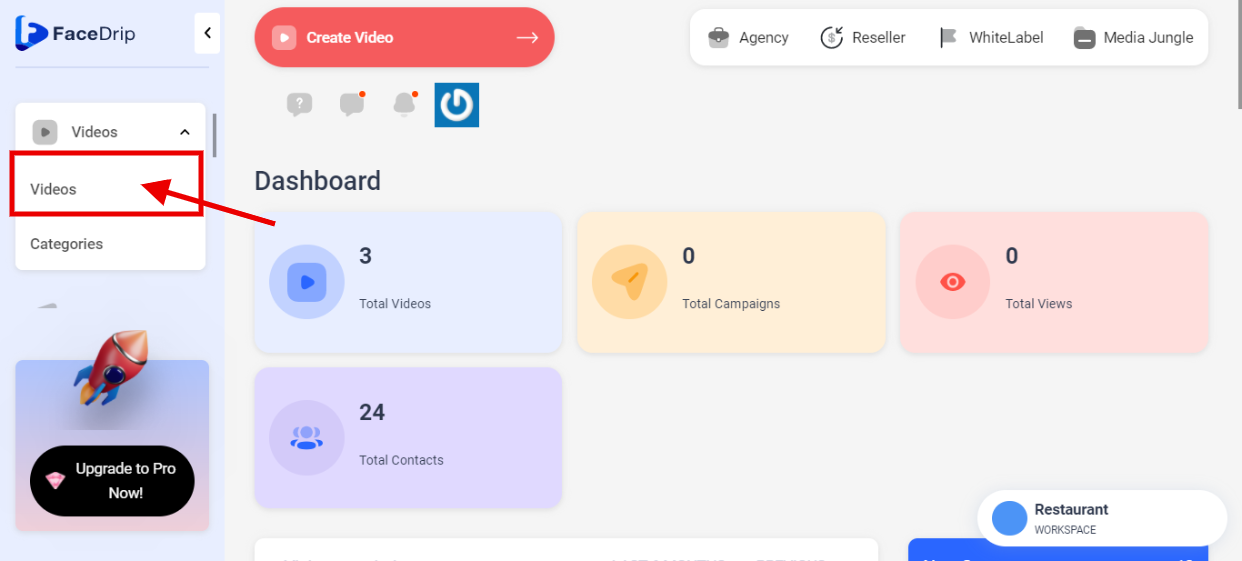
STEP 5: Select the “Video” menu from the drop-down on the left-hand side menu bar of your dashboard
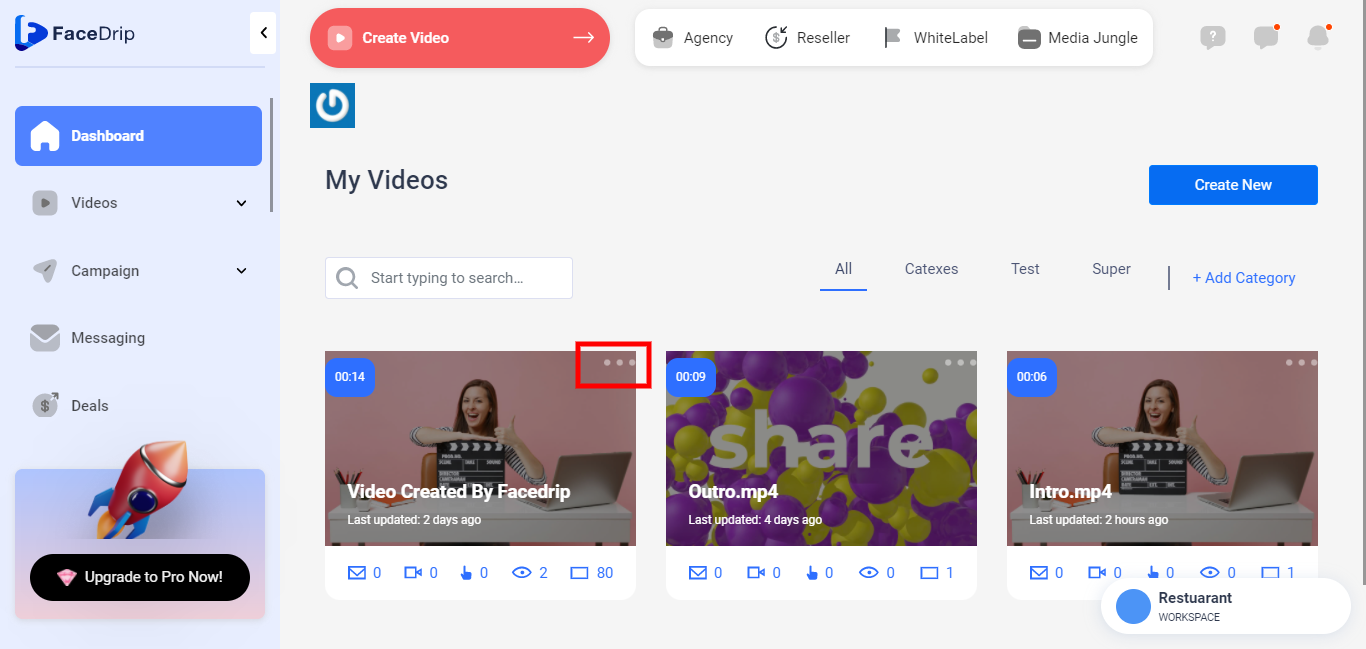
STEP 6: Select the video from the page and click on the three(3) dotted buttons on the video.
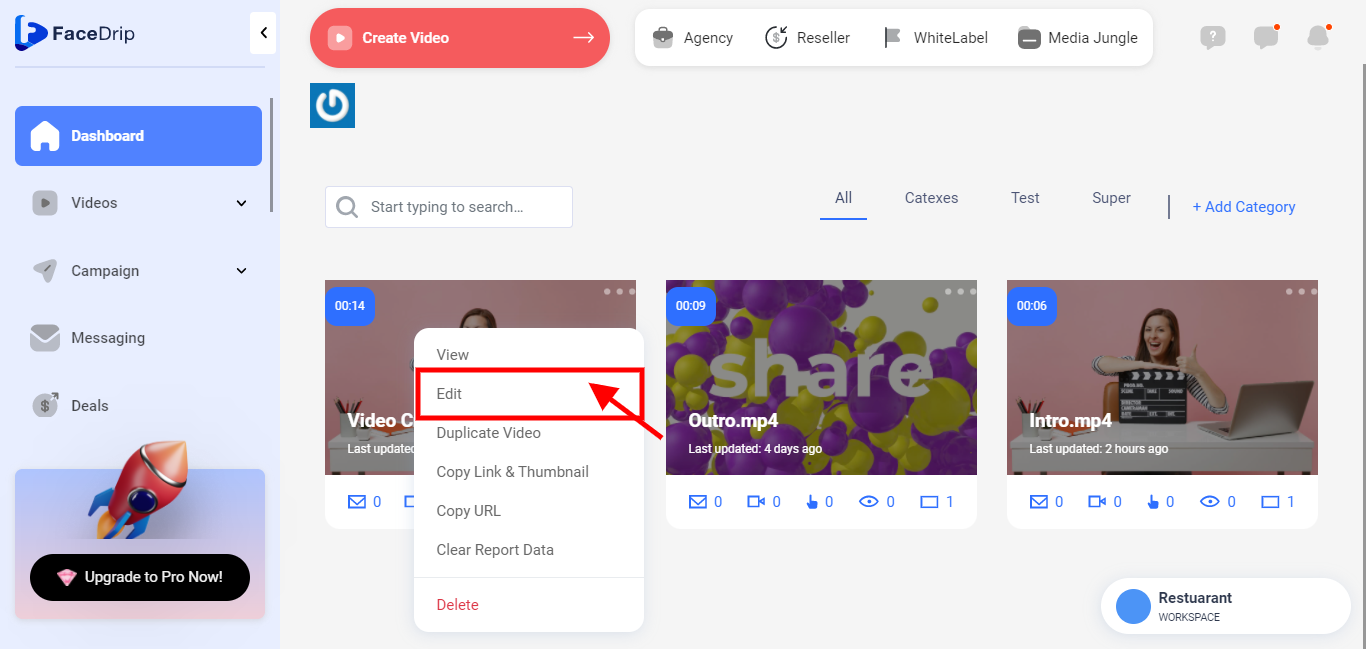
STEP 7: Select “EDIT” from the pop-up form.
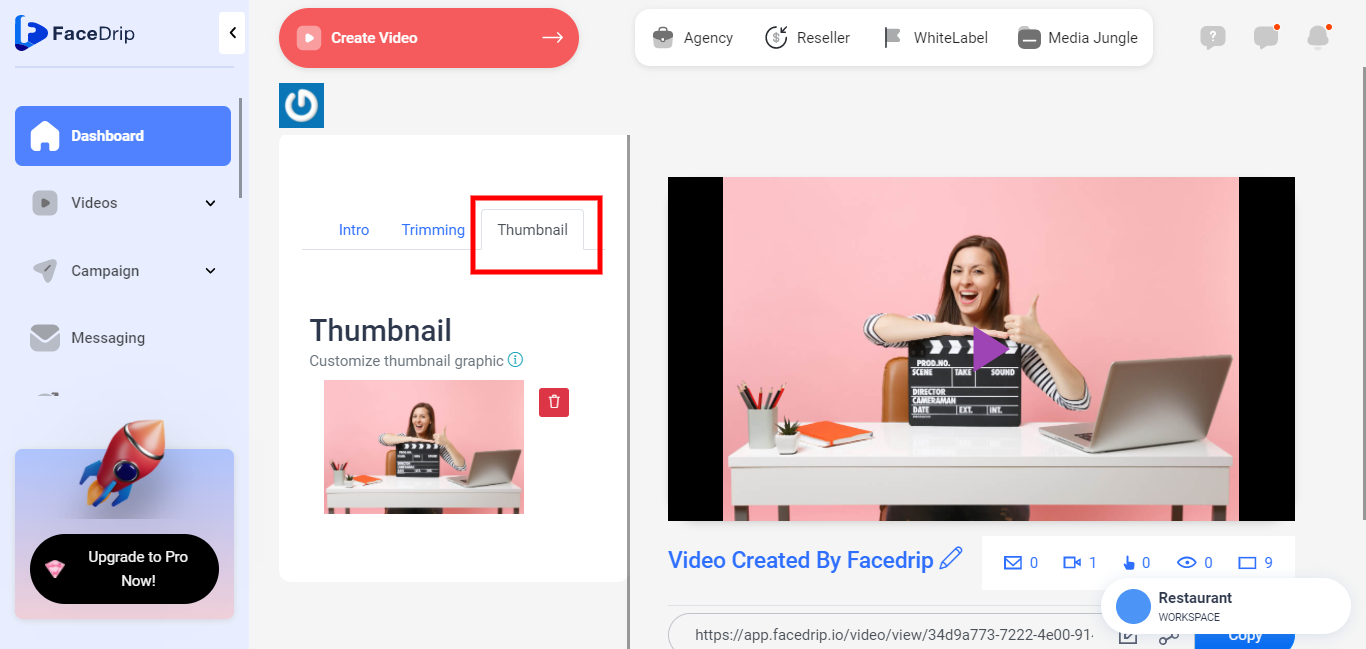
STEP 8: Click on “Thumbnail”.
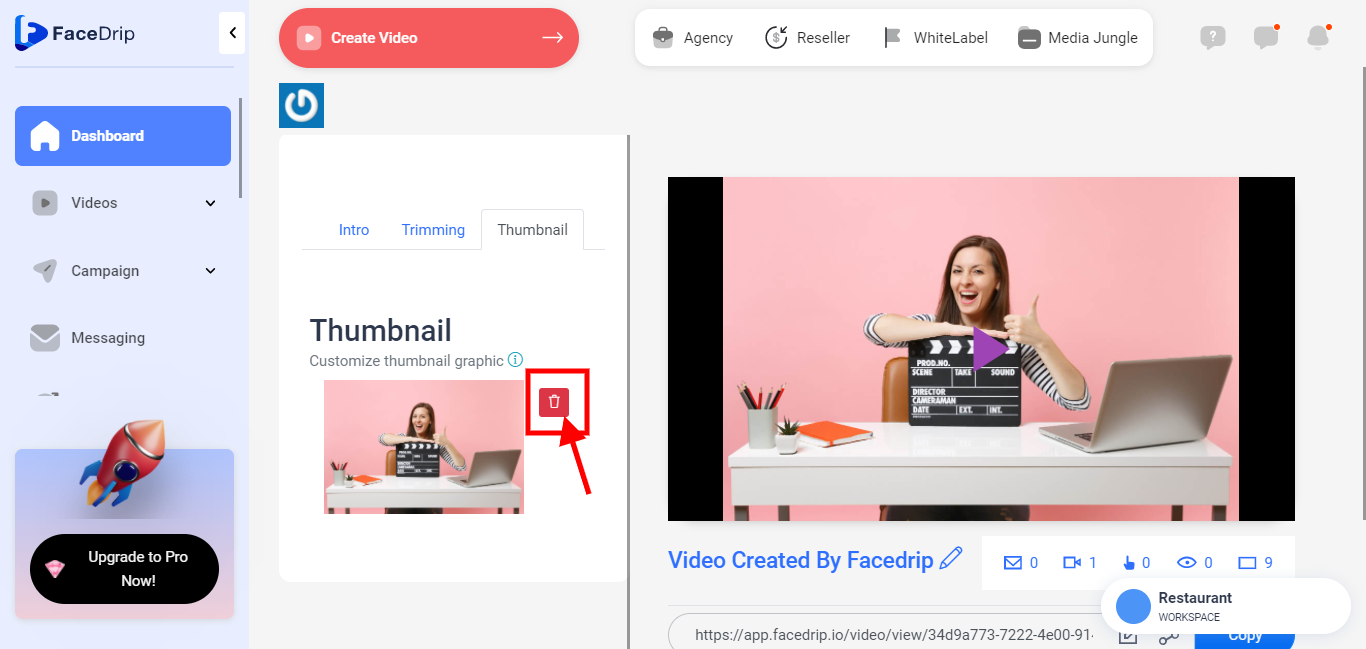
STEP 9: Click on the delete icon to delete the previous thumbnail which is by default the video so as to add your preferred thumbnail.
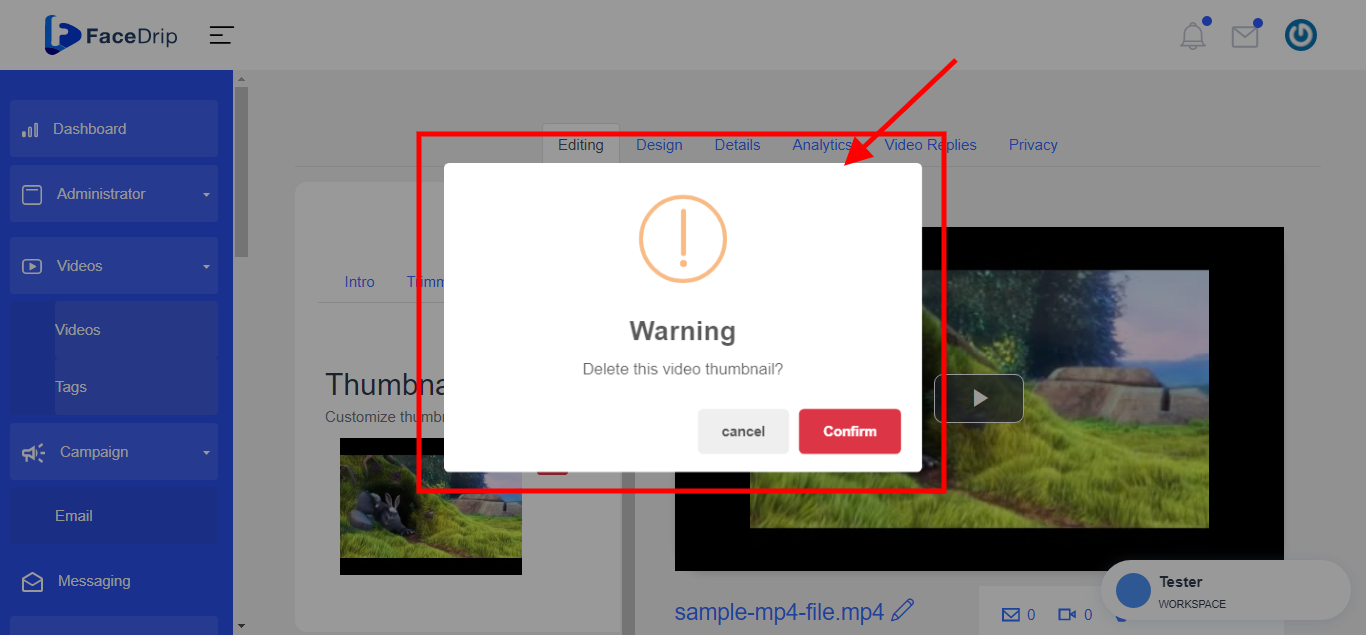
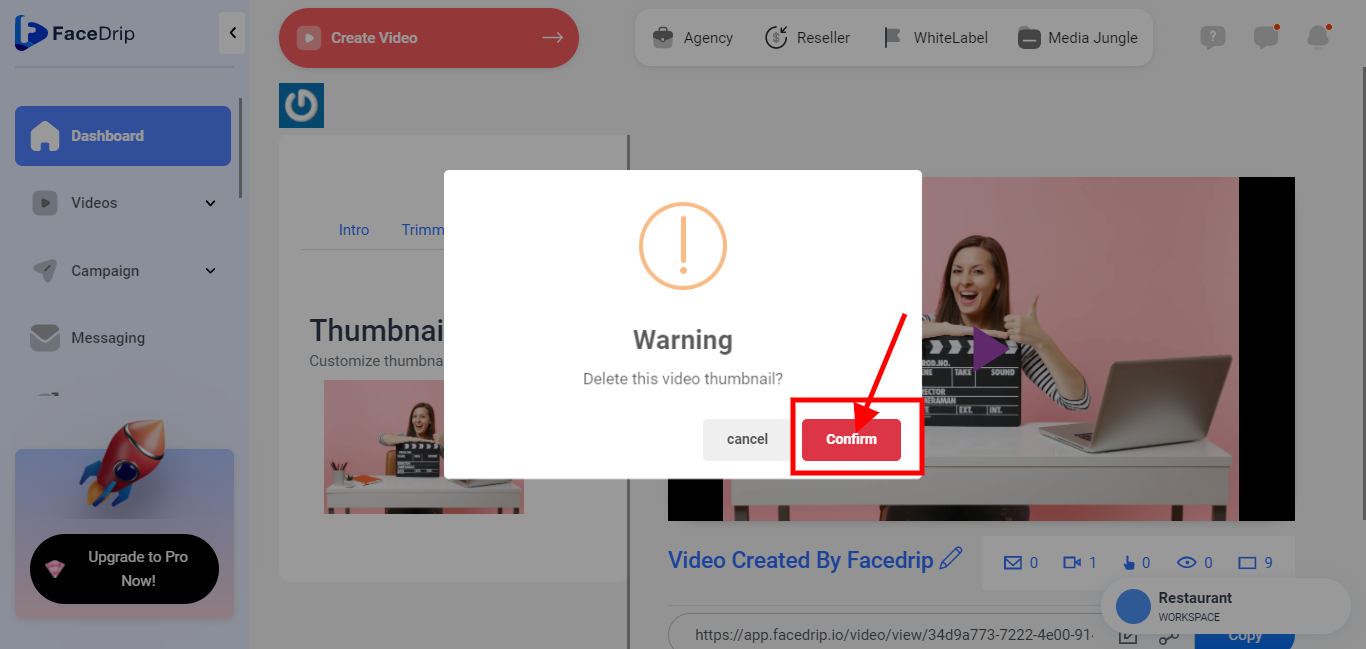
STEP10: You will see a pop-up form with the “Cancel or Delete” button. You either pick “Cancel” if you do not want to add a thumbnail and “Confirm” if you want to add a thumbnail. (but in this case, we want to add a thumbnail so we are selecting the “Confirm” button)
The “Confirm” button.
STEP 11: You will receive a pop-up success message.

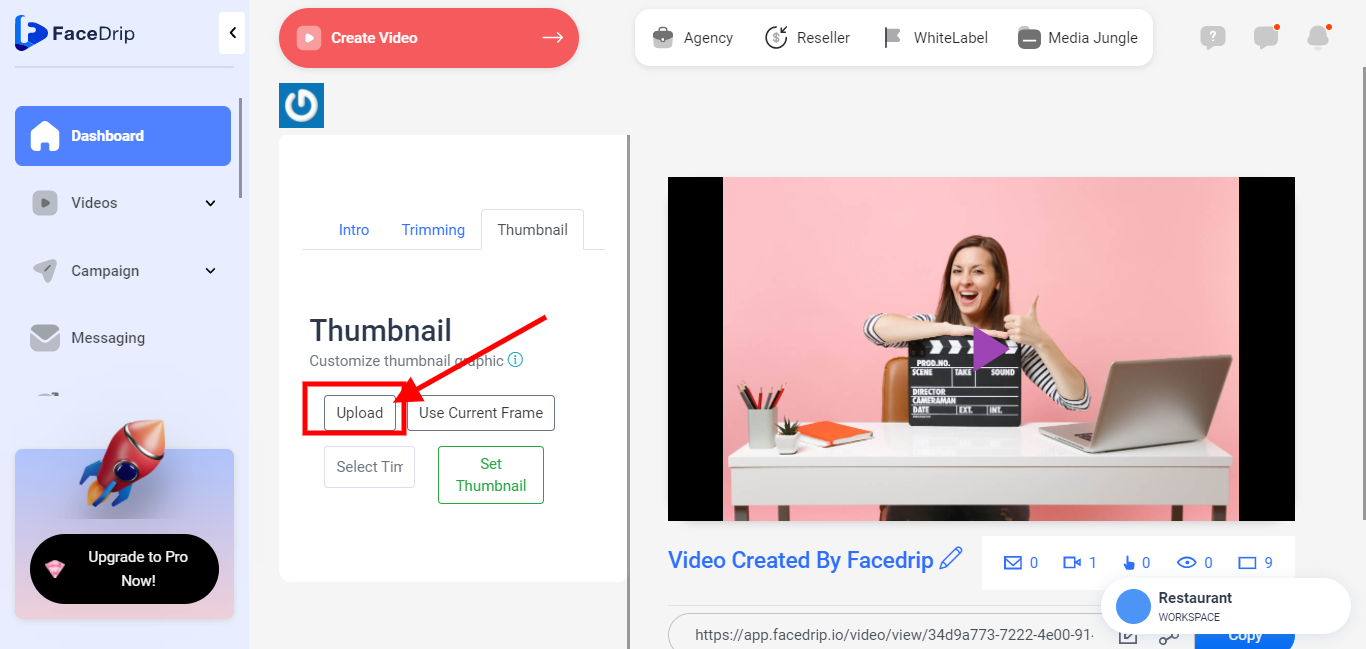
STEP 12: Now we are ready to upload a thumbnail.. Click on the “Upload” button to select an image from your PC.
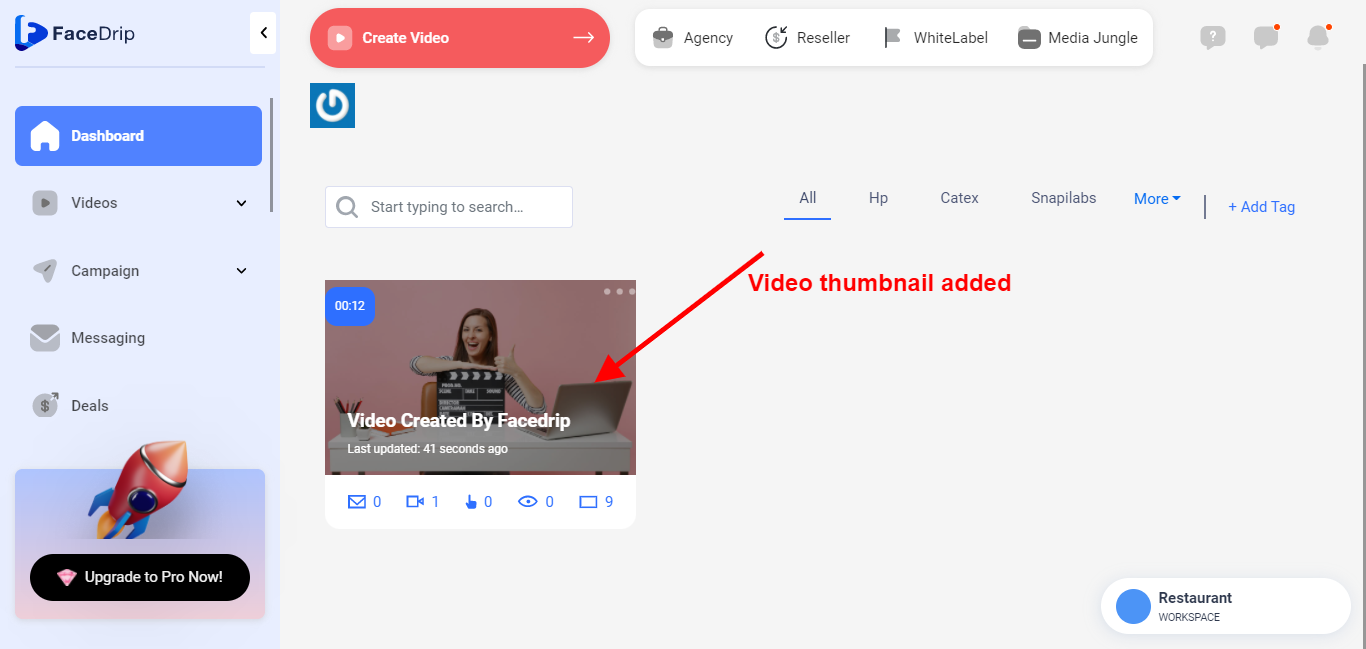
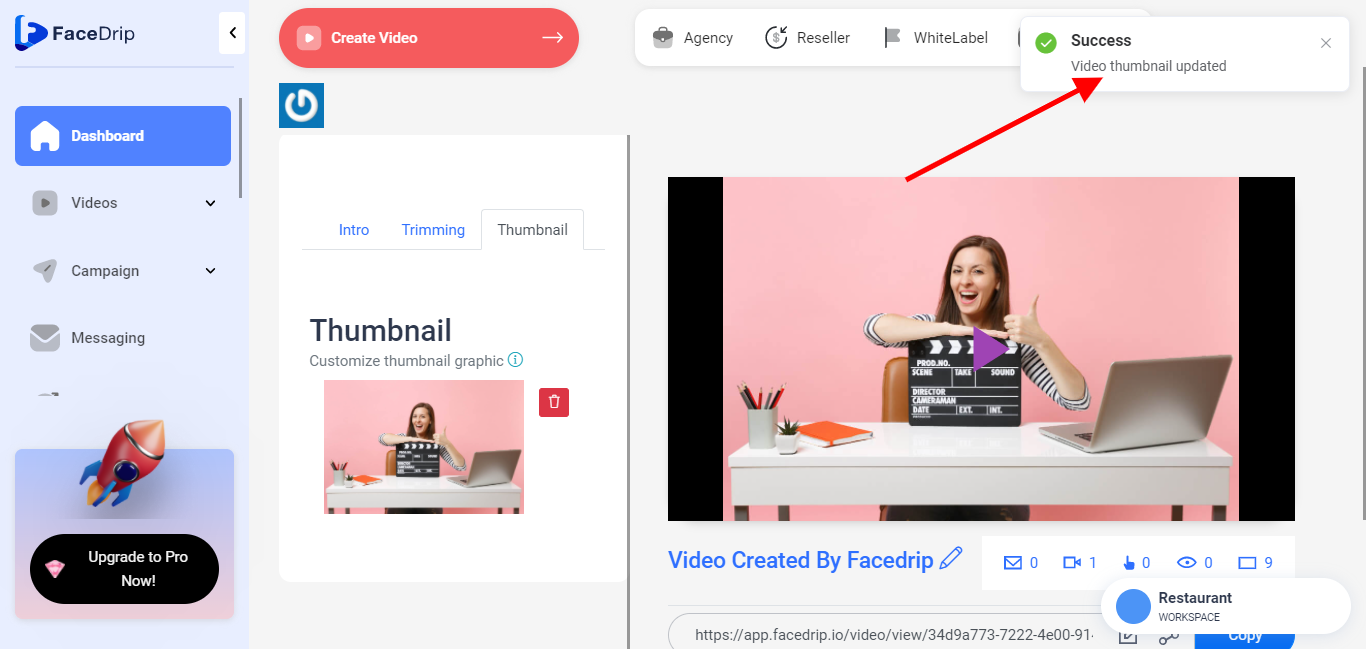
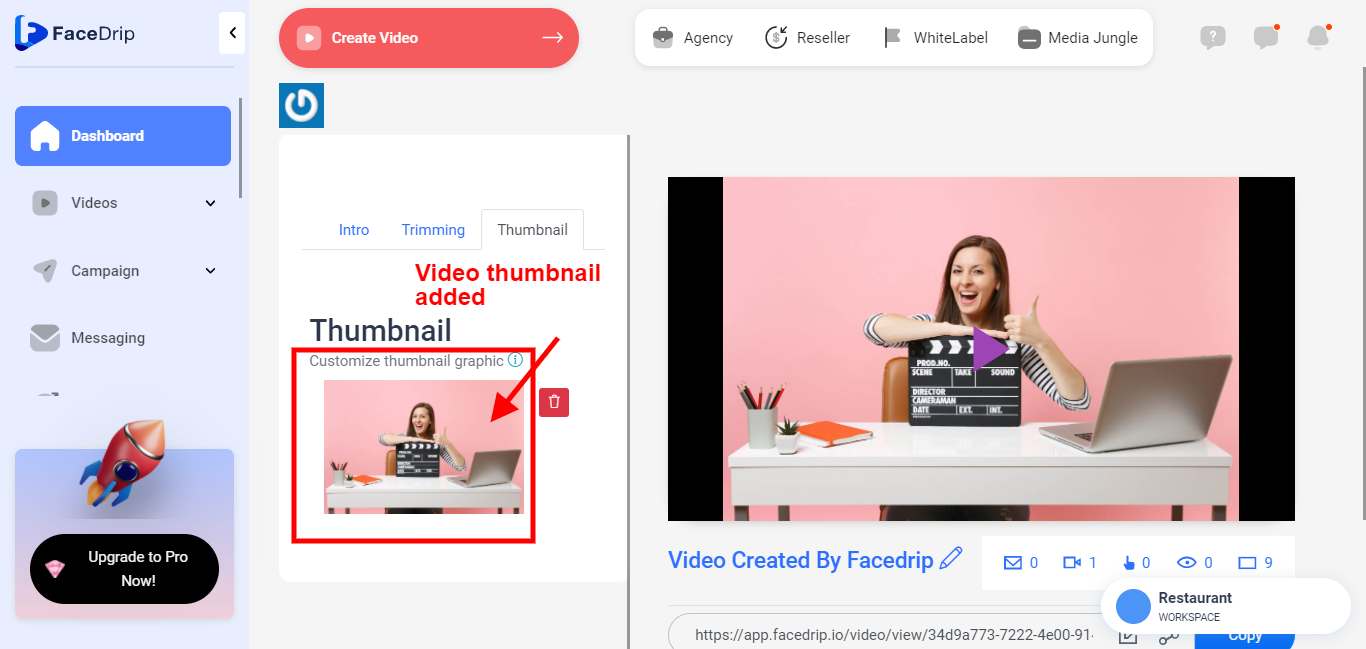
STEP 13: Video Thumbnail has been added successfully with a pop-up message.
STEP 14: You can now click on your video menu on the left-hand side menu bar of your dashboard to go back to your video page to see an added thumbnail.
N/B: Also note that if you prefer using a part of your video as a thumbnail, that is achievable. All you need to do is, first click on the play button on your video to play video.

while your video is playing you click on the “Use current frame” button.
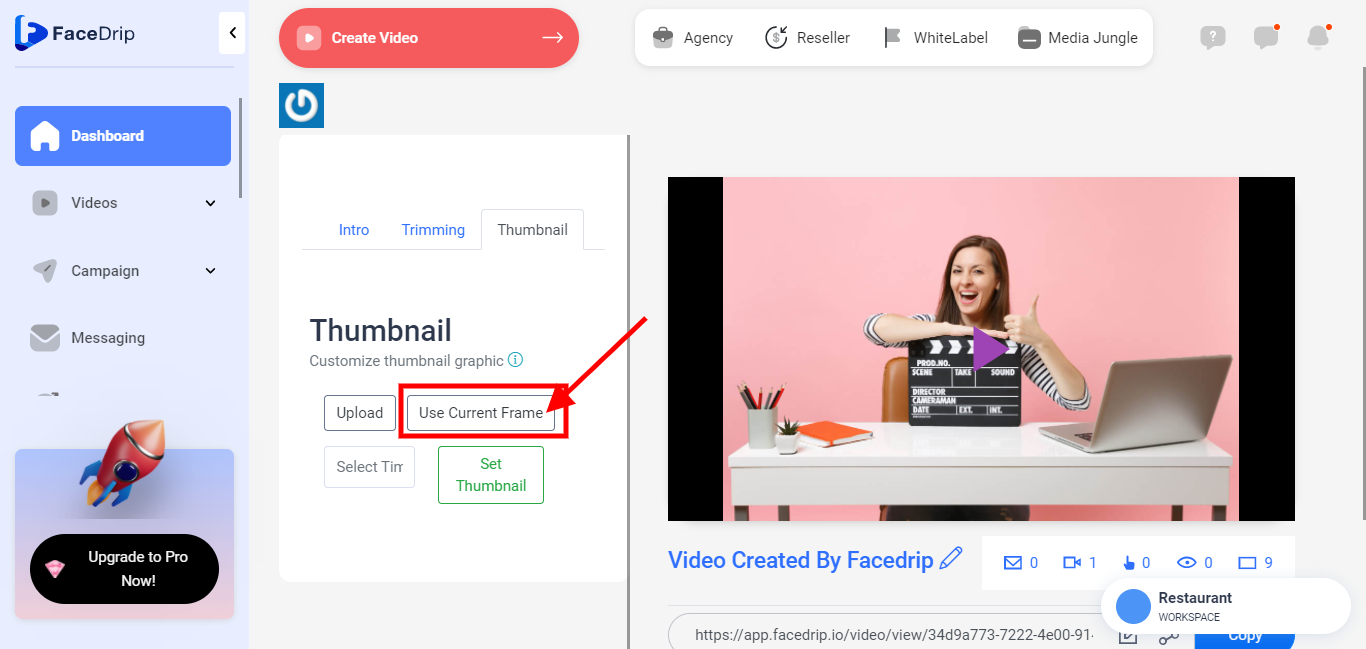
Click on the time box to set the time frame. You either set your time frame manually or it automatically sets by itself.
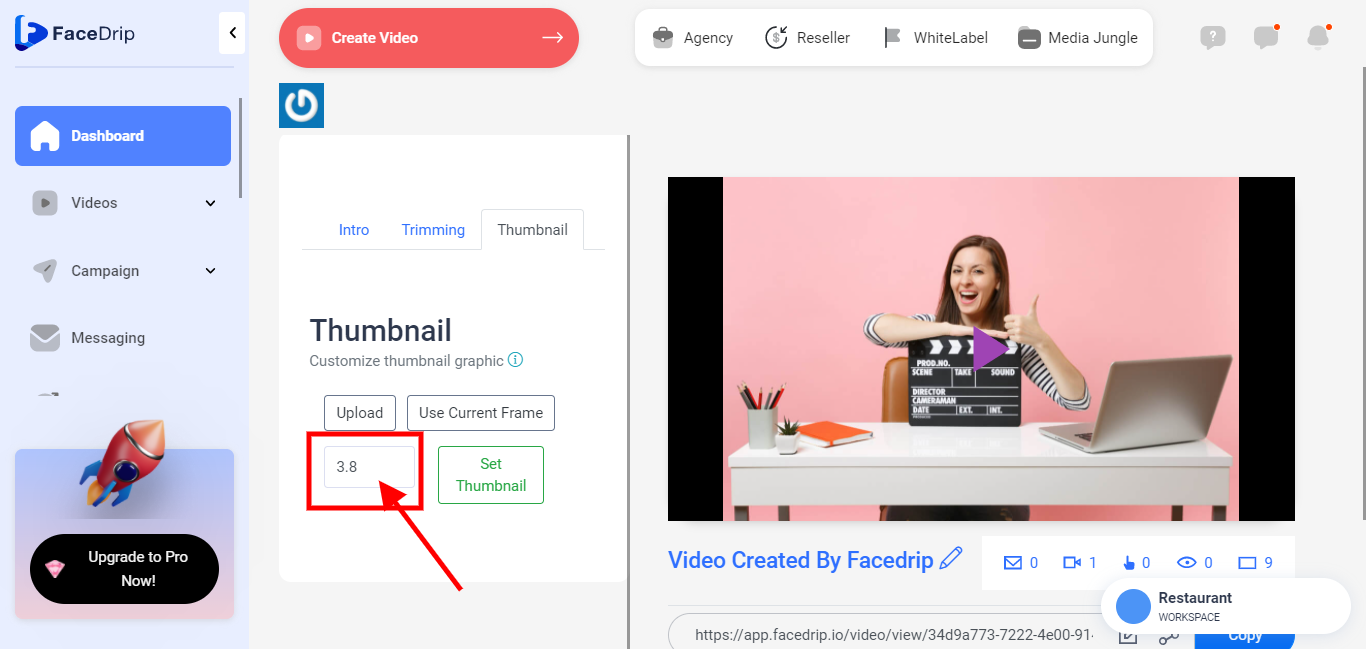
After which you click on the “Set Thumbnail” to allow changes to take effect.

You will also get a success message.
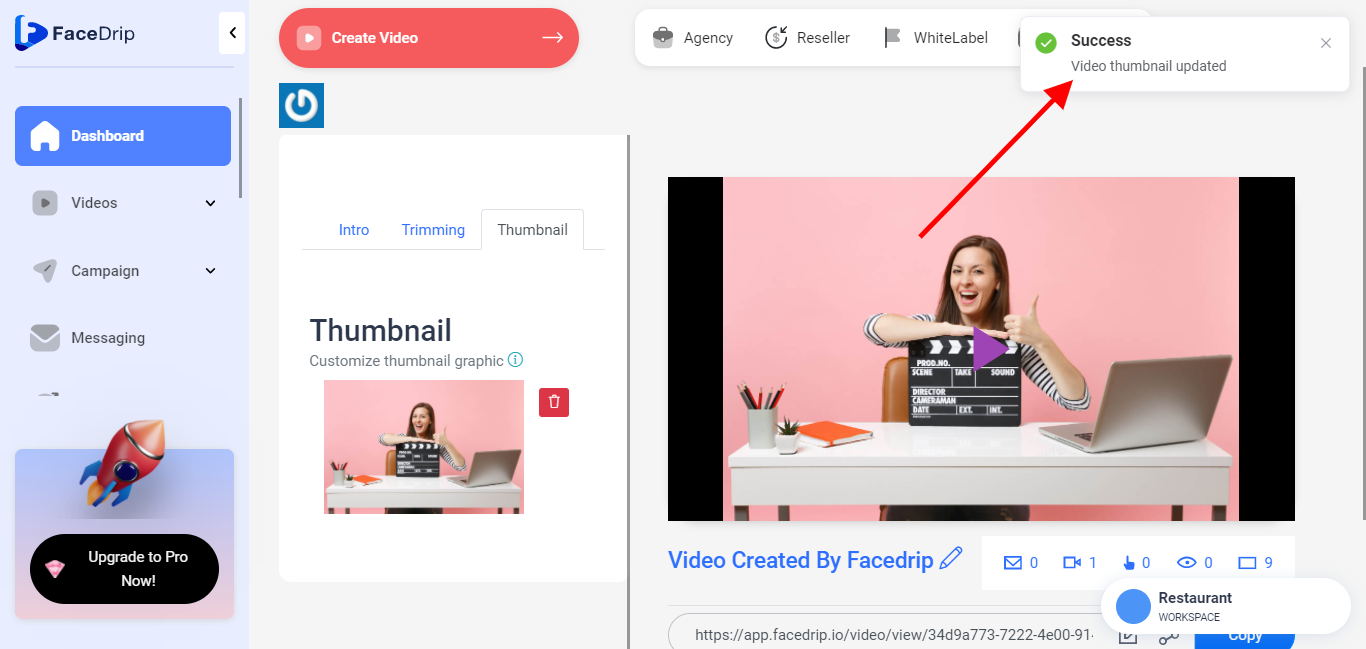
You can now click on your video menu on the left-hand side menu bar of your dashboard to go back to your video page to see an added thumbnail.