You can add a video as a widget to a page with these instructions however you need a workspace to copy a particular video widget code.
Getting Started On How To Add Video As Widget To A Page
Log in to your Facedrip account.
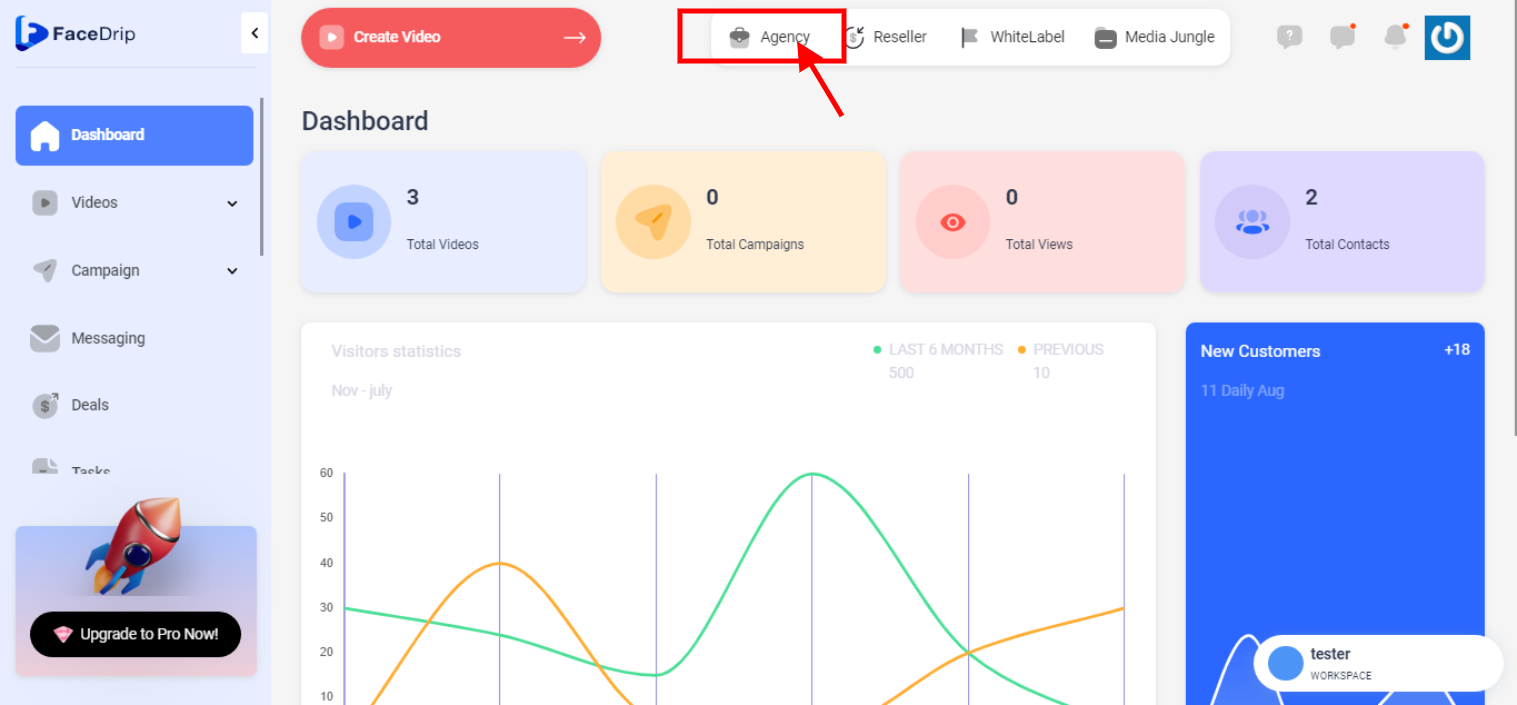
STEP 1: Click on the “agency”
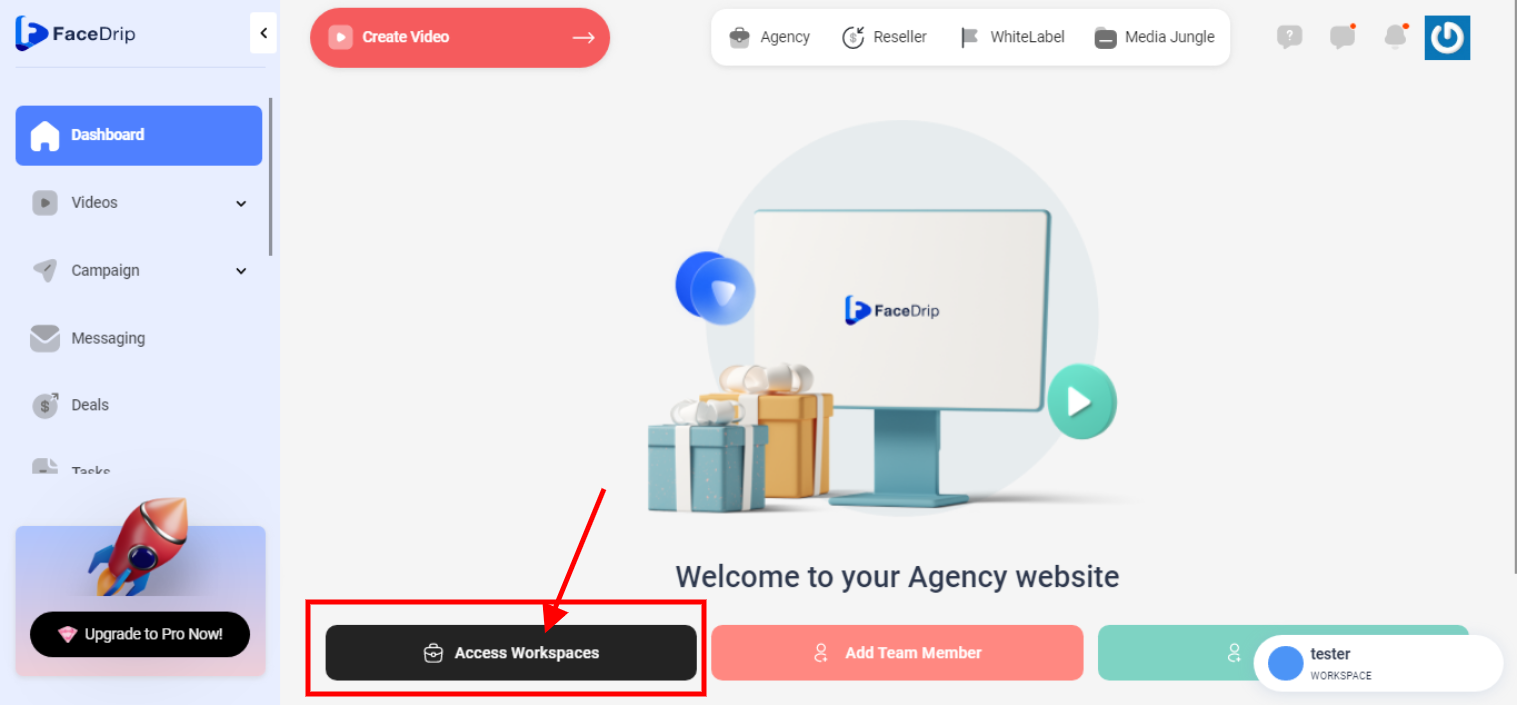
STEP 2: Click on “workspace”
STEP 3: Choose the workspace you want to add video as widget from and click the “activate workspace” button. (follow this link on How To Create New Workspace)
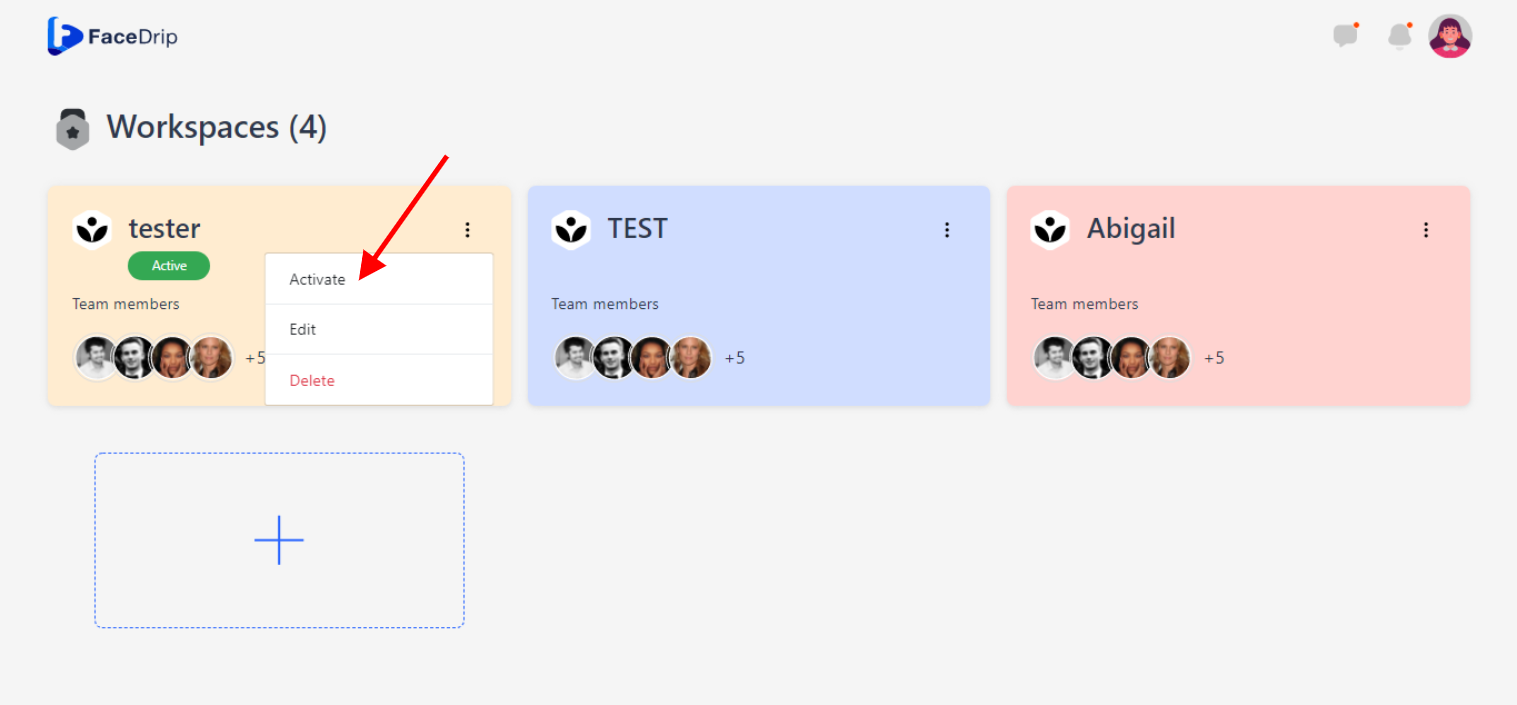
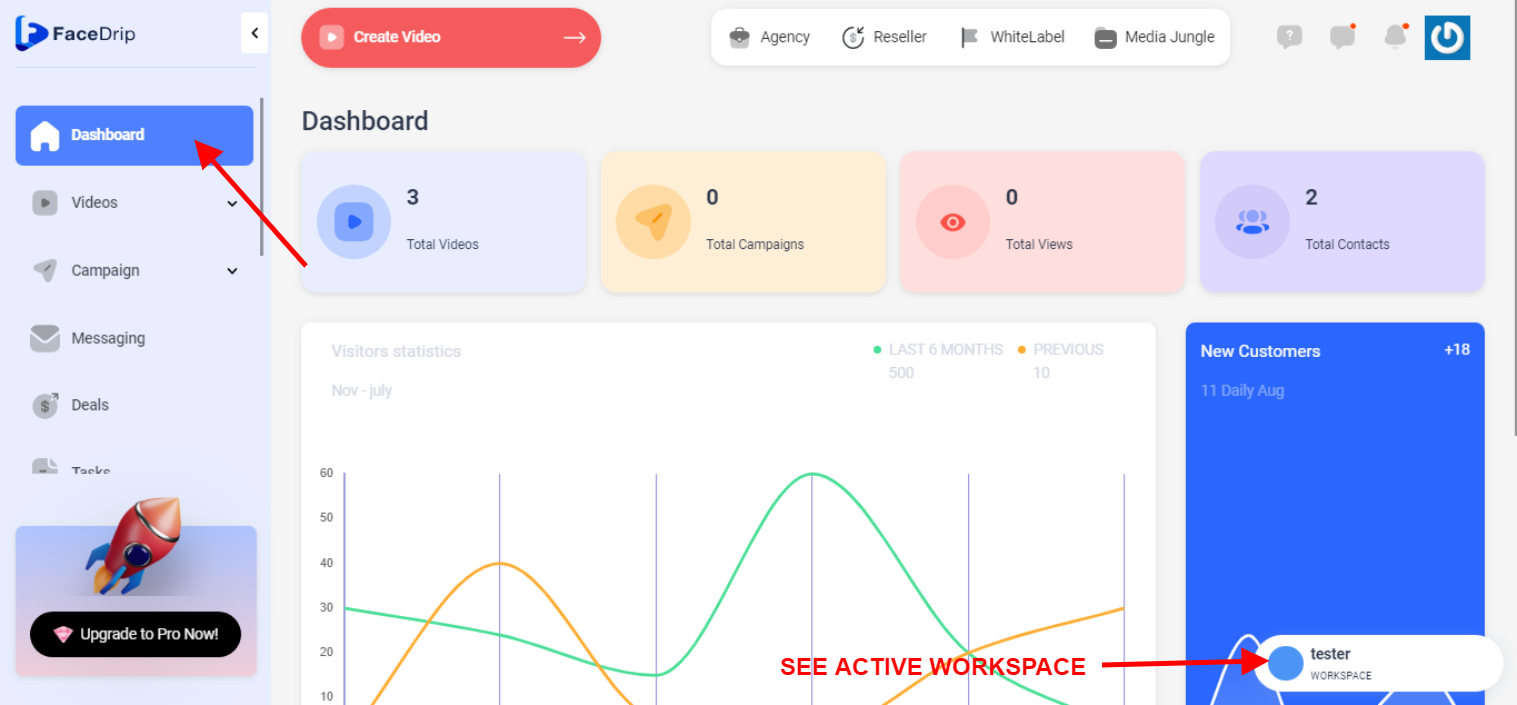
Your workspace will be activated successfully! (PS: Go back to your dashboard module to see the active workspace).
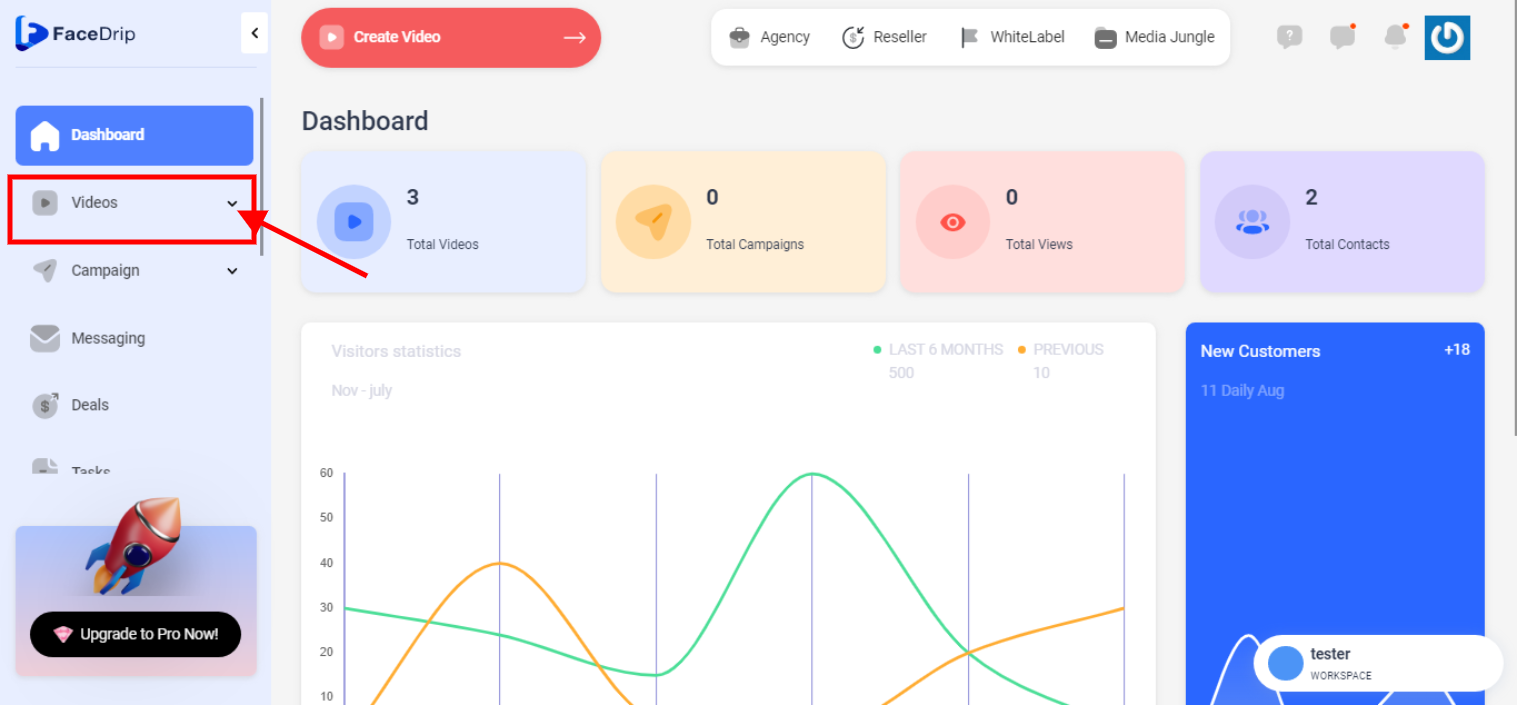
STEP 4: Click on the “videos” menu on the left-hand side menu bar of your dashboard
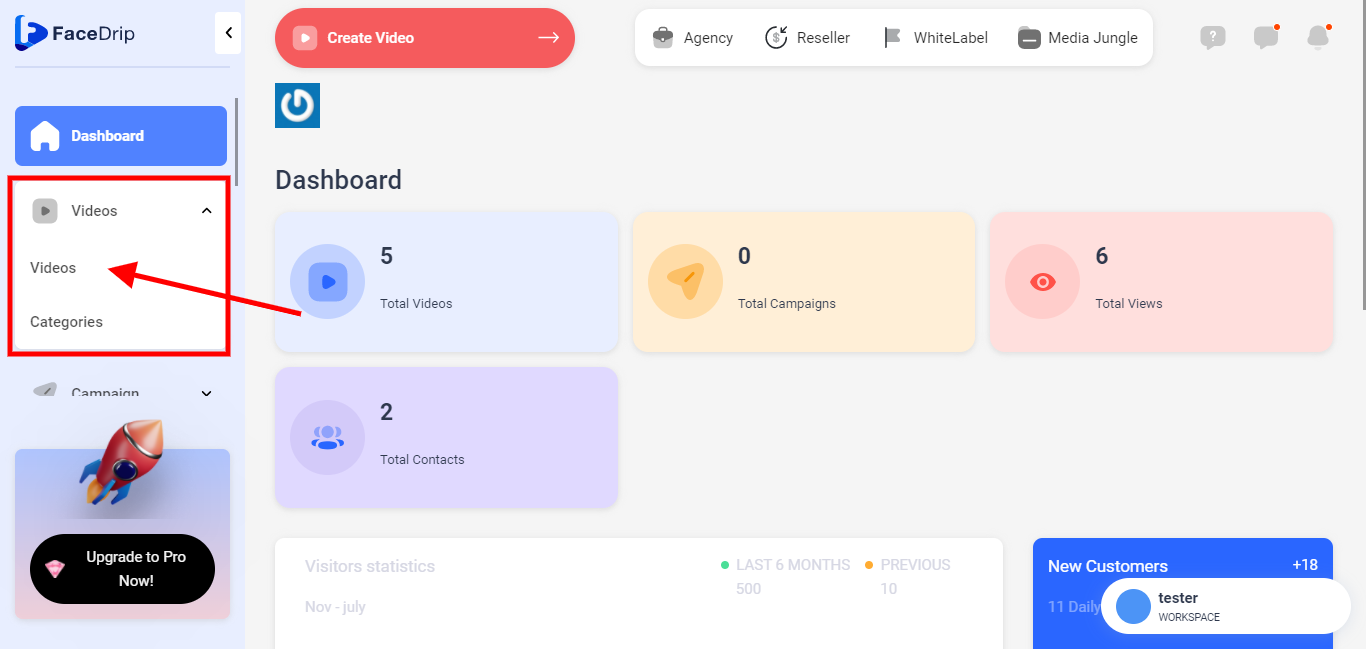
STEP 5: Click on “videos“ in the drop-down option.
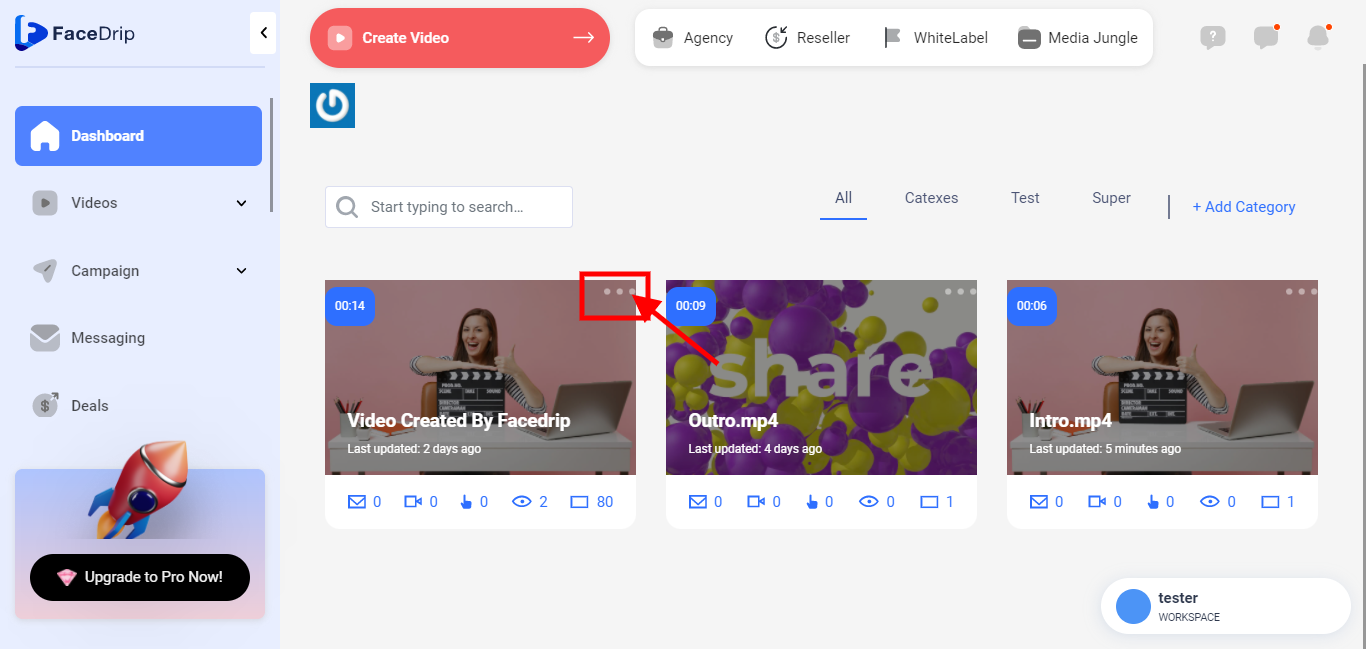
STEP 6: Go to your preferred video and click on the “grey toggle dropdown” on your video
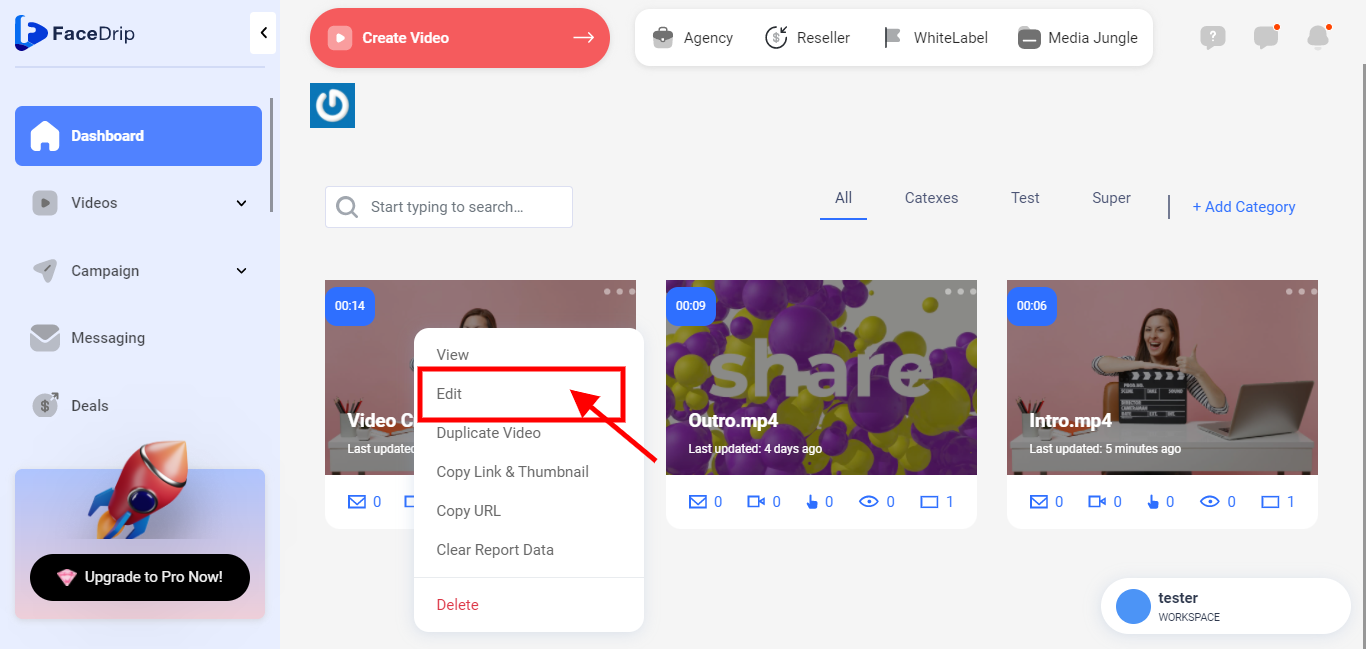
STEP 7: Click on “edit” in the dropdown menu as shown below in the screenshot.(follow this link on How To Upload Video)
STEP 8: Upon clicking “edit” from the dropdown menu, you would be redirected to the page below, then scroll down and click on the “Details Tab”.
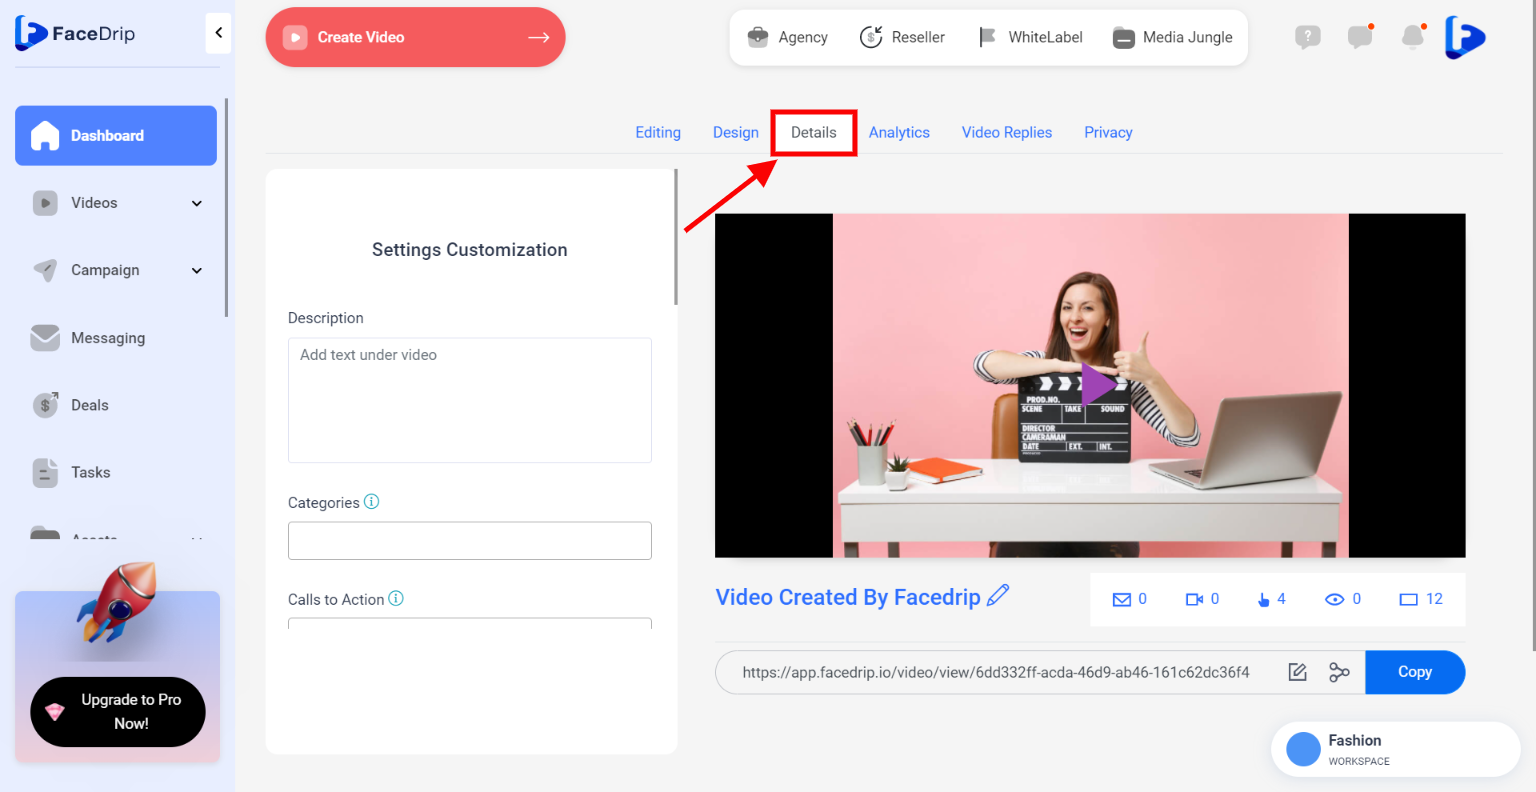
STEP 9: In the details tab, scroll down to the “Embed CTA” section where you will find the options which allows you to make your video interactive such as;
(a Form CTA: This option when selected allows you to add an interactive form to a video (Kindly follow the link on how to create an embed form)
(b Buy Button CTA: This option when selected allows you to add an interactive buy button to a video (Kindly follow the link on how to create url cta type)
(c Calendar CTA: This option when selected allows you to add an interactive calendar button to a video (Kindly follow the link on how to create calendar cta type)
(d Chat CTA: This option when selected allows you to add an interactive chat button to a video (Kindly follow the link on how to create chat cta type)

STEP 10: You can select any of the embed CTA options however for this tutorial purpose we will use the “Form CTA“.
To enable the “Form CTA” option, click on the toggle button, select already created form from the drop down and click the blue “update button”
Kindly follow the link on how to create an embed form

STEP 11: Click on the “share icon” below the video to add video as widget to a page.
![]()
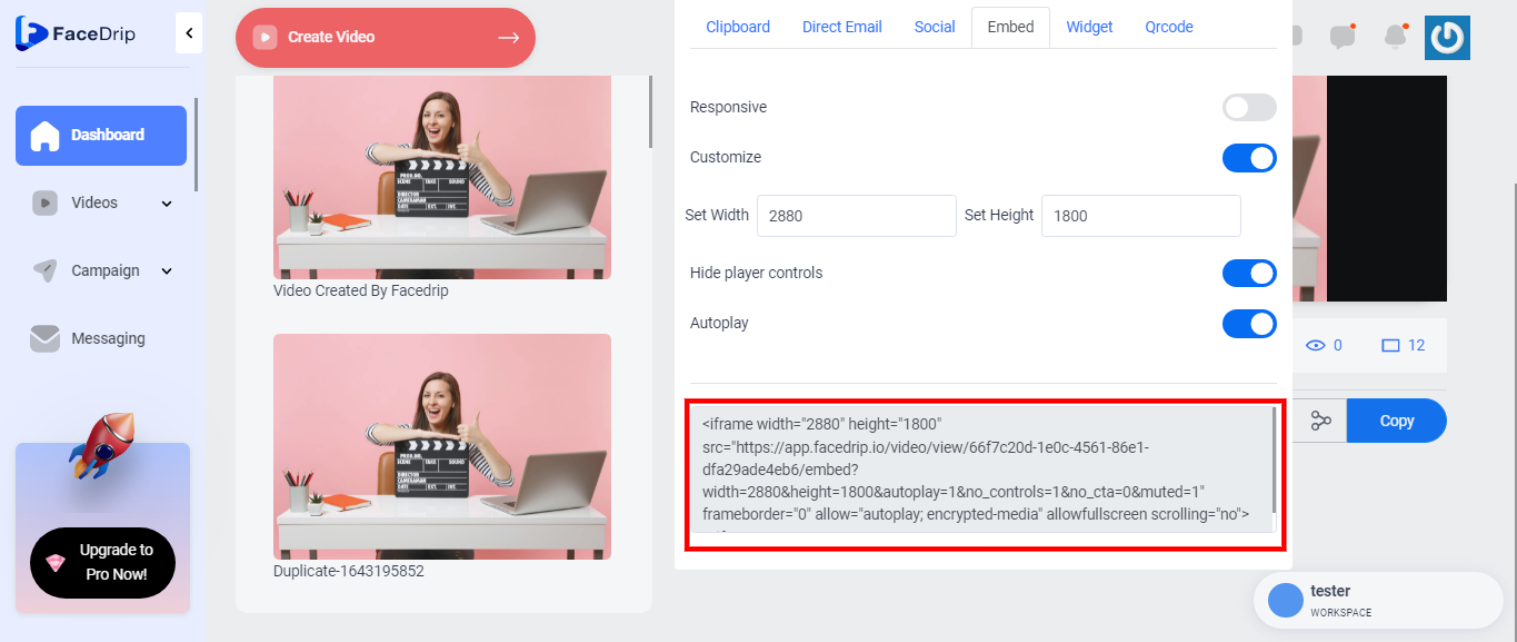
STEP 12: Upon clicking the “share icon” as shown above, you would see a pop up then click on the “widget” tab.
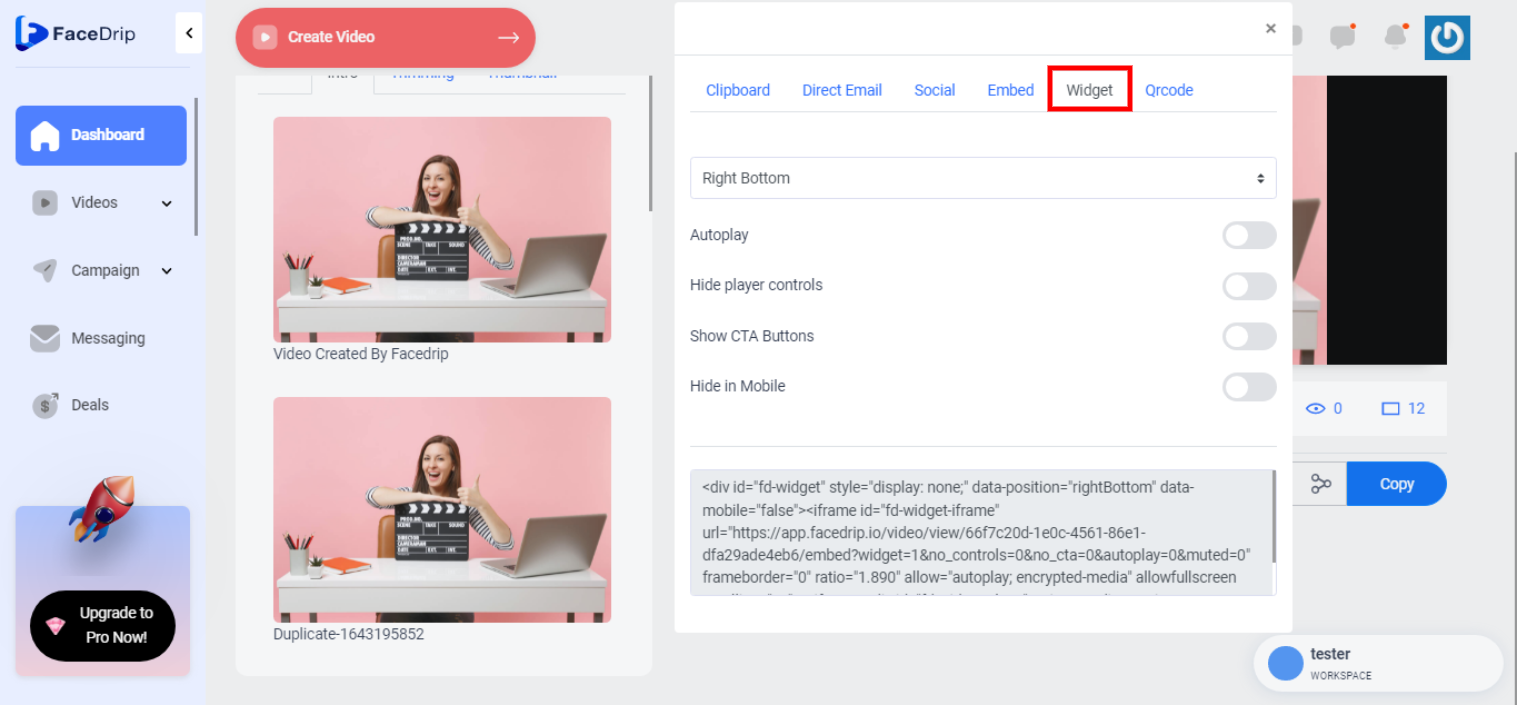
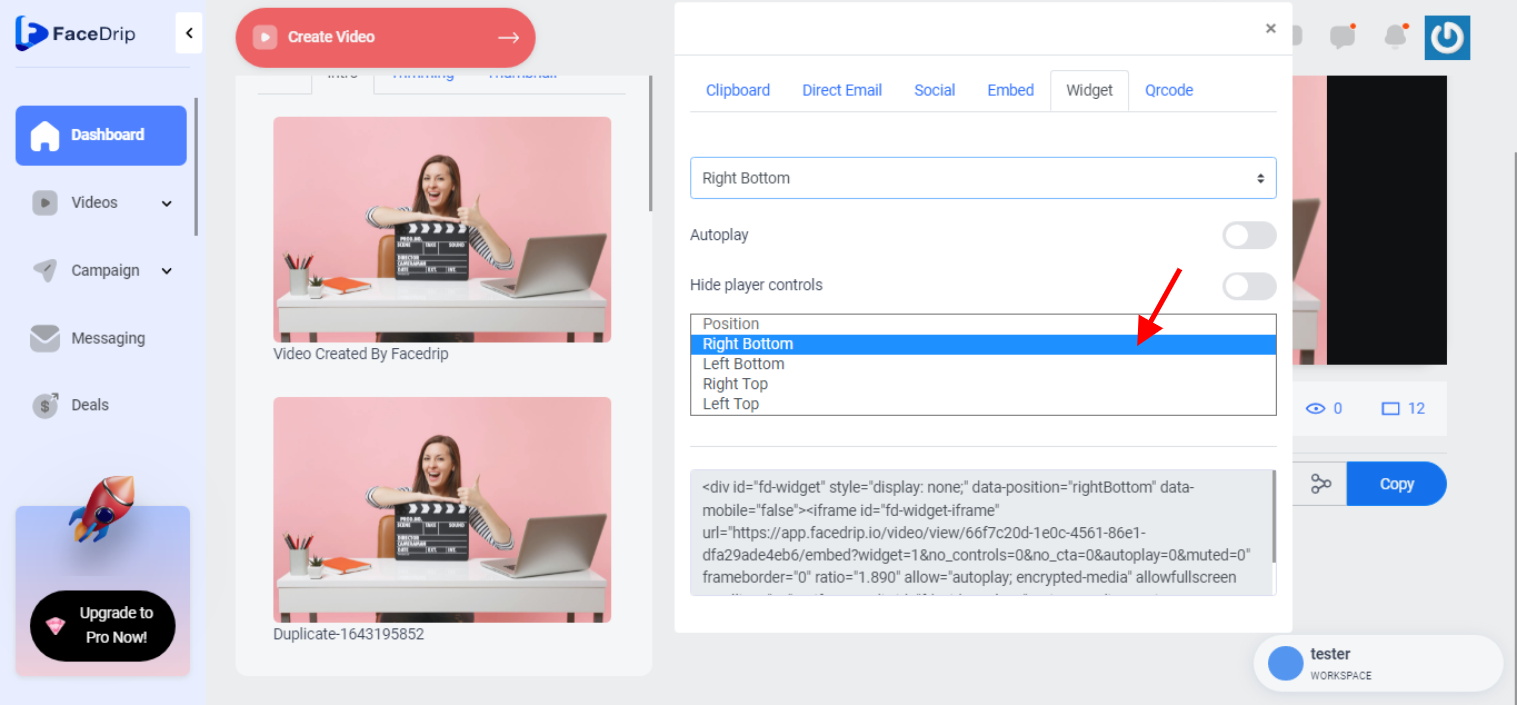
Click on the “position field” to select your desired widget position for the video you want to add to a page.
Click on the “toggle button” to turn other options on or off as desired for your video widget.
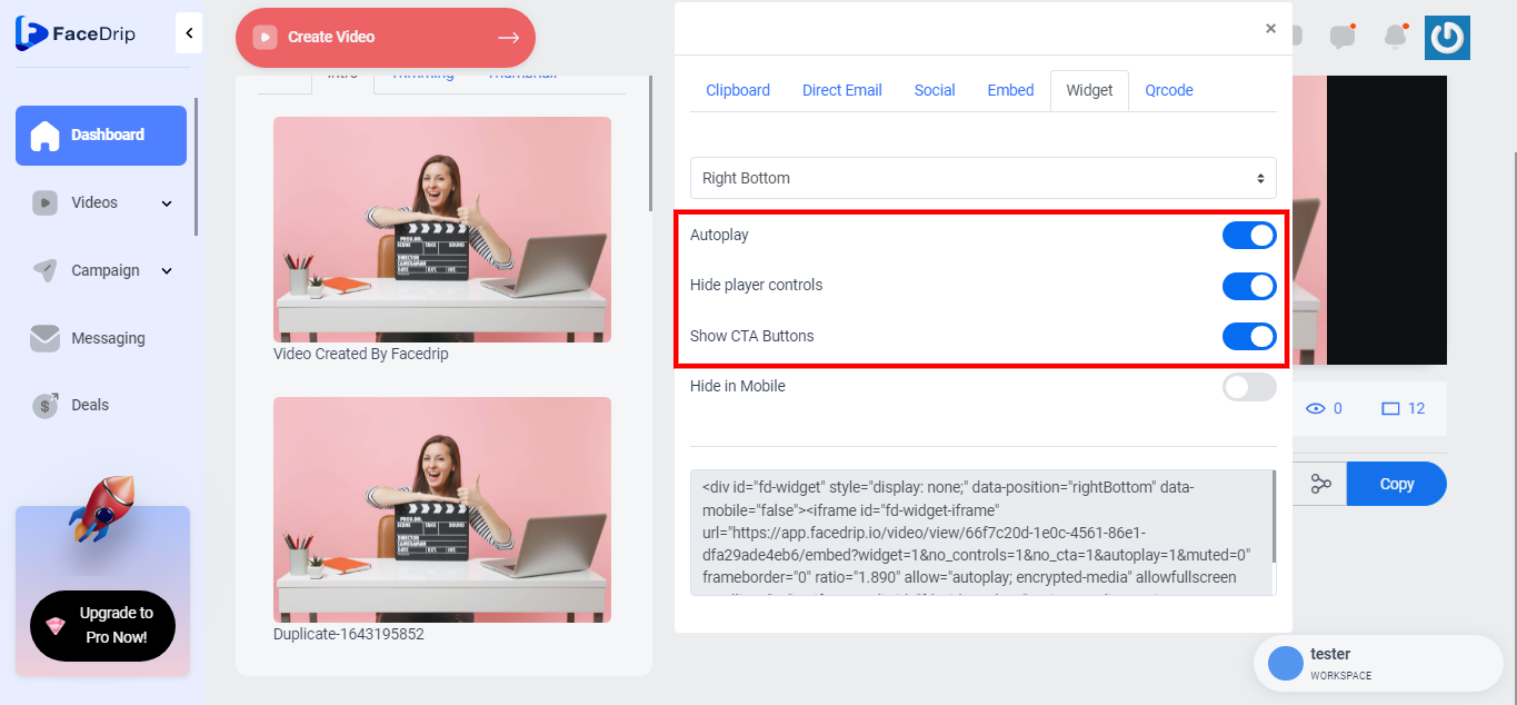
STEP 13: Click on the “html field” to “copy” the widget code as shown below.
To be able to paste the code in the html widget in elementor page builder “to add video as a widget” kindly follow the instructions below ( We would be using a page in WordPress built with elementor for this example to paste the “html code” in the “html widget”.)
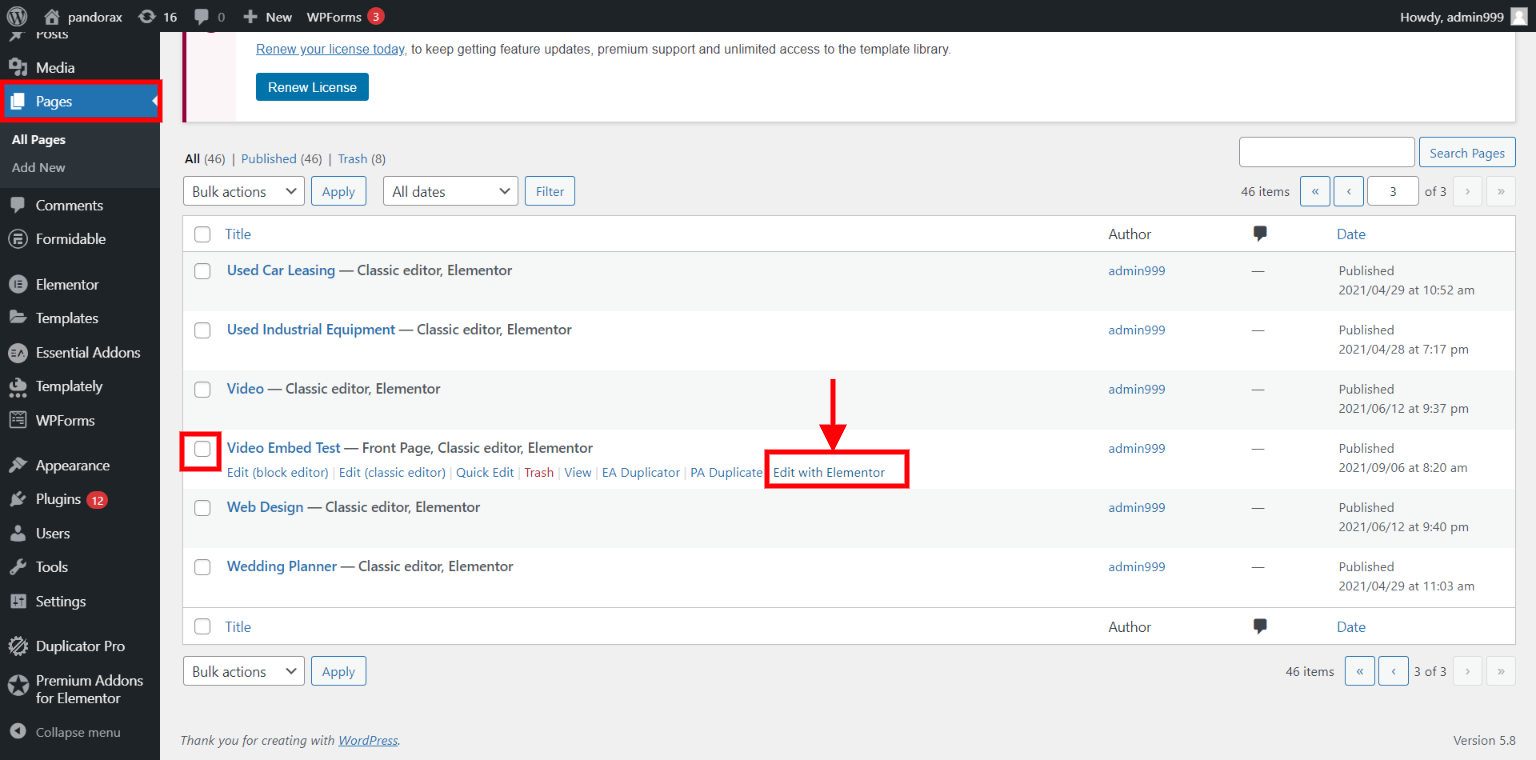
STEP 14: Click on “pages” in your “wordpress dashboard” then hover on the particular page you want to edit and click on “edit with elementor” option.
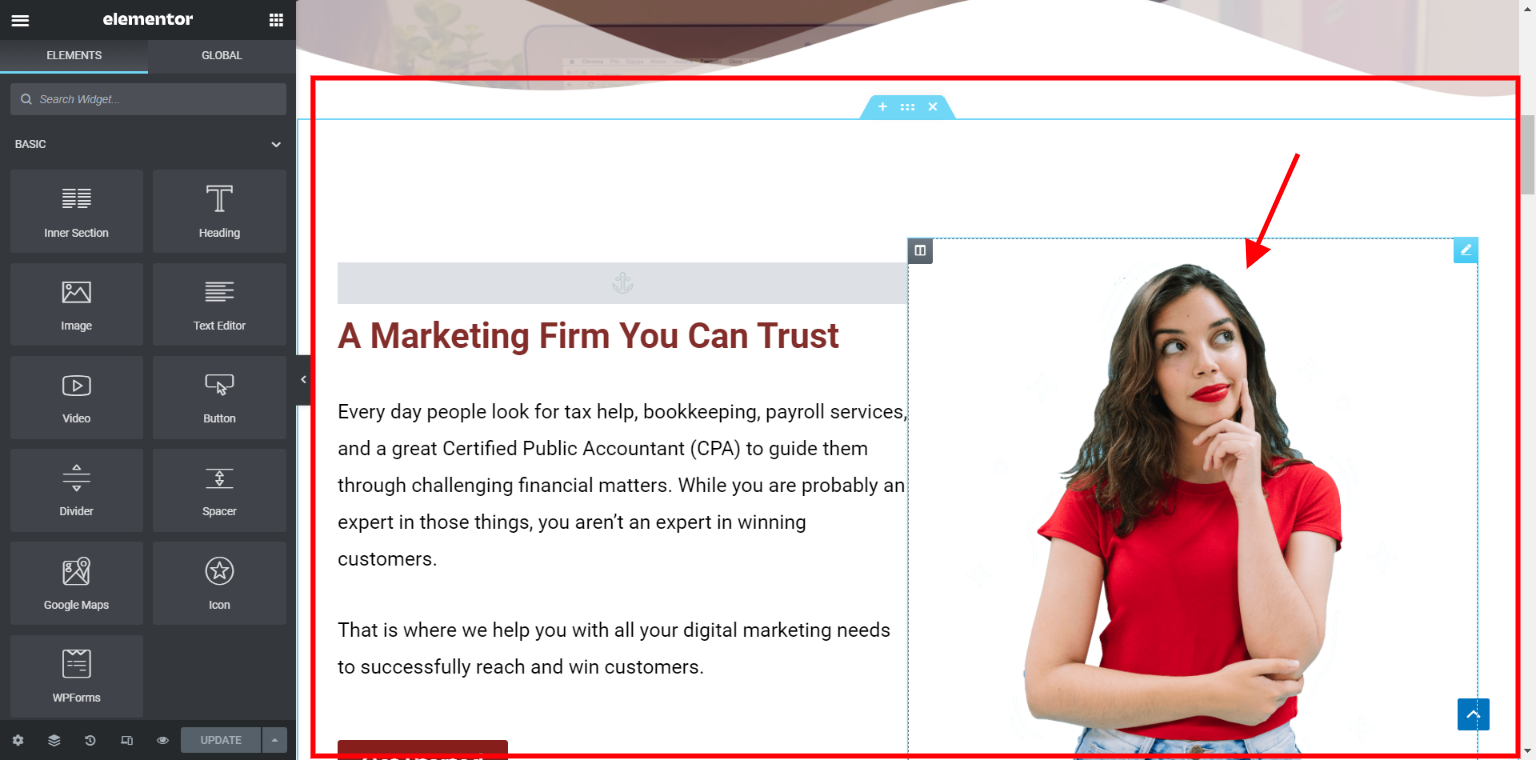
After clicking on “edit with elementor” in your “wordpress dashboard” you would be see your page in edit mode as shown below.

STEP 15: Hover on the particular “section or column” in the page that you would want to paste the html code to be able to add a video as a widget.
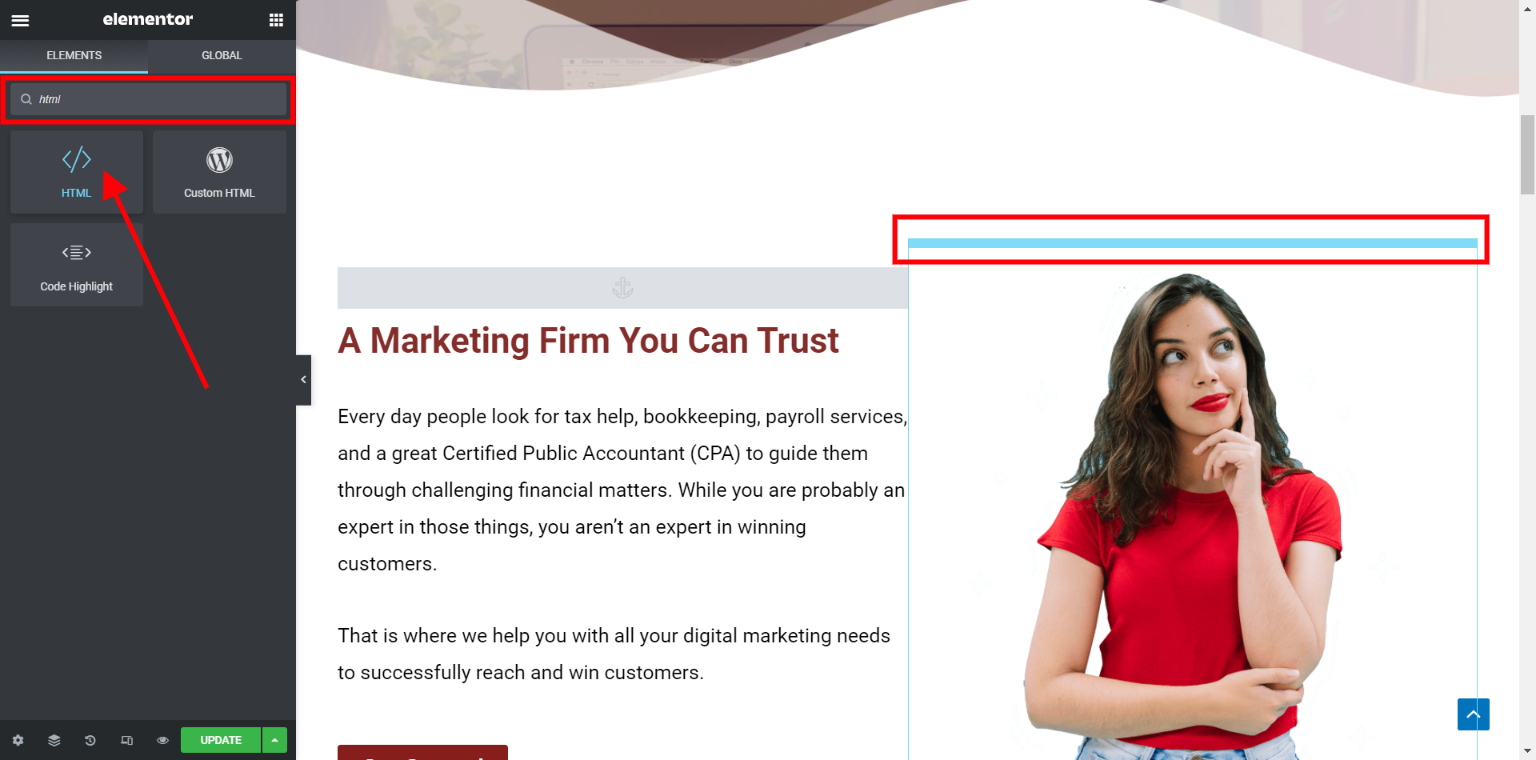
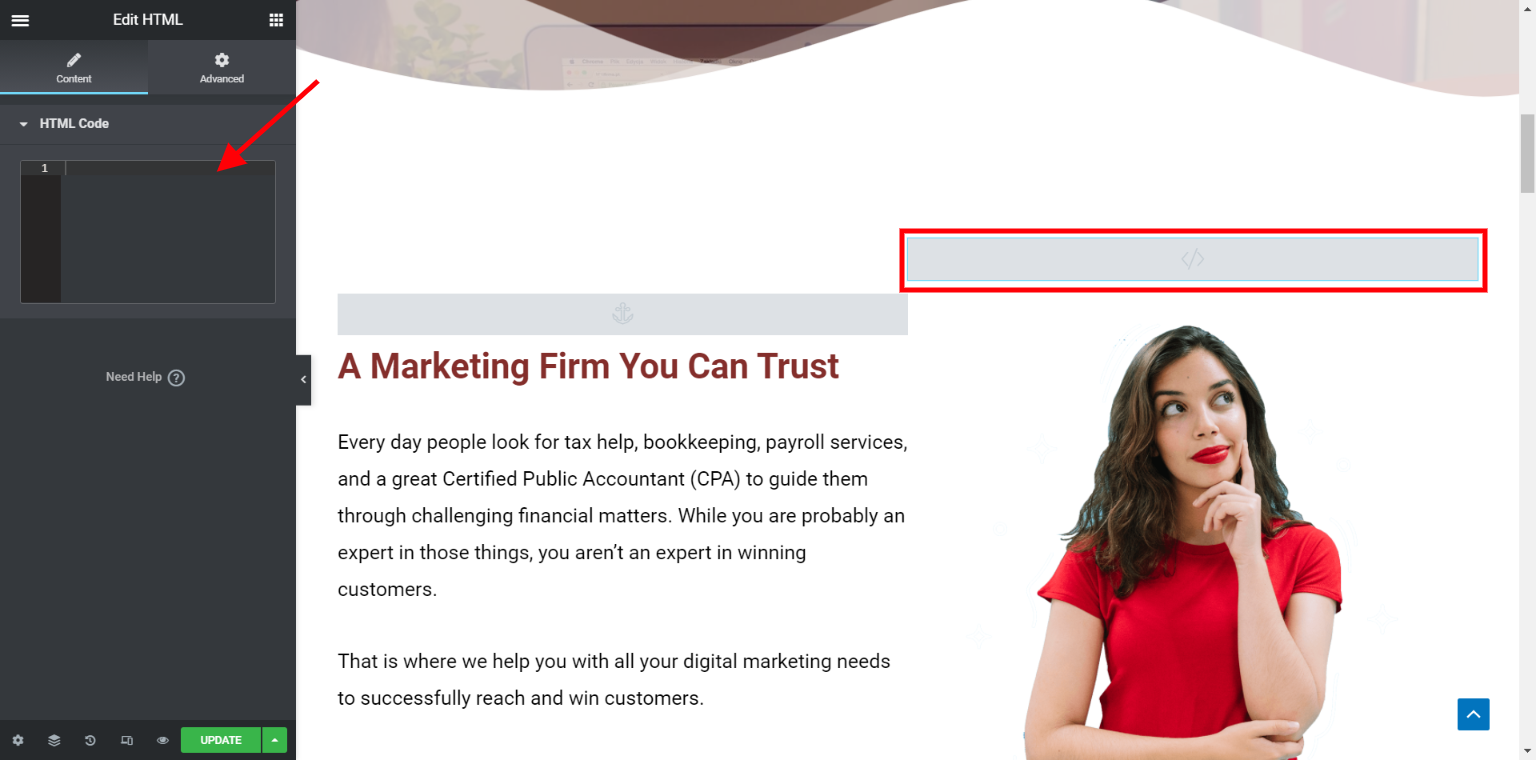
Search for “html” in the widget search bar, click on the “html widget” and drag to the particular “section or column” that you would want to add your video as widget in.
STEP 16: Paste the “html video widget code” in the code editor as shown below and update. (Kindly check “Step 8” in this article to see how to copy the “html video widget code”.)
P.S Please kindly paste the “html widget tag” copied from your facedrip widget tab to your “code” perhaps you are not using wordpress to build your website.
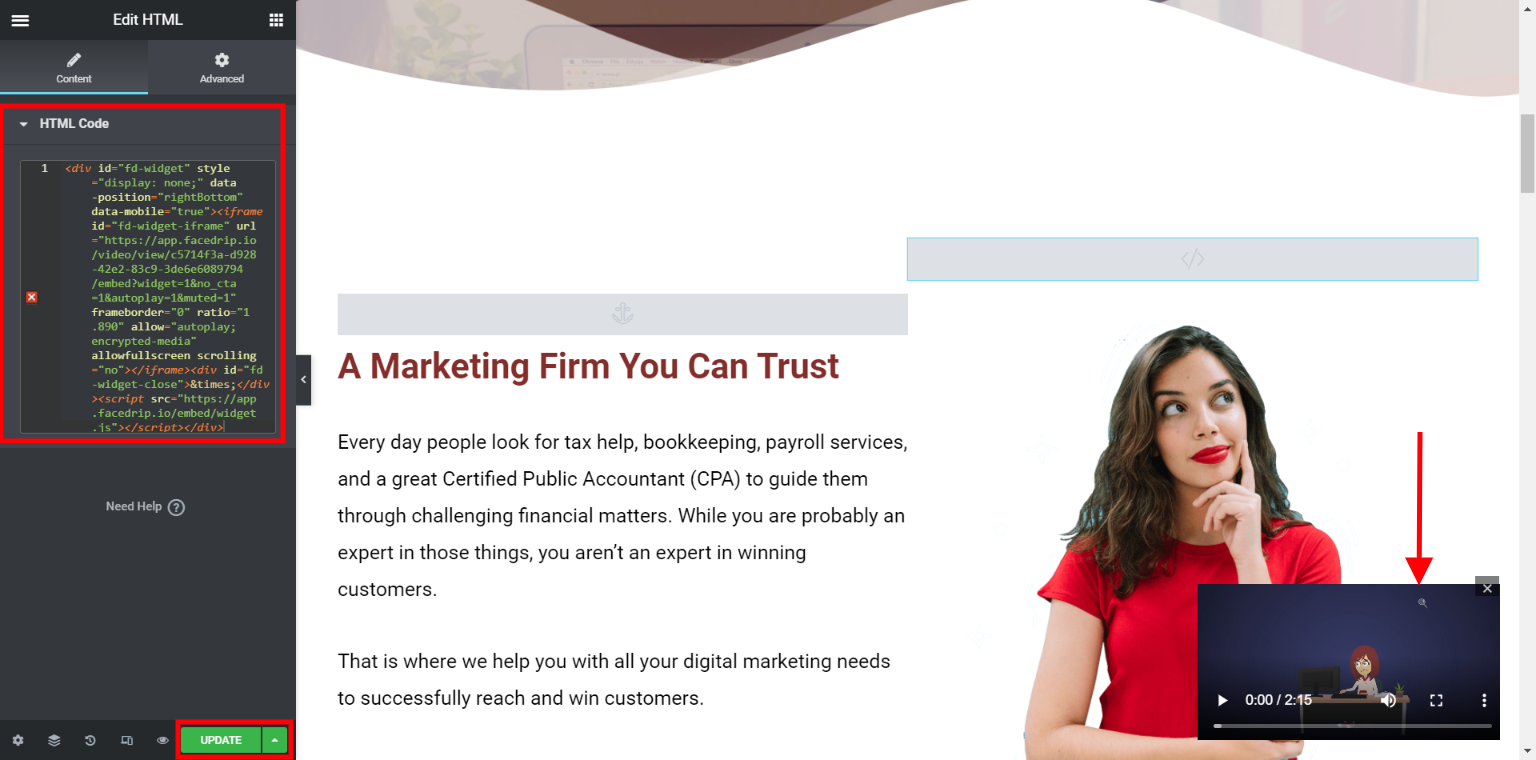
P.S You can change the position of the video widget added to your page by following the instruction in “Step 7” of this article or by editing the “html code on your elementor edit page” as shown below;

In the screenshot above “html code on the editor” shows that the video widget is at the “rightBottom” positioning.
We would be updating the video widget position from “rightBottom” to “leftTop” (See changes below)

STEP 17: Hover on the “home icon” in your wordpress dashboard that has your domain name to “visit site”. ( the front view of the site)
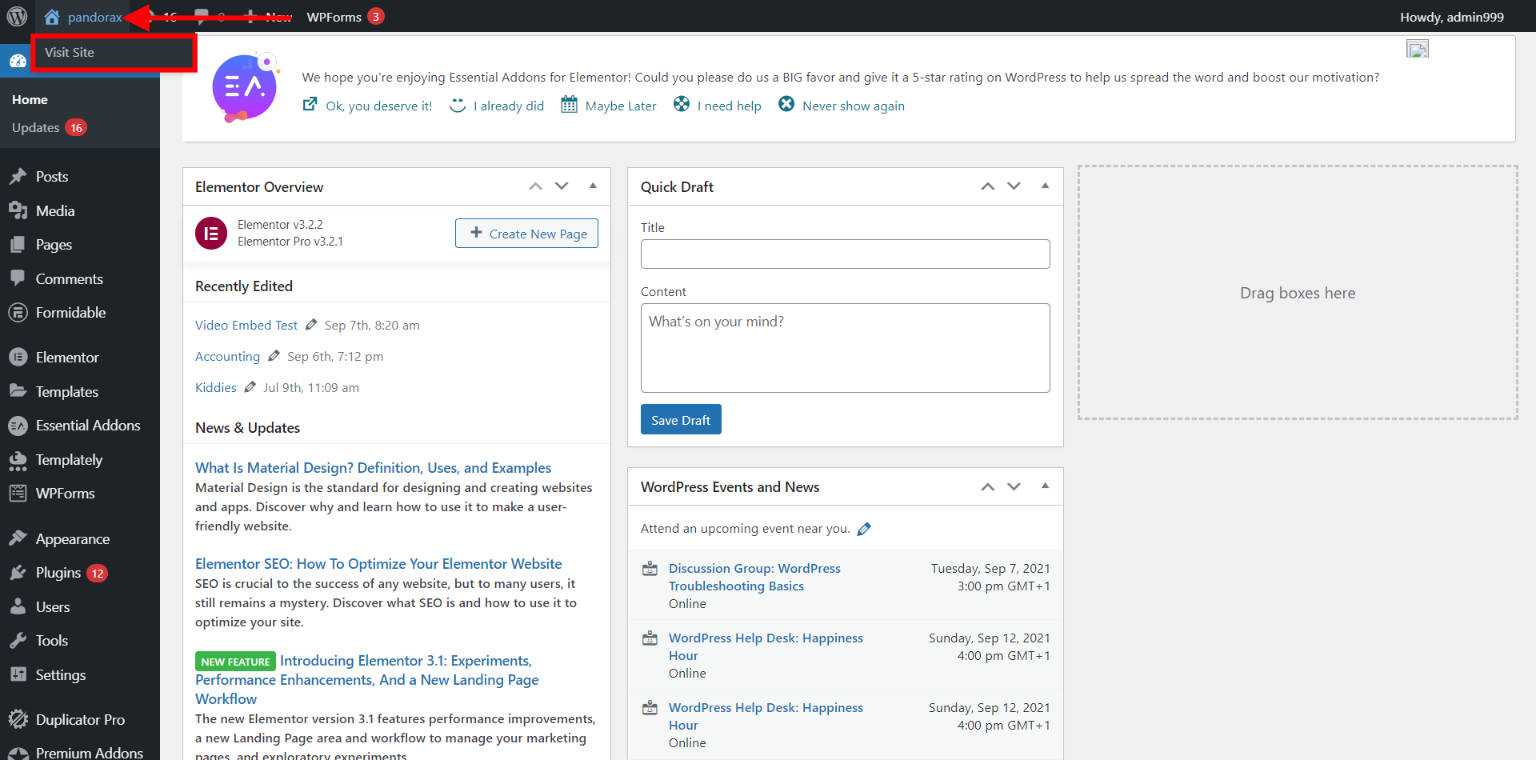
View For “leftTop” Position

View For “rightBottom” Position