Getting Started On How To Add Video Category
Log in to you’re Facedrip account.
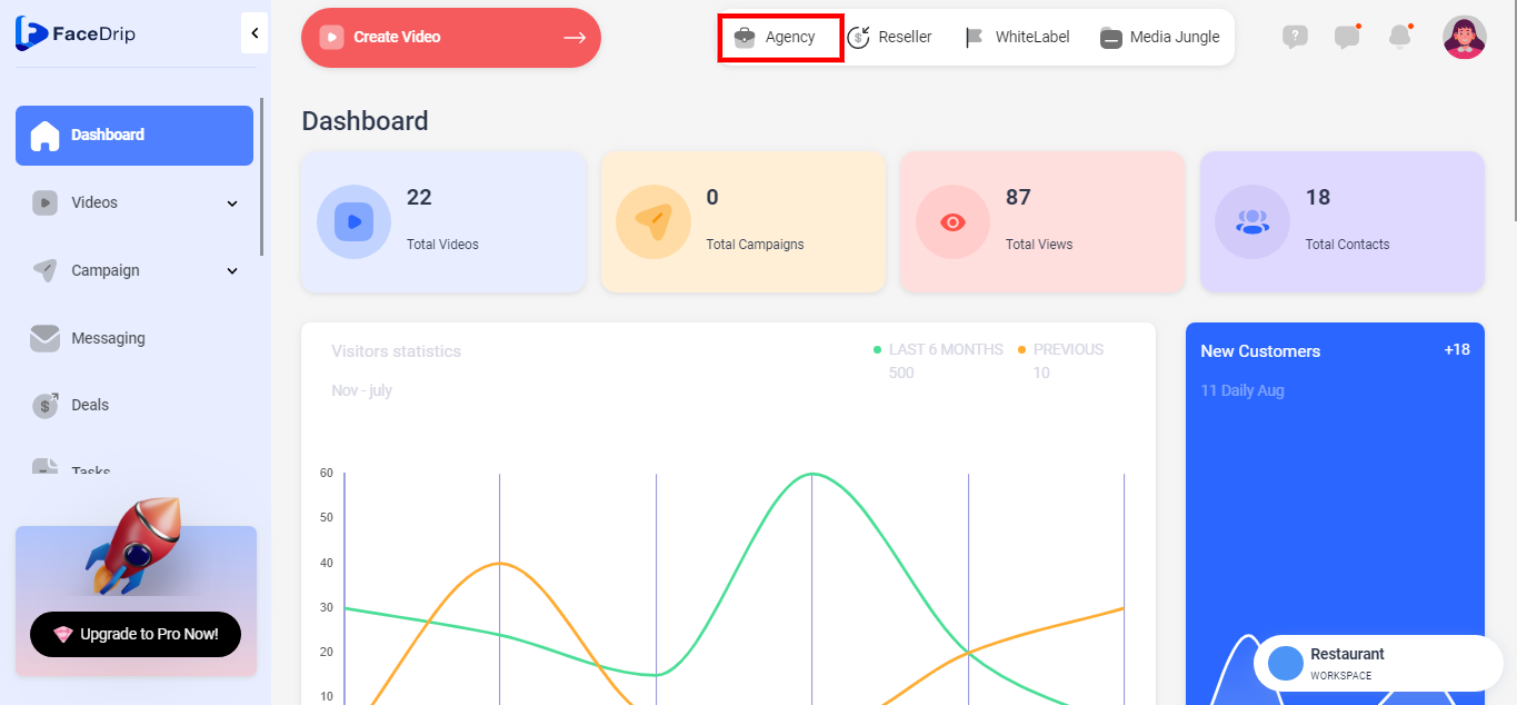
STEP 1: Click on teh “Agency” on the top side menu bar of your dashboard.
STEP 2: Click on “workspace” in the options below.
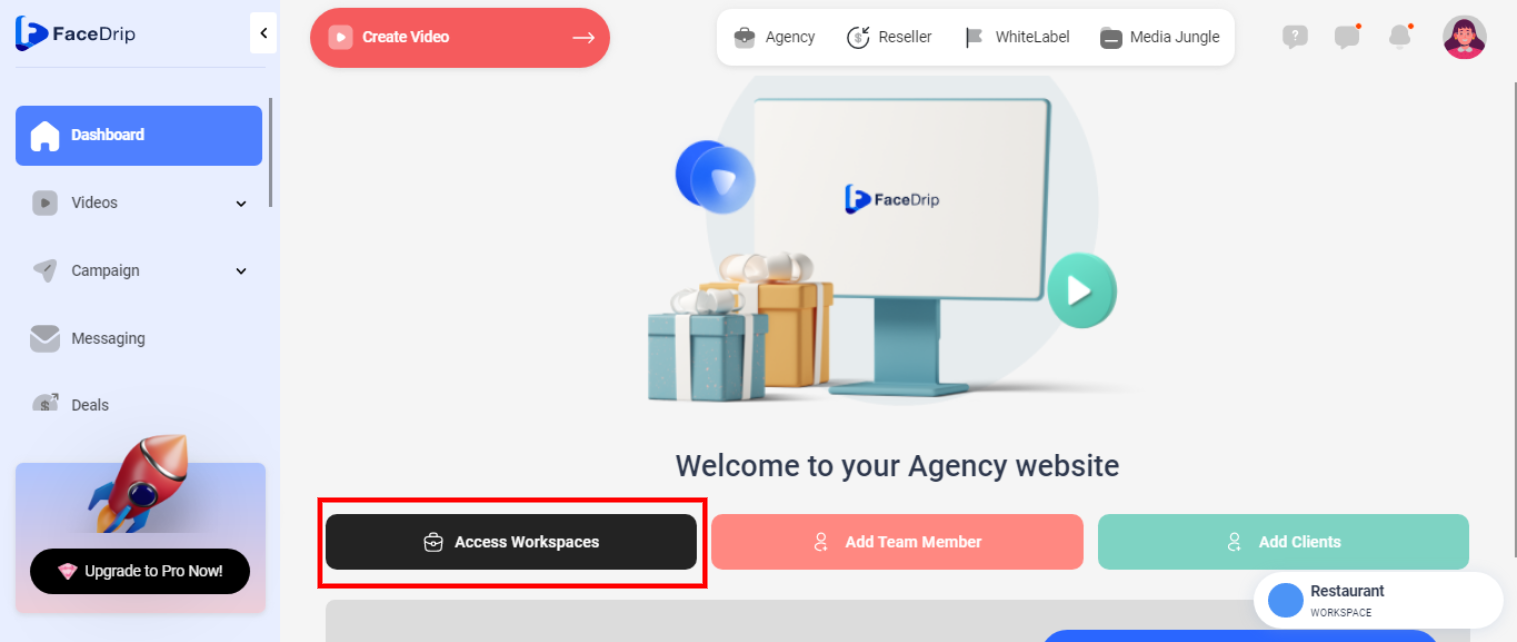
STEP 3: Choose the workspace you want to add a video tag and click the “activate workspace” button. (follow dis link on How To Create New Workspace)

Your workspace will be activated successfully! (PS: Go back to your dashboard module to see the active workspace).
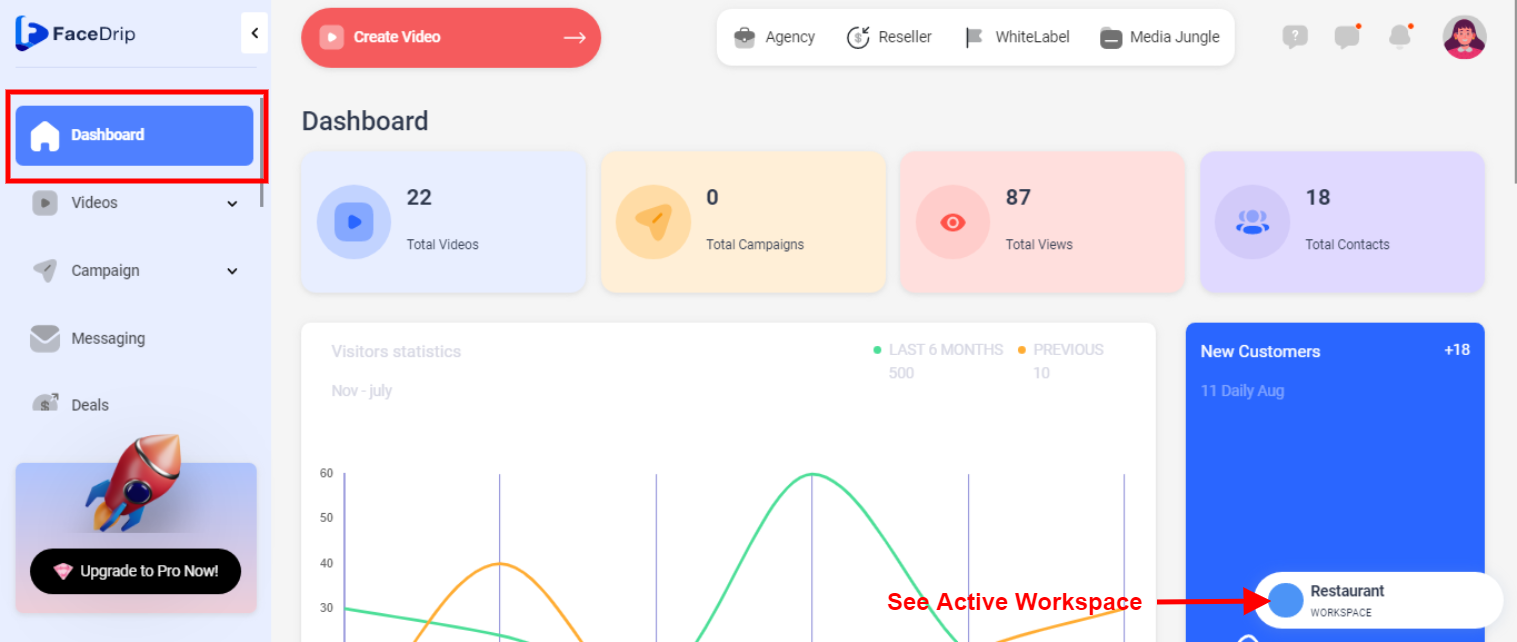
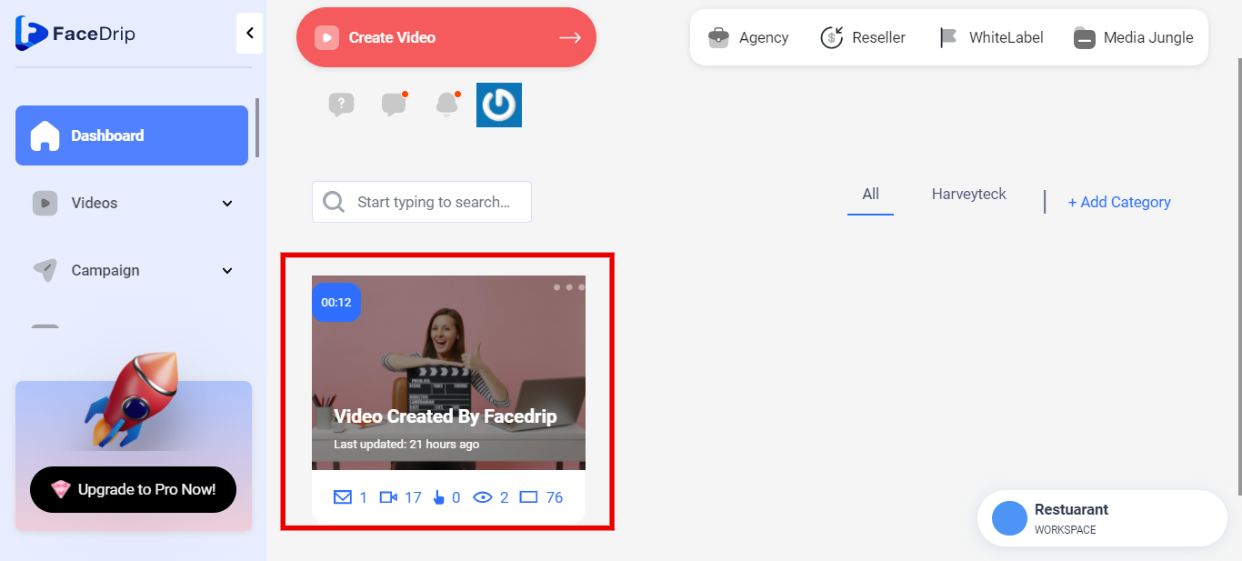
STEP 4: Click on the “video” menu on the left-hand side menu bar of your dashboard.

STEP 5: Select any “video” from the list of videos seen in the middle of the dashboard.
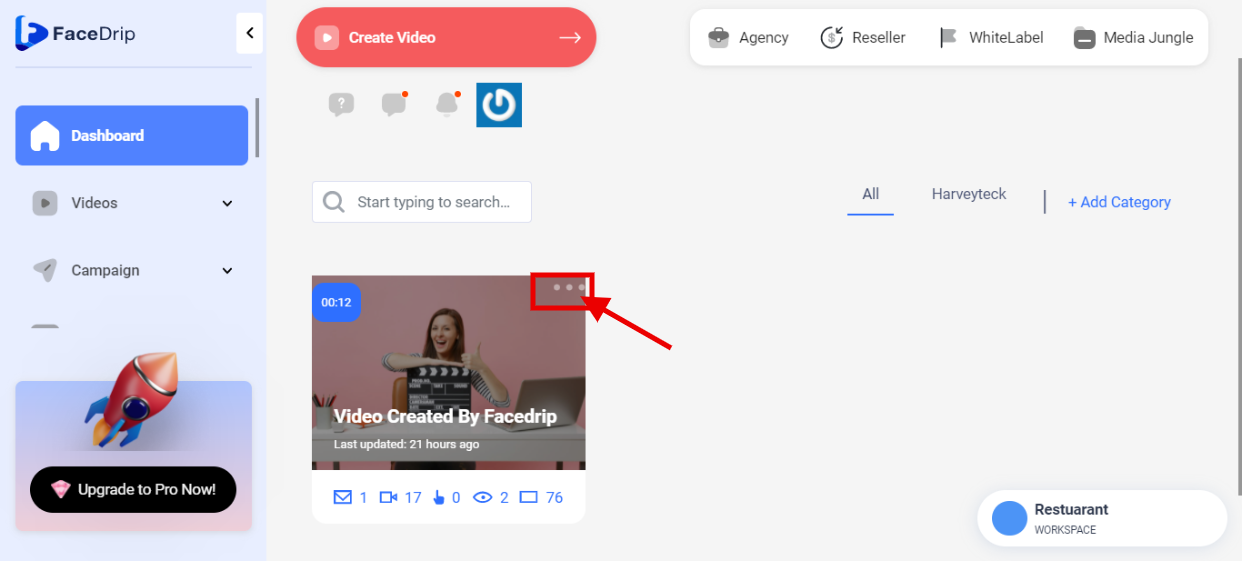
STEP 6: Right-Click on the “Triple-Dot” icon on the selected video.
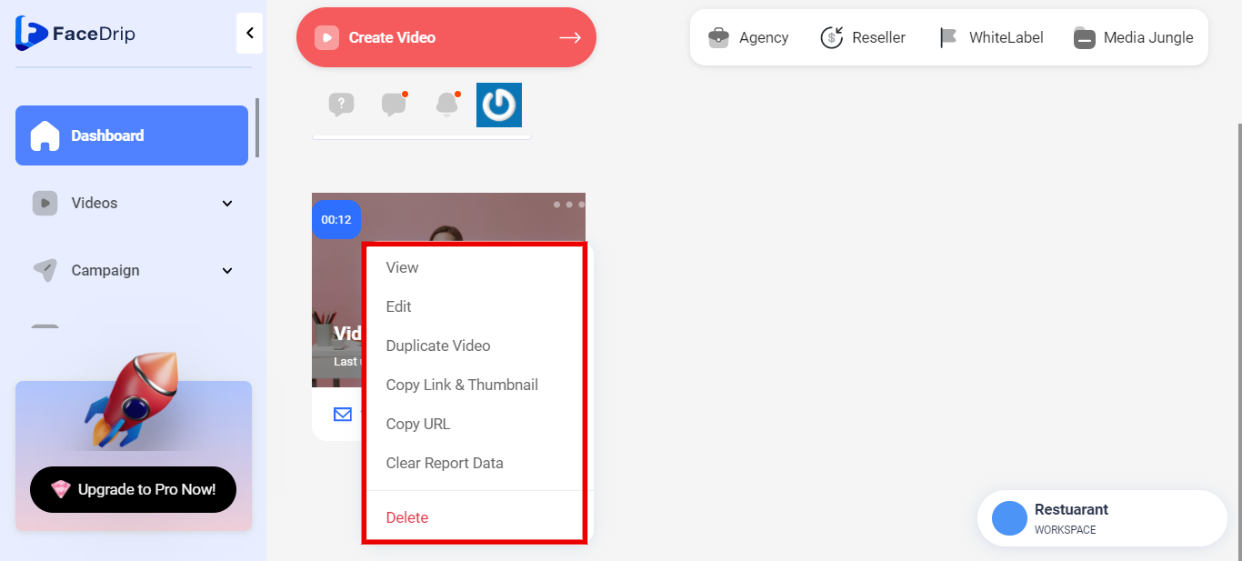
STEP 7: you will see a pop-up list.
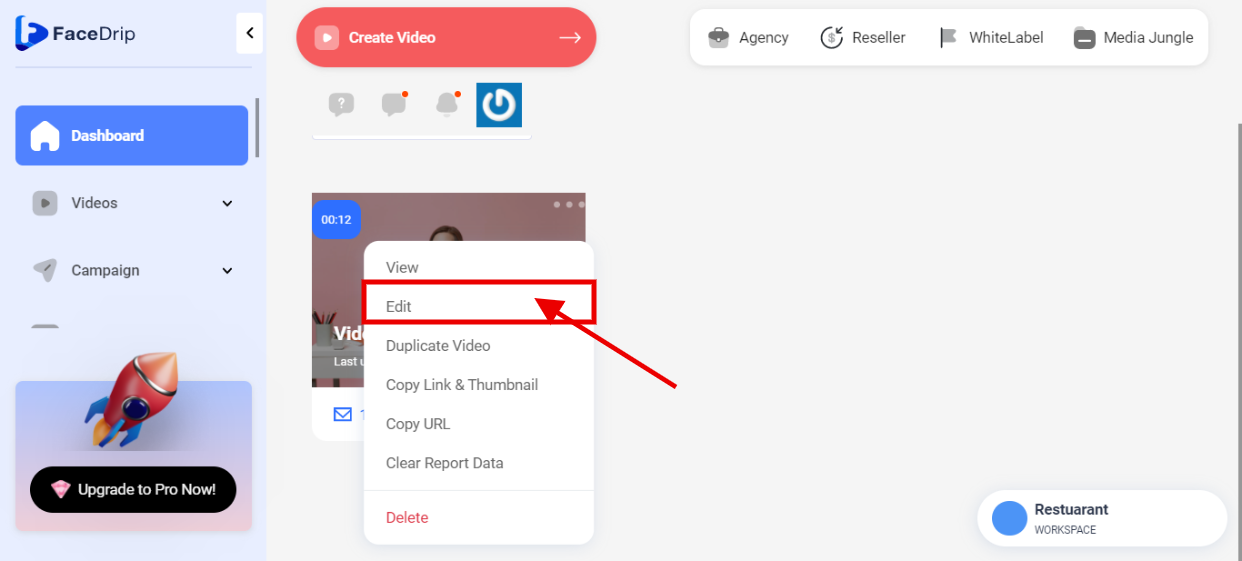
STEP 8: Select the “Edit” from the pop-up list.
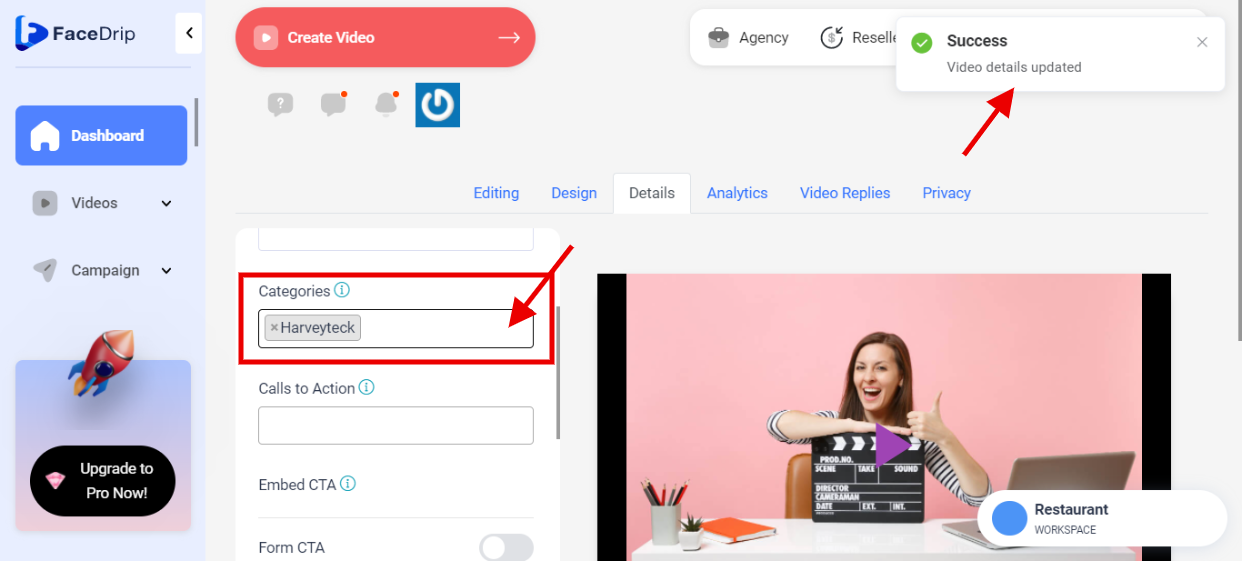
STEP 9: Click on “Details”.
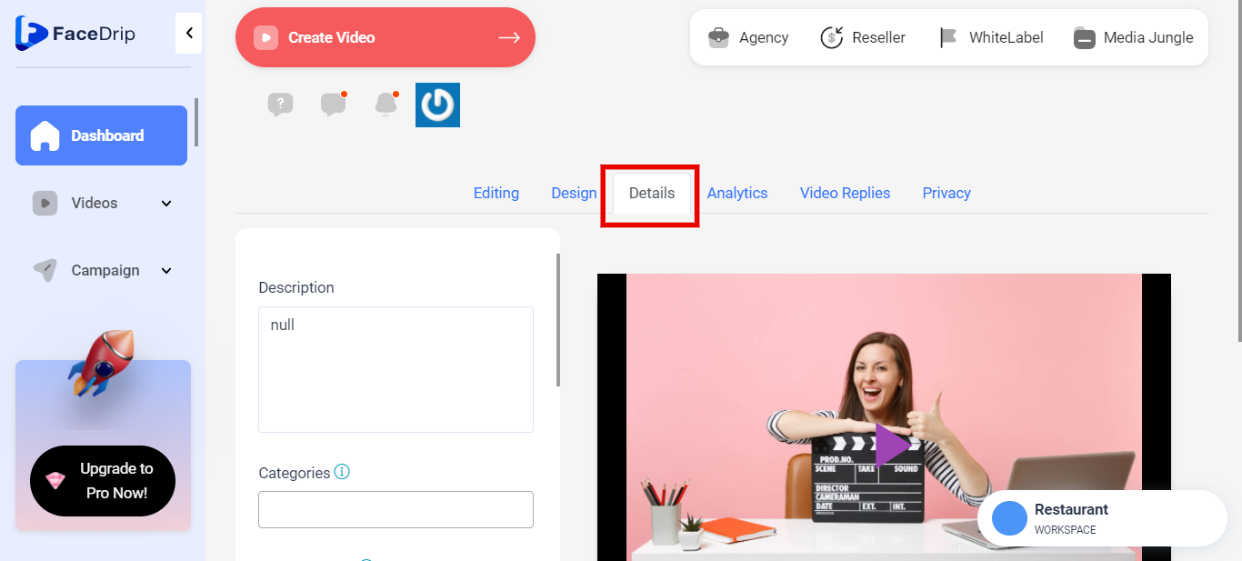
STEP 10: Fil the “Tag” box. (e.g. HARVEYTECK). you will see a pop-up success message stating “Video Details Updated”