Log in to your Facedrip account.
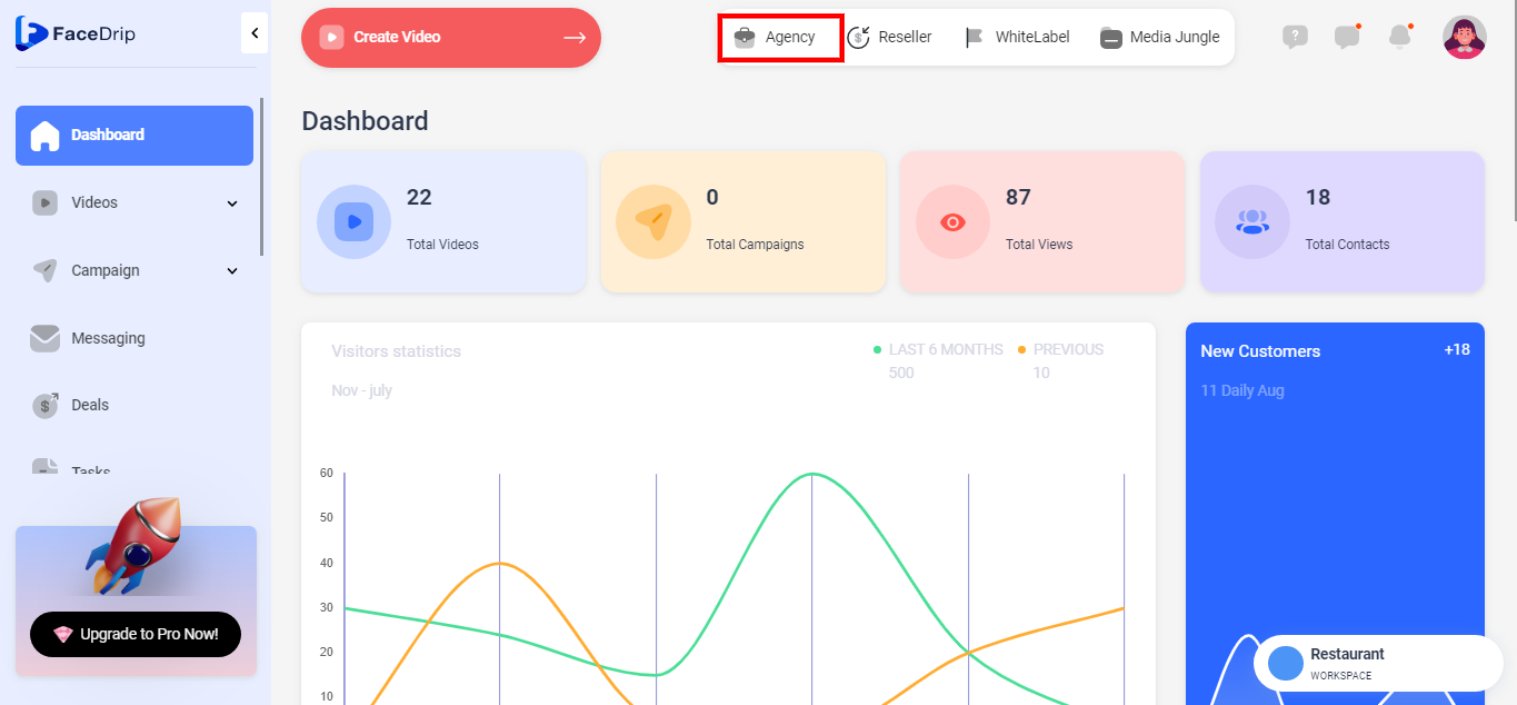
STEP 1: Click on the “agency” on the top side menu bar of your dashboard
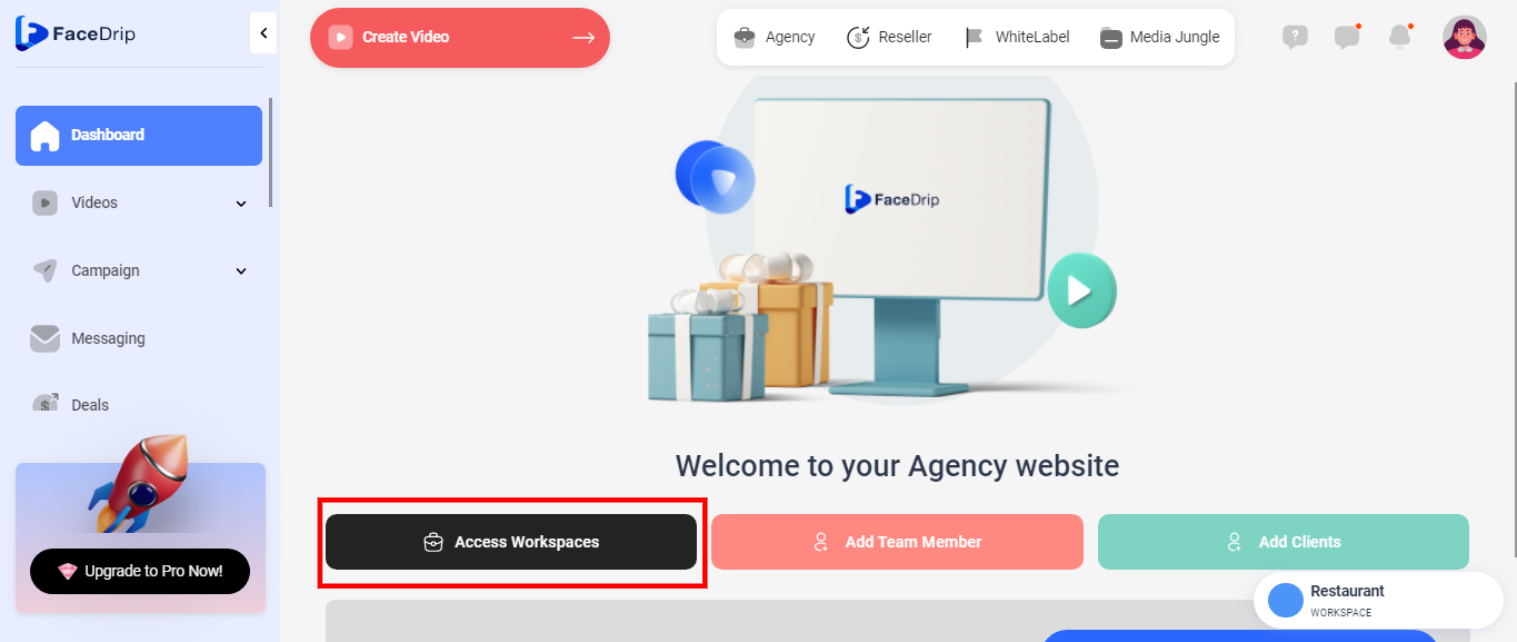
STEP 2: Click on “workspace” in the options below
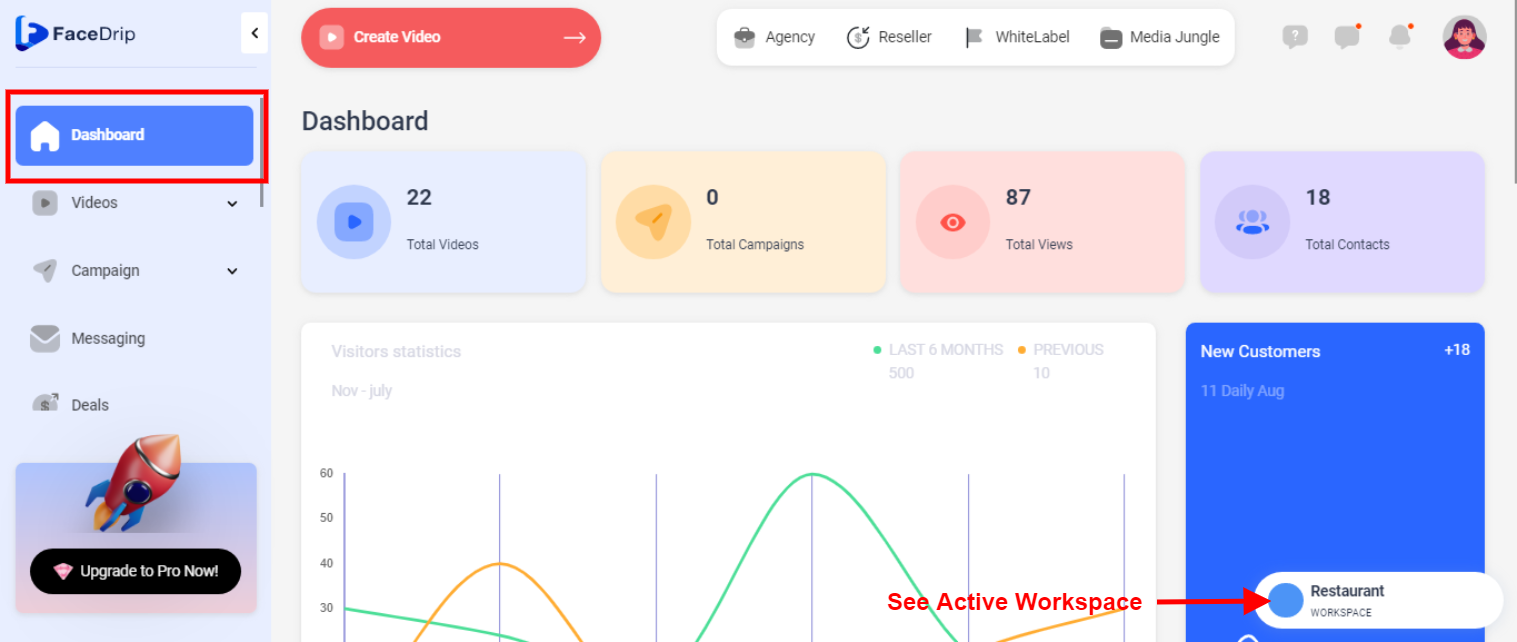
STEP 3: Choose the workspace you want to create a new deal and click the “activate workspace” button. (follow this link on How To Create New Workspace)
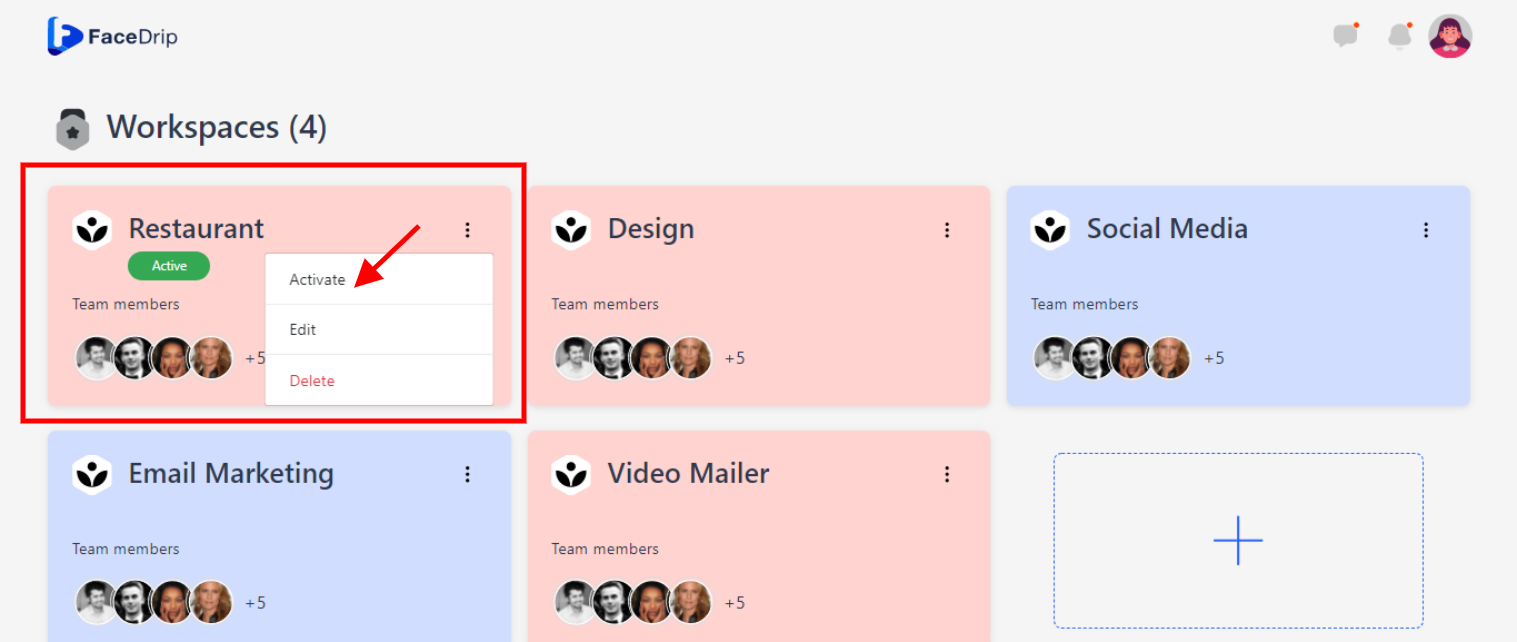
Your workspace will be activated successfully! (PS: Go back to your dashboard module to see the active workspace).
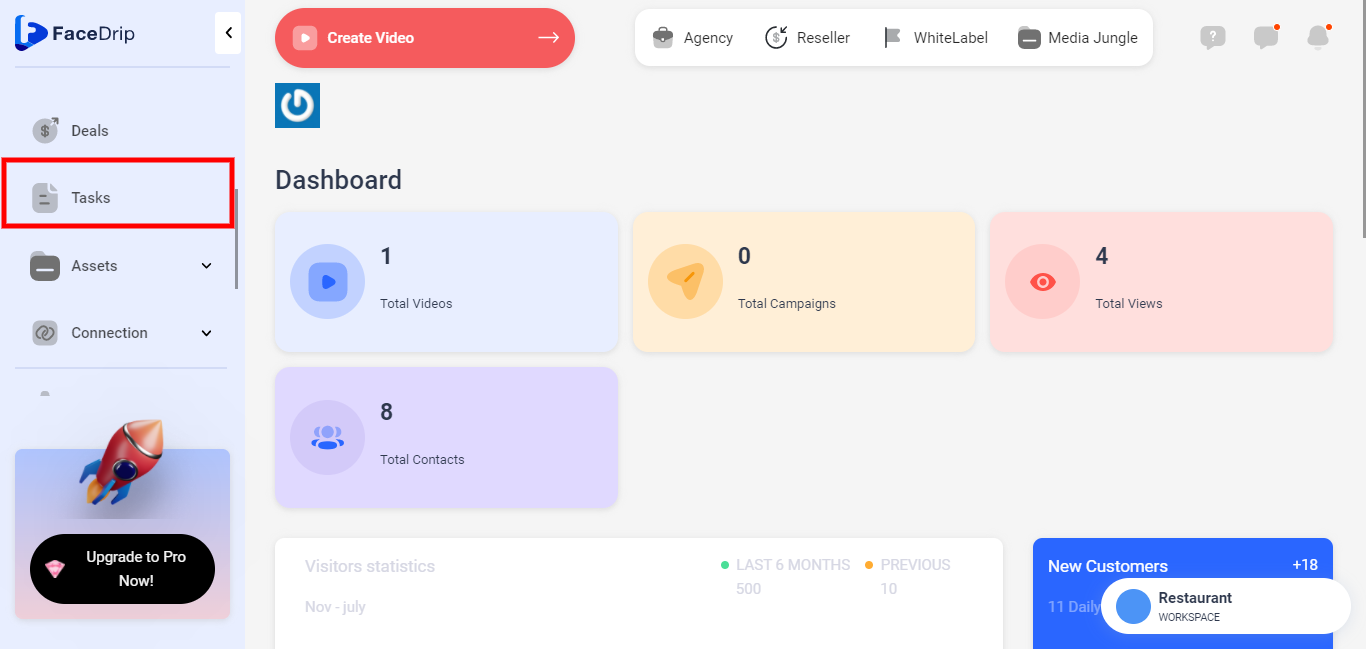
STEP 4: Click on the “Task” menu on the left-hand side menu bar of your dashboard.
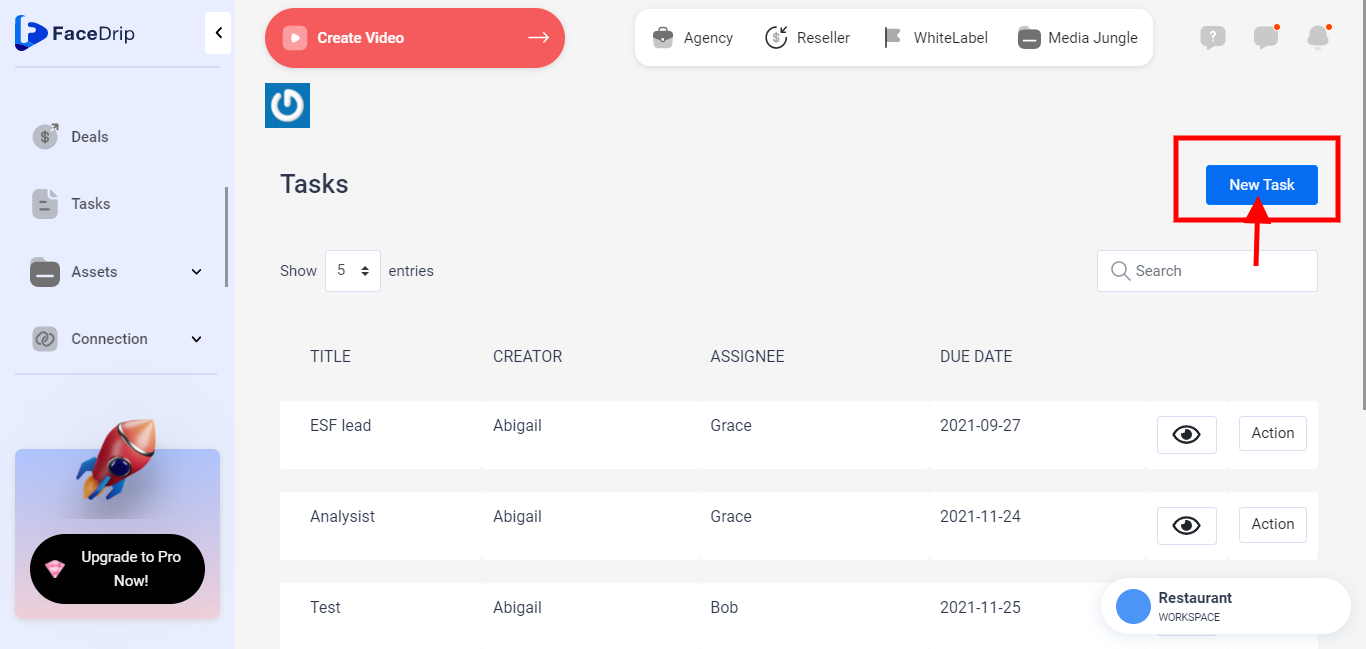
STEP 5: Click on the blue “New Task” button in the top right-hand end of your dashboard
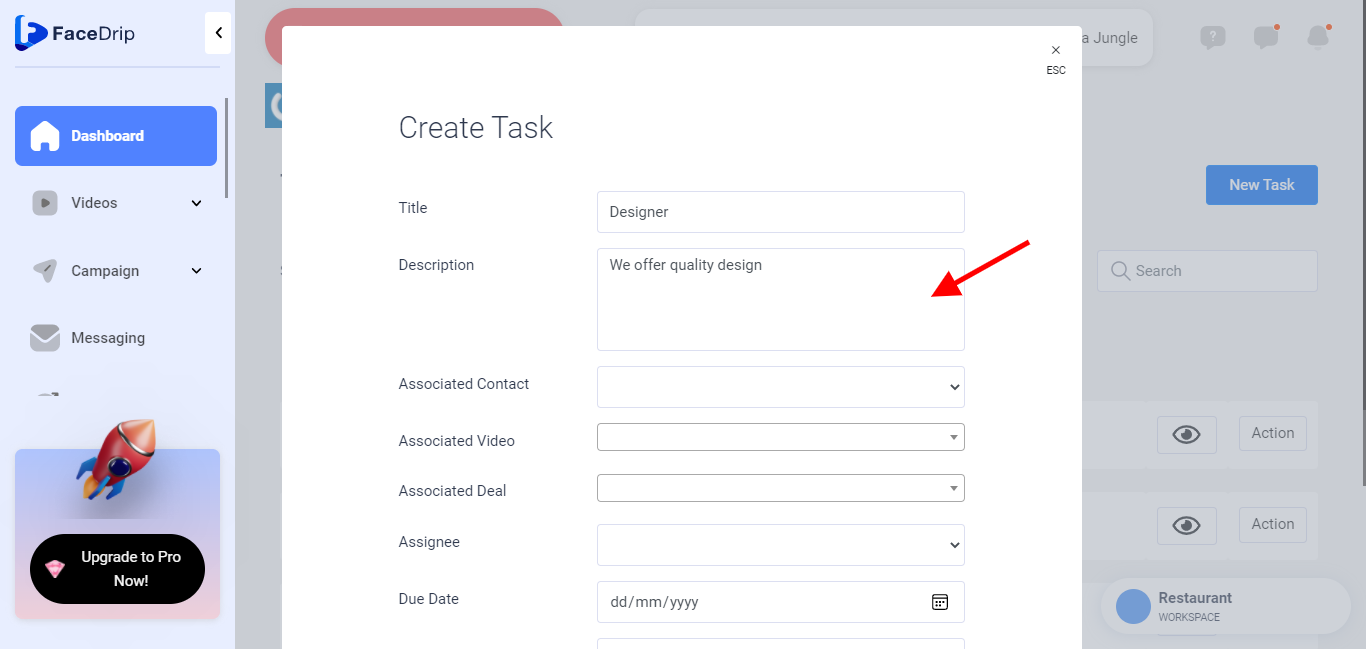
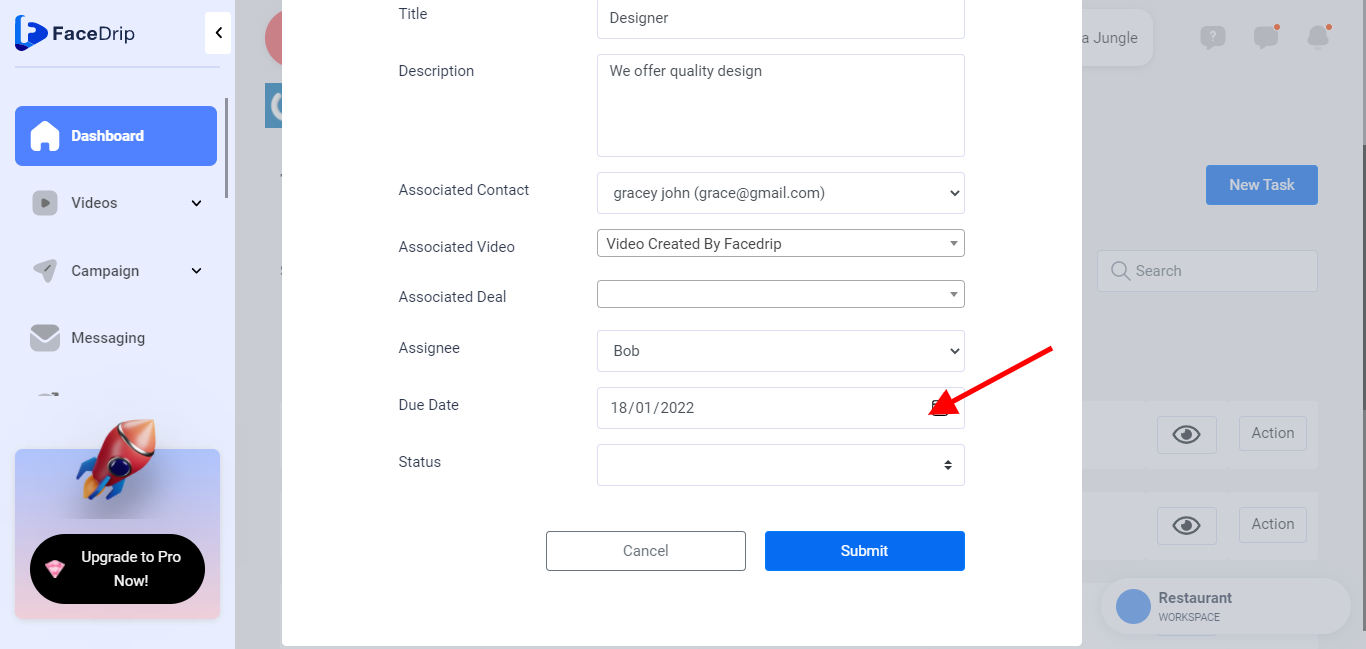
STEP 6: Enter information for the respective fields in the form shown below
Enter a Tittle
Provide a valid and unique “Tittle” of a Deal for which a particular deal should be known. (e.g Designer)
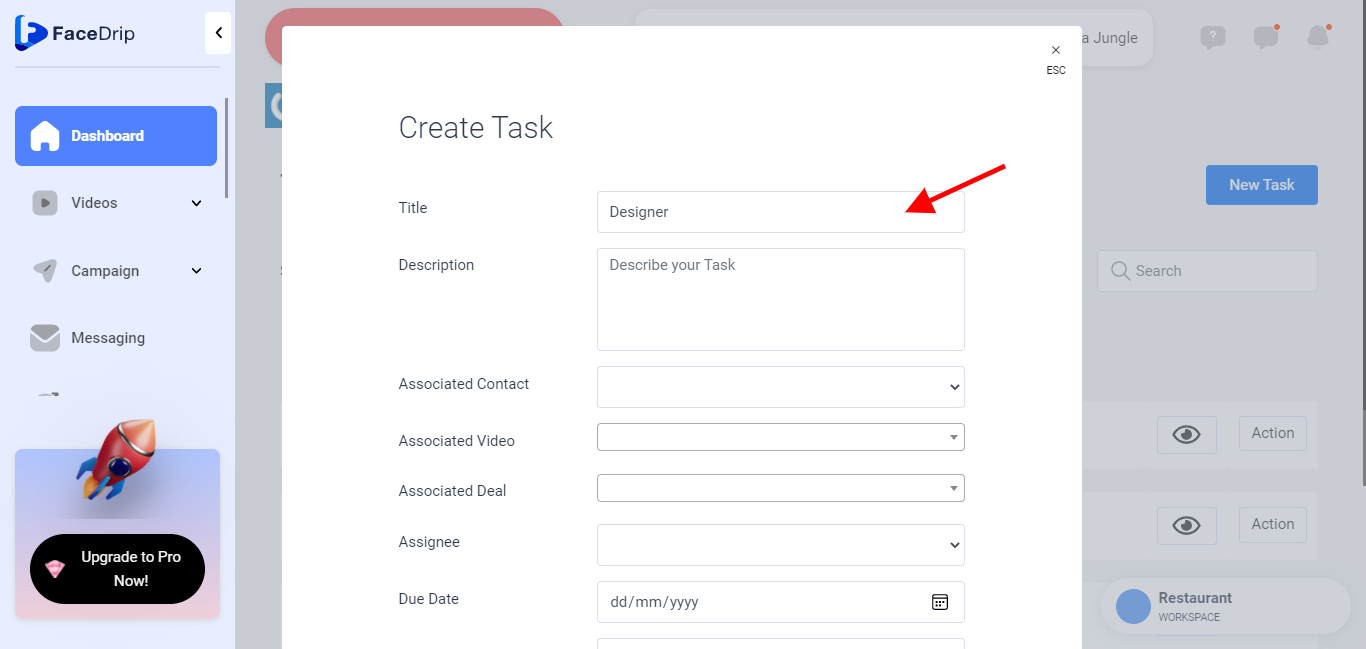
Enter a Description
Provide a valid description of the Task, as this is a piece of information that explains a particular task (e.g We offer quality design)
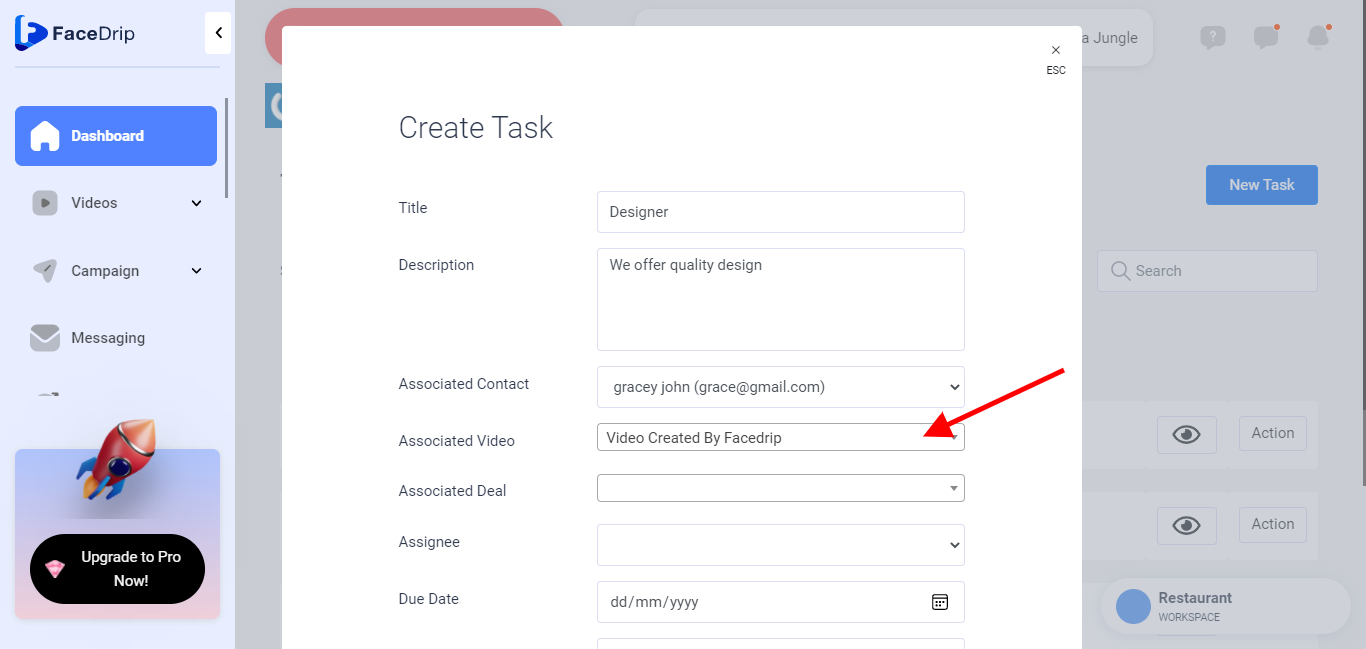
Enter Associate Contact
Provide a contact by selecting from the drop-down list of contact you already created (e.g Gracey (grace@gmail.com). Find a knowledgebase article on (How To Add New Contact).

Enter Associate Video
Provide a Video by selecting from the drop-down list of videos you already created. Find a knowledgebase article on (How To Add Video From Youtube).
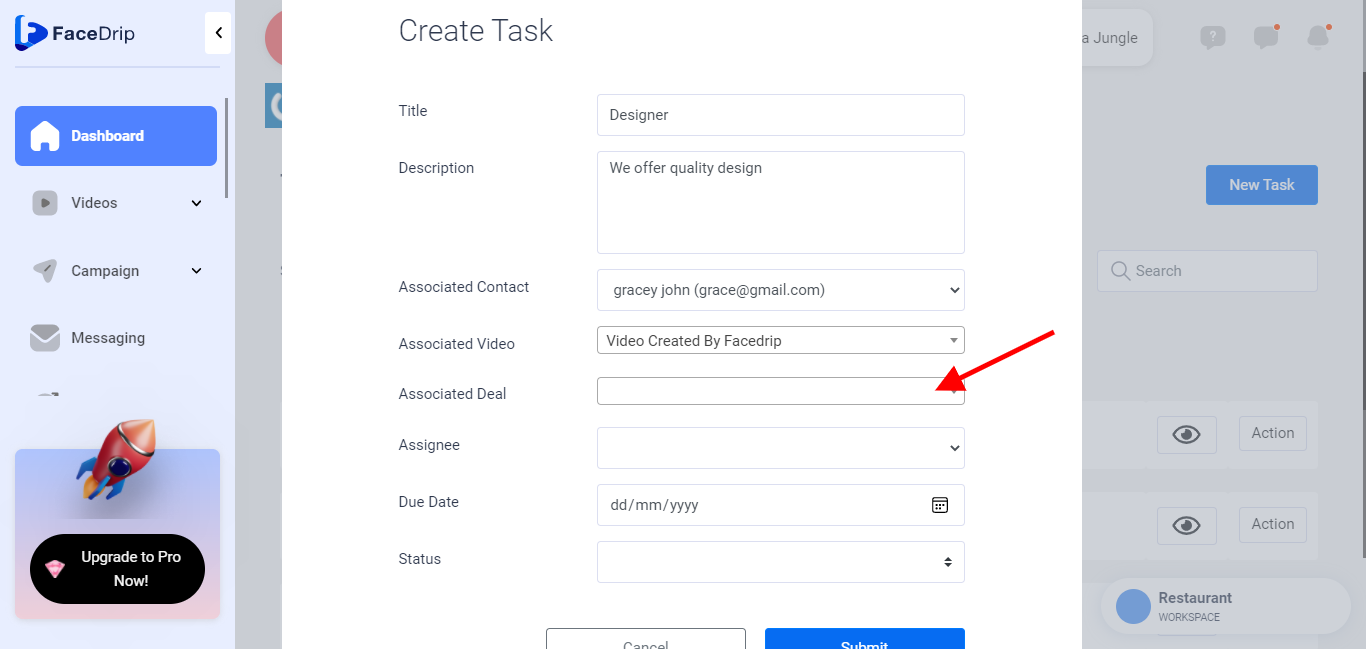
Enter Associate Deal
Provide deals by selecting from the drop-down list of associated deals you already created. Find a knowledgebase article on (How To Create New Deals).
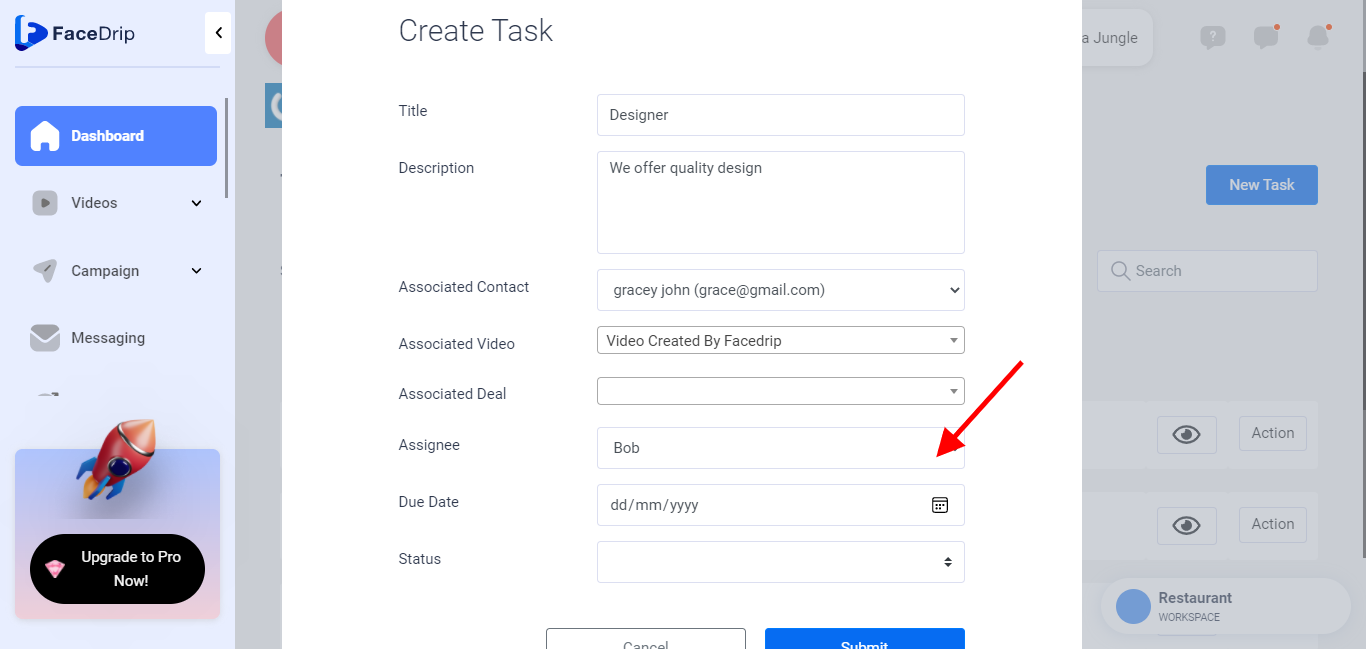
Enter Assignee
Provide assignee by selecting from the drop-down list of team members you already created. Kindly see article on how to add a team member to your workspace
Enter Due Date
provide a valid due date from the pop-up calendar to enable you to know a task that is pending or completed. (e.g 18/1/2022)
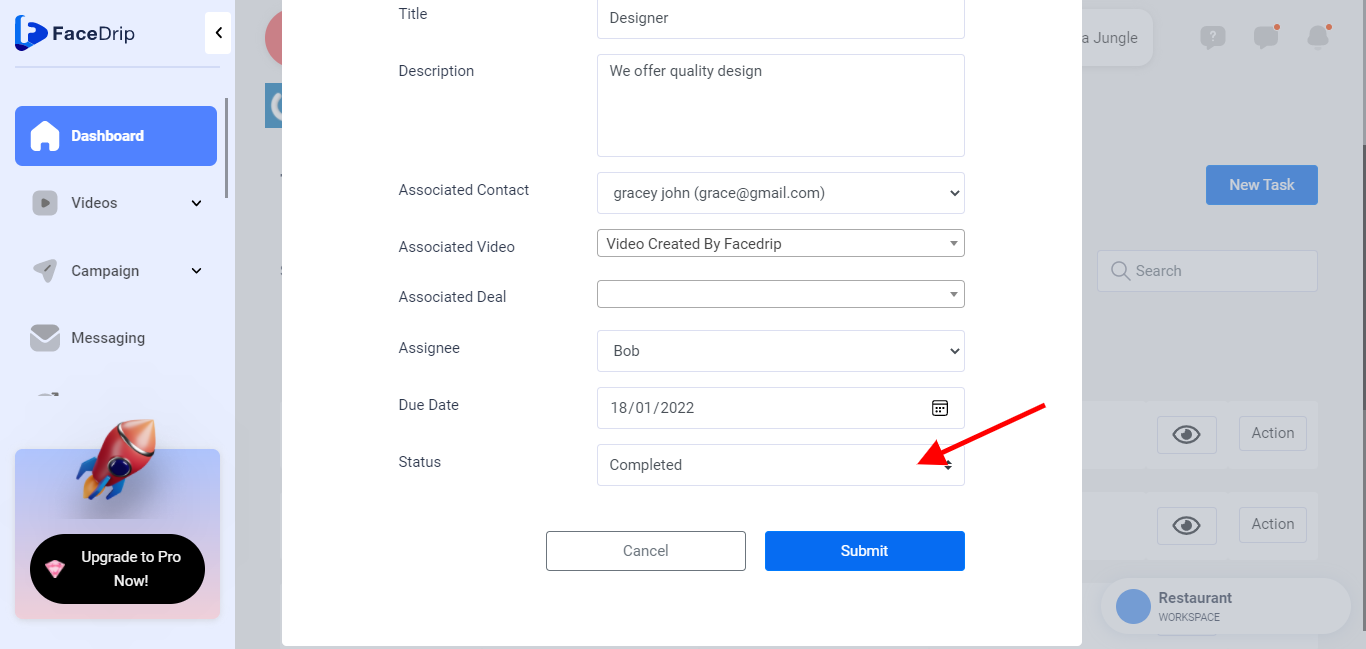
Enter Status
Provide a status by selecting from the drop-down list either a task is pending or completed
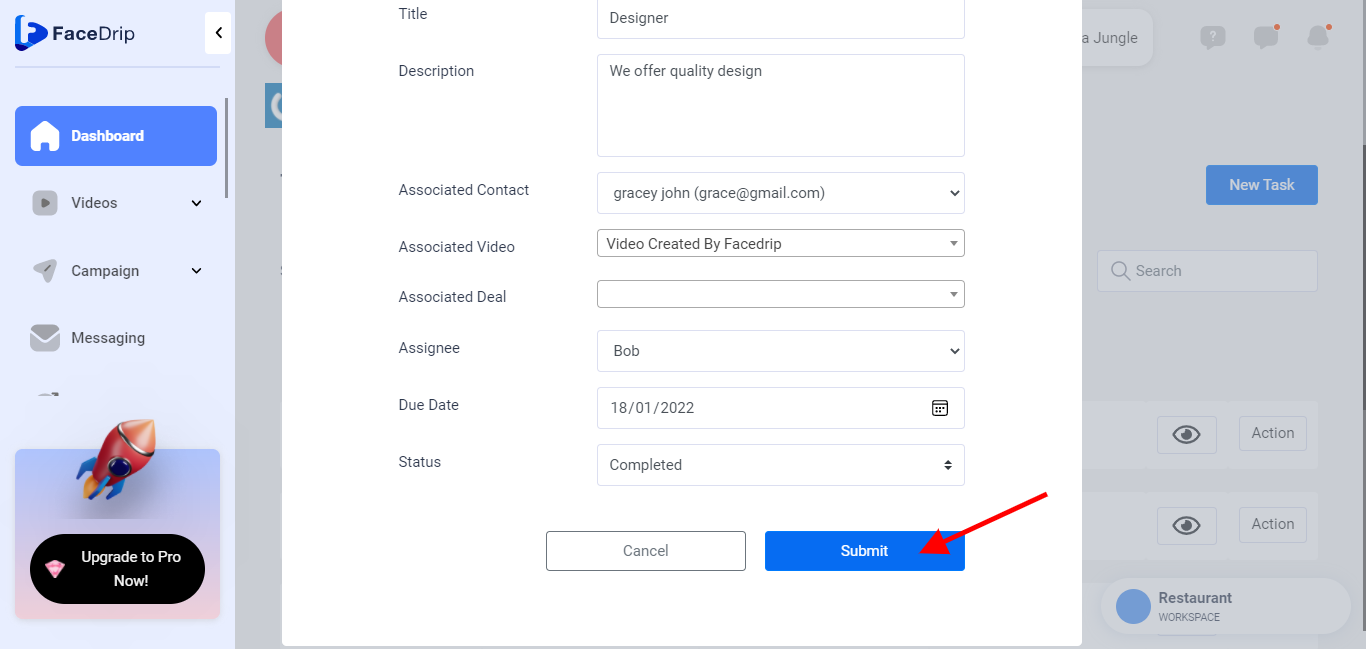
STEP 7: Click on the submit button to save Task.
STEP 8: Task created and saved successfully with a pop-up success alert message stating “Request Completed”
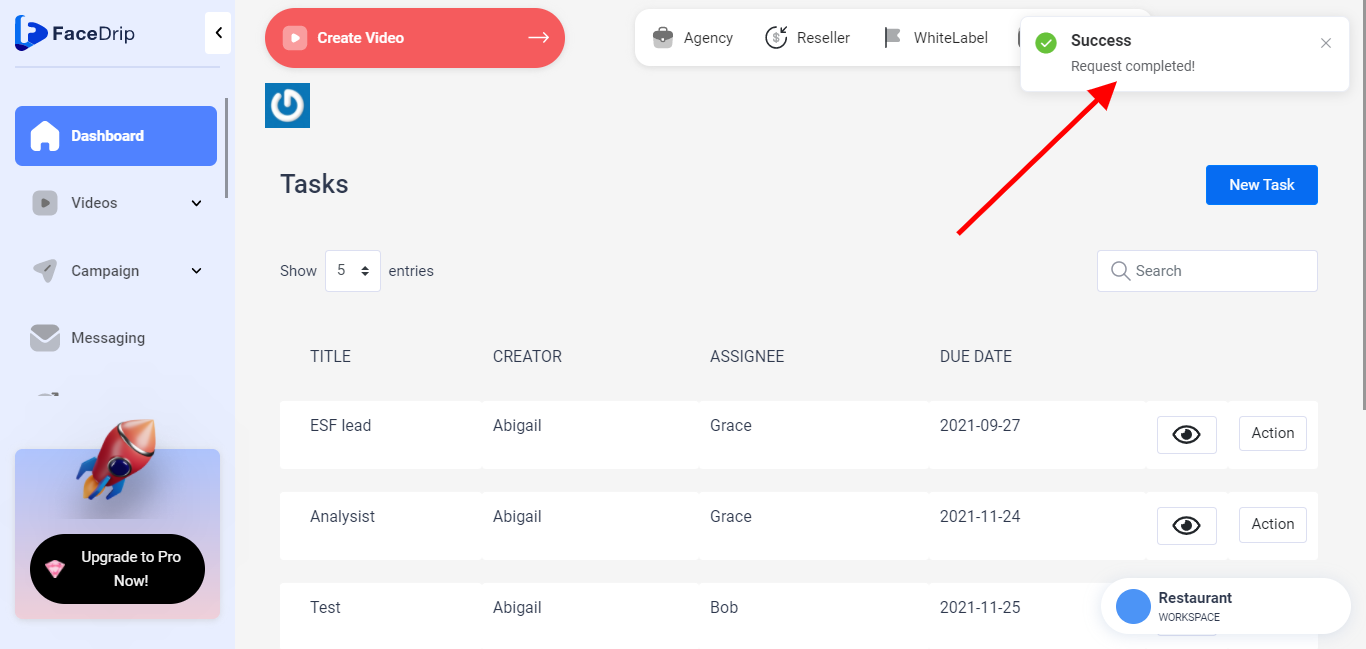
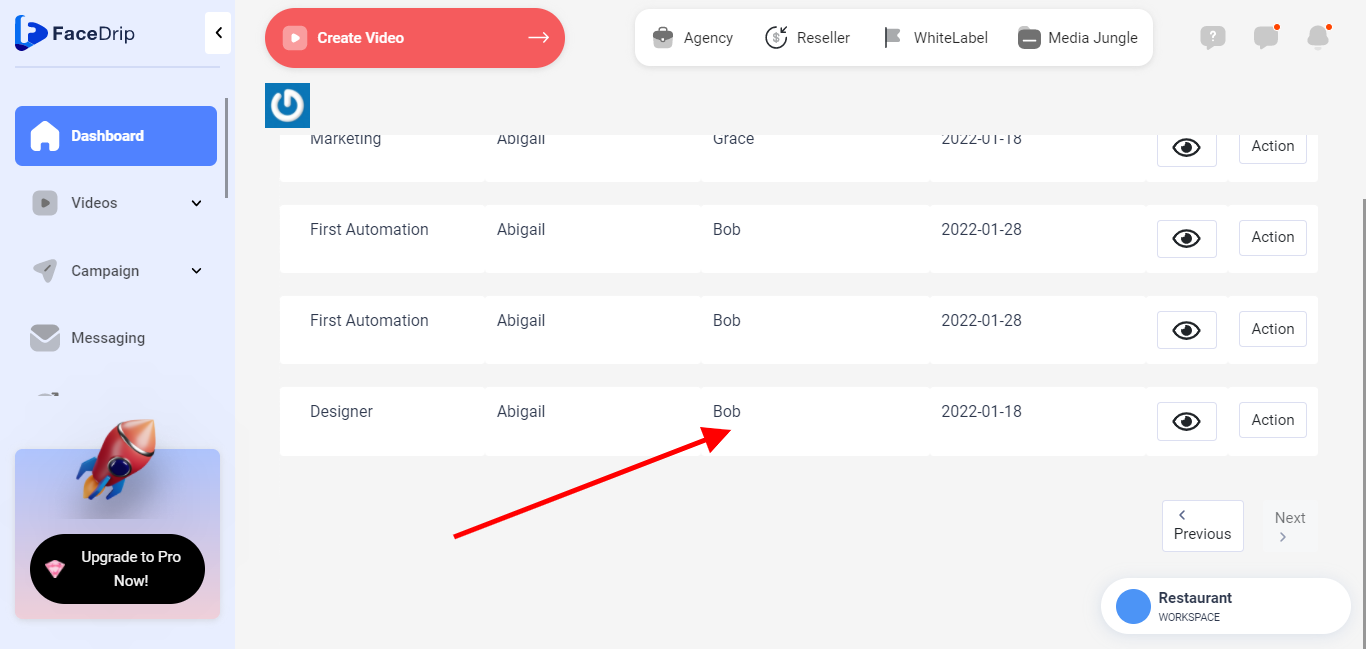
See Task created