You can integrate Salesforce in Facedrip in a few easy steps. Kindly use the information below:
Getting Started On How To Integrates Salesforce in Facedrip
Log in to your Facedrip account.
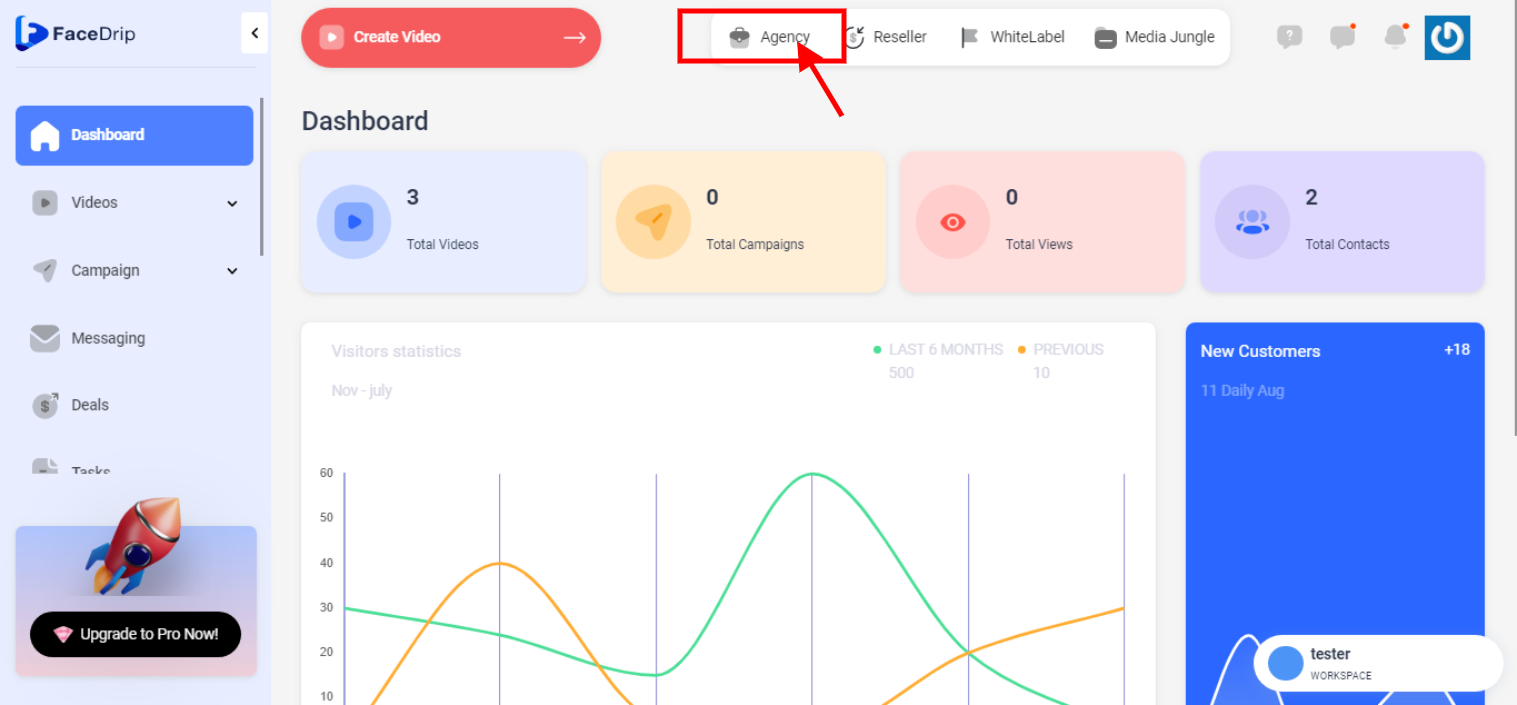
STEP 1: Click on the “Agency” at the top of your dashboard.
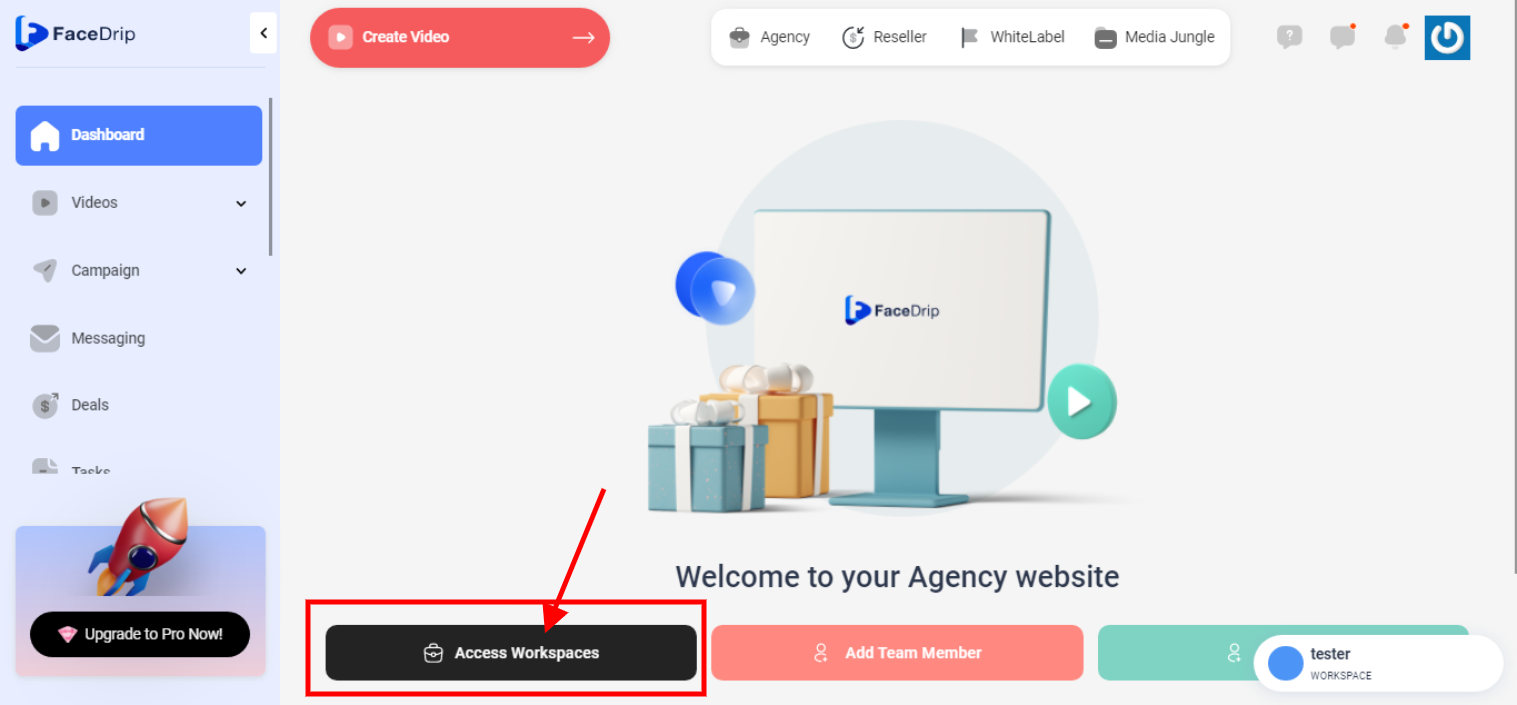
STEP 2: Click on “workspace”
STEP 3: Choose the workspace you want to integrate Salesforce to and click the “activate workspace” button. (follow this link on How To Create New Workspace)
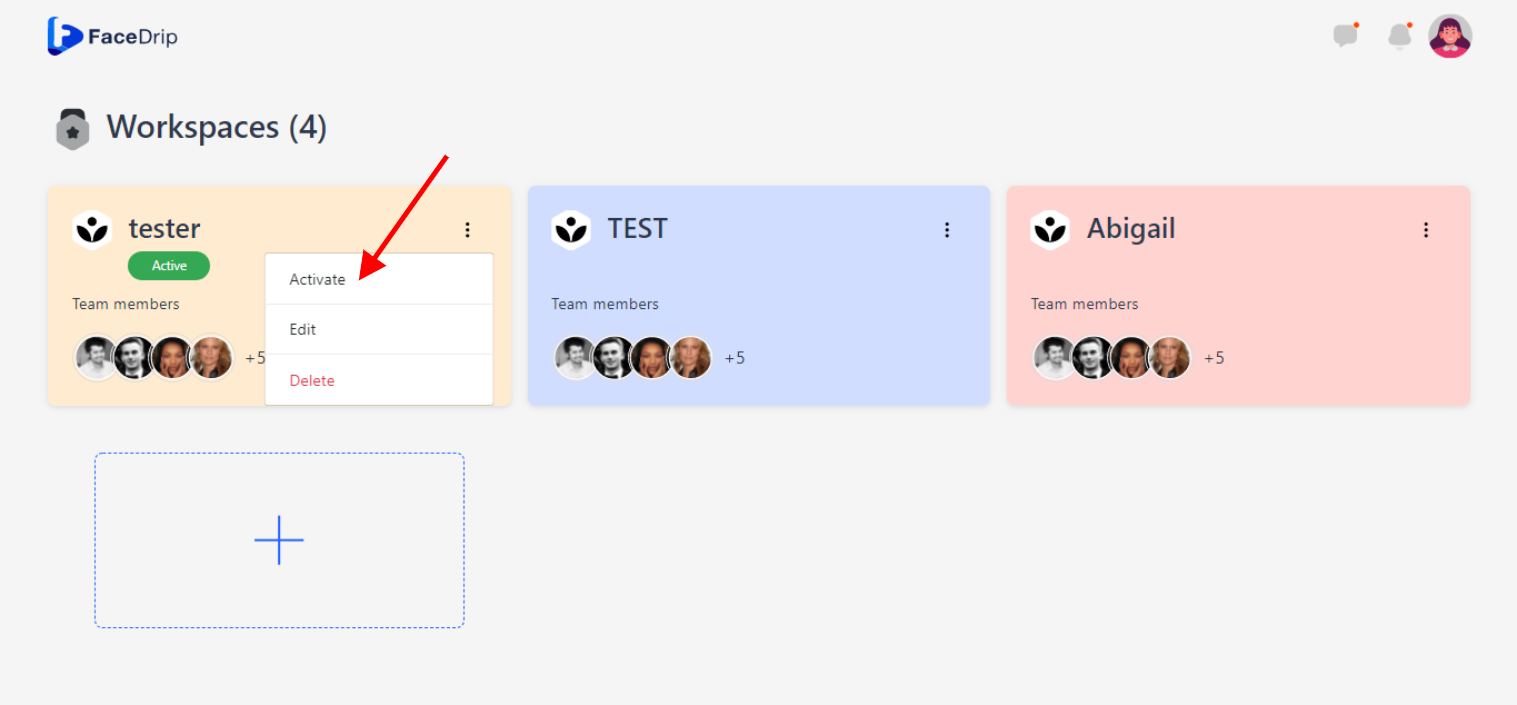
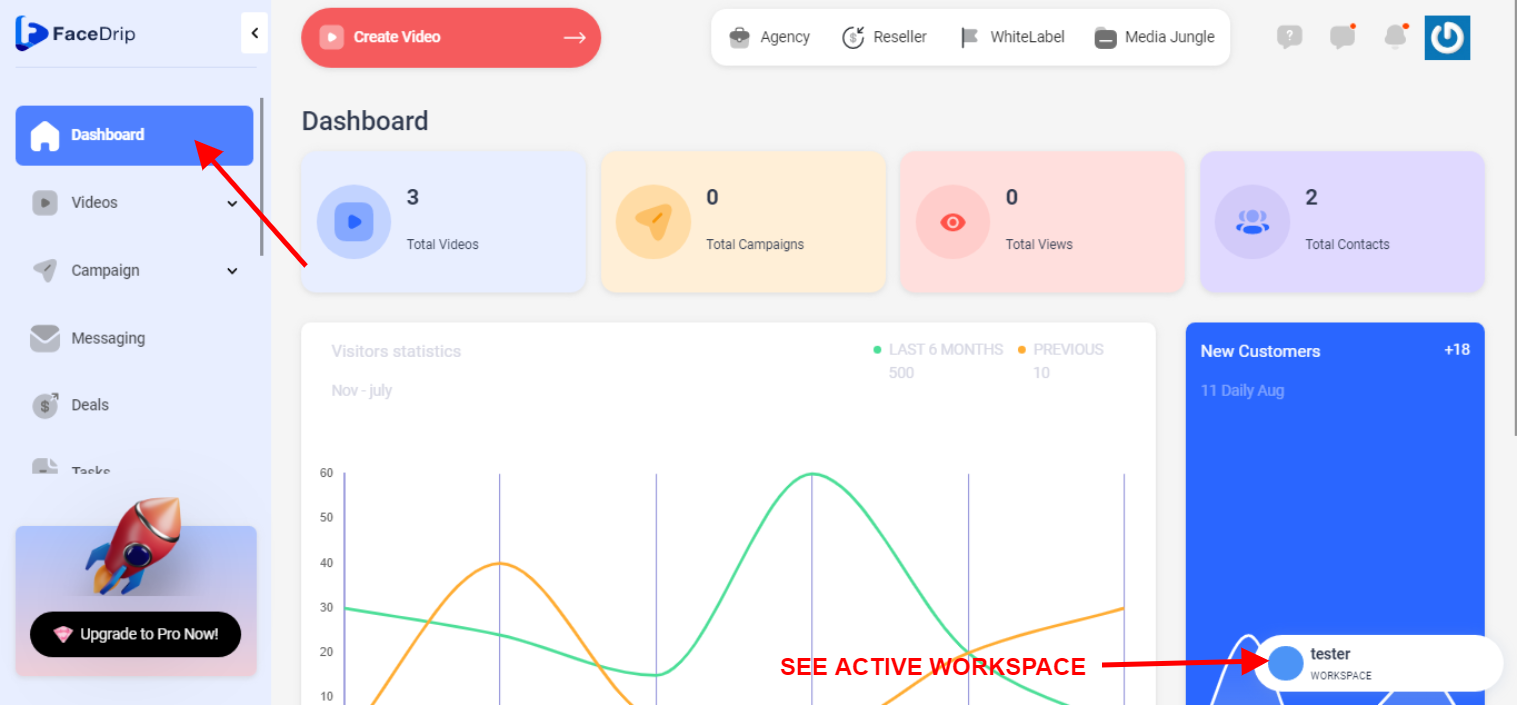
Your workspace will be activated successfully! (PS: Go back to your dashboard module to see the active workspace).
STEP 4: Click on the “Setting Icon” and then click on setting from the drop-down menu
![]()
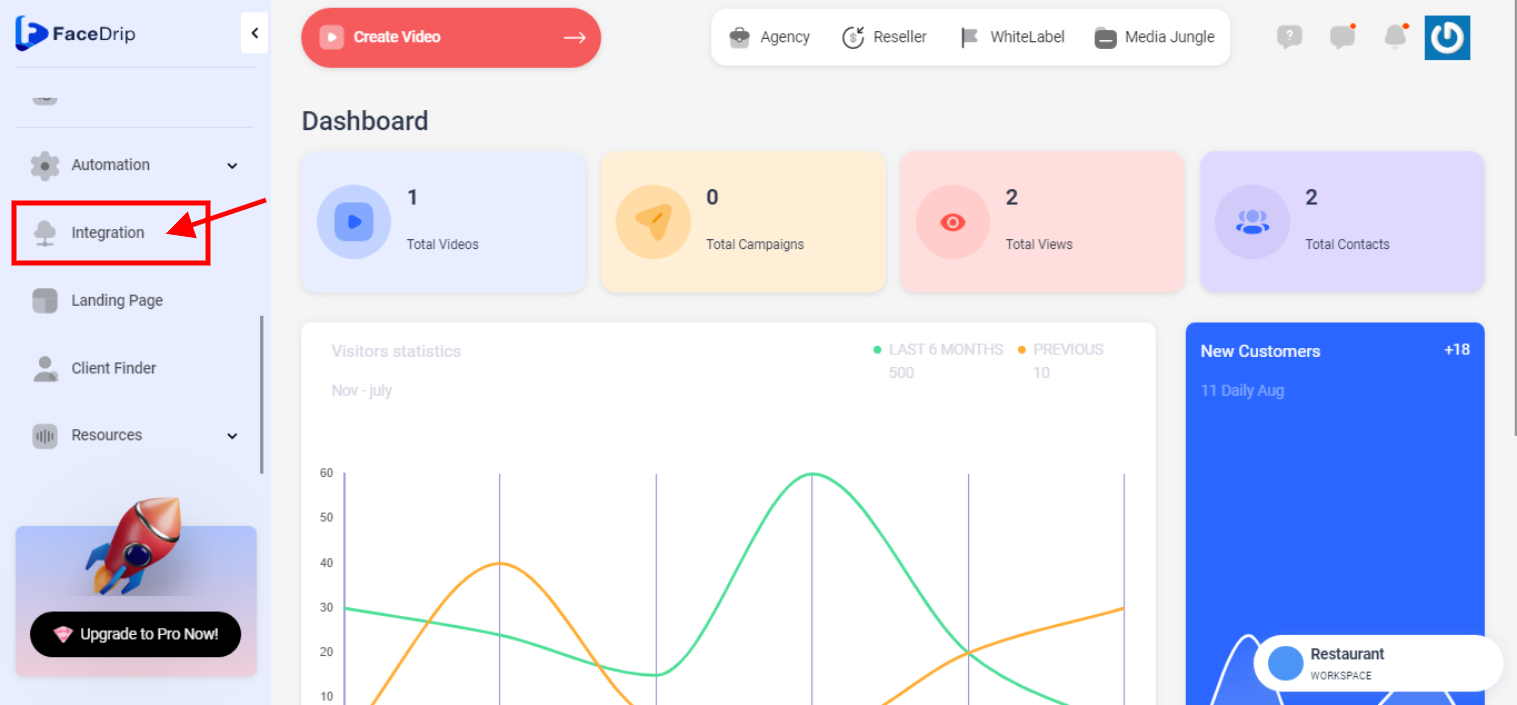
STEP 5: Click on “integration” from the left-hand sidebar menu
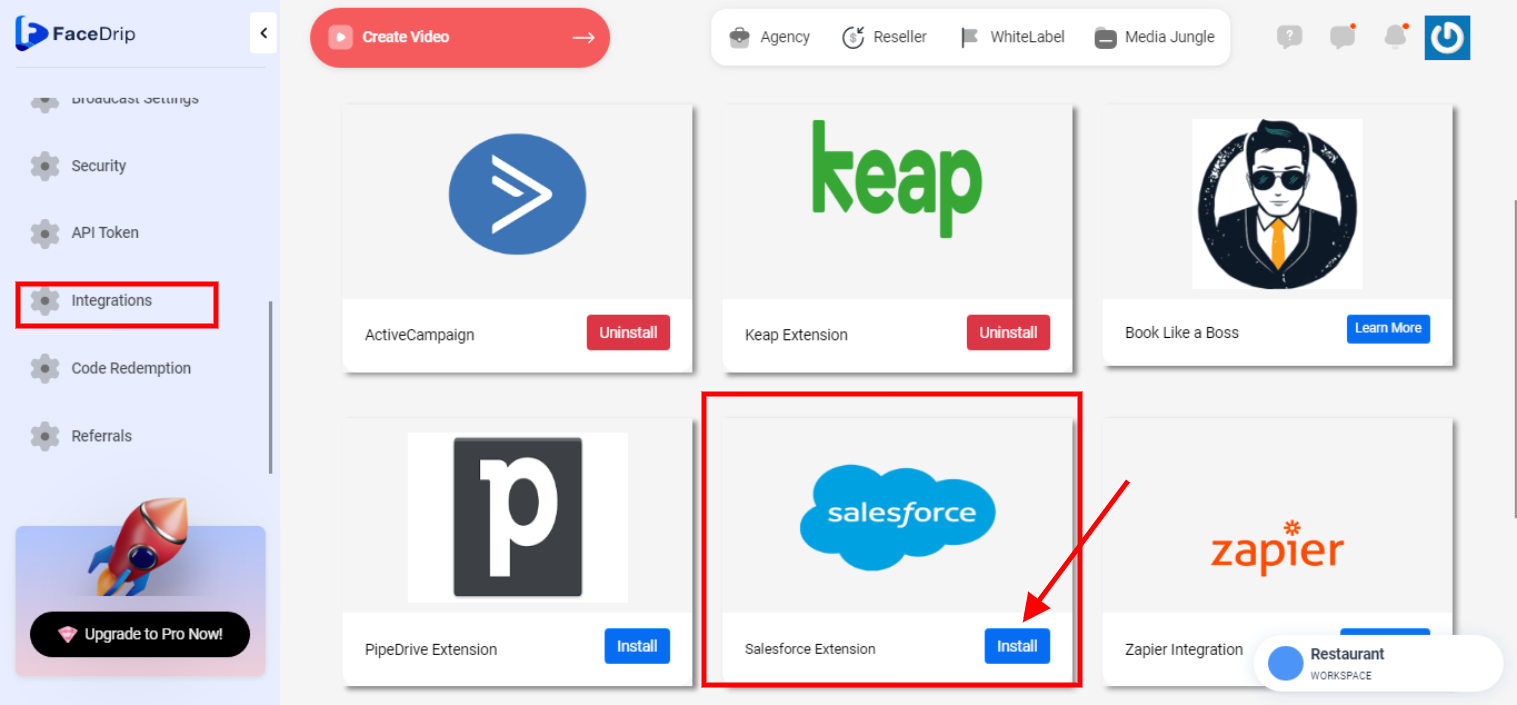
STEP 6: Find the Salesforce extension and click on the install button
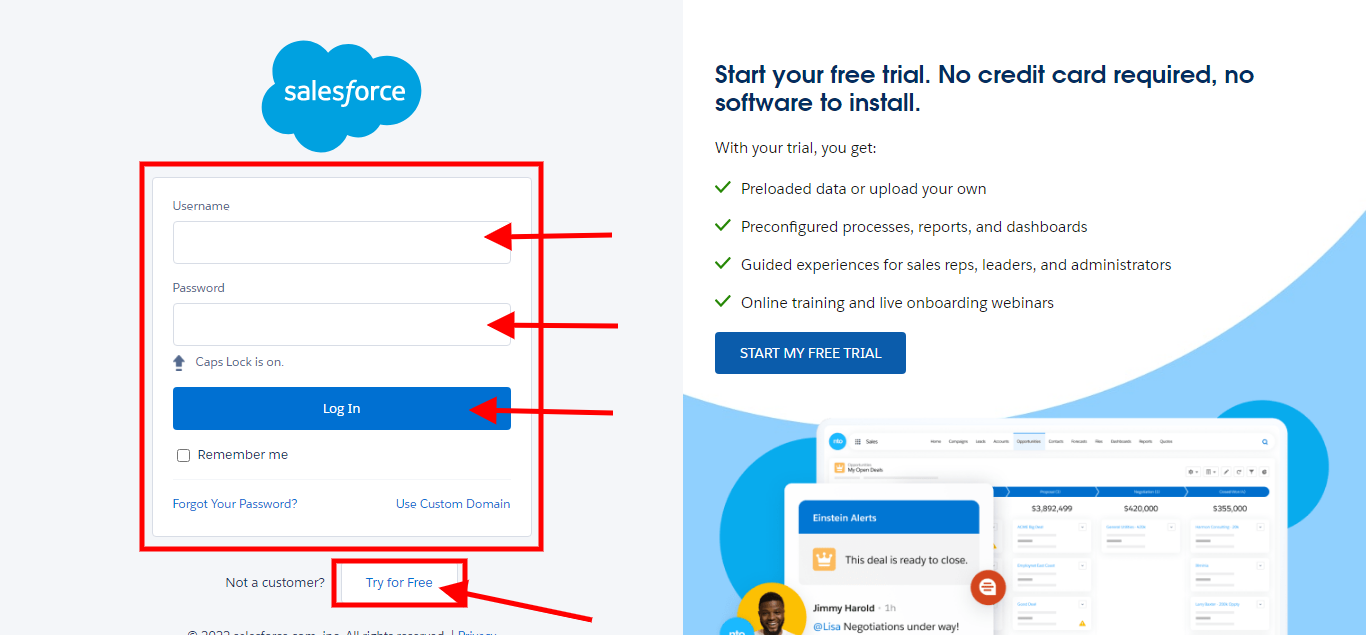
STEP 7: Once you integrate Facedrip to your Salesforce account you will gain access to your Salesforce login in page where you enter a valid “Email Address” and a “Valid Password” Then click the “Log in” button.
N/B: If you are not a user yet, or you do not have a salesforce account, You can as well try using Salesforce for free, by clicking the “Try For Free Button”
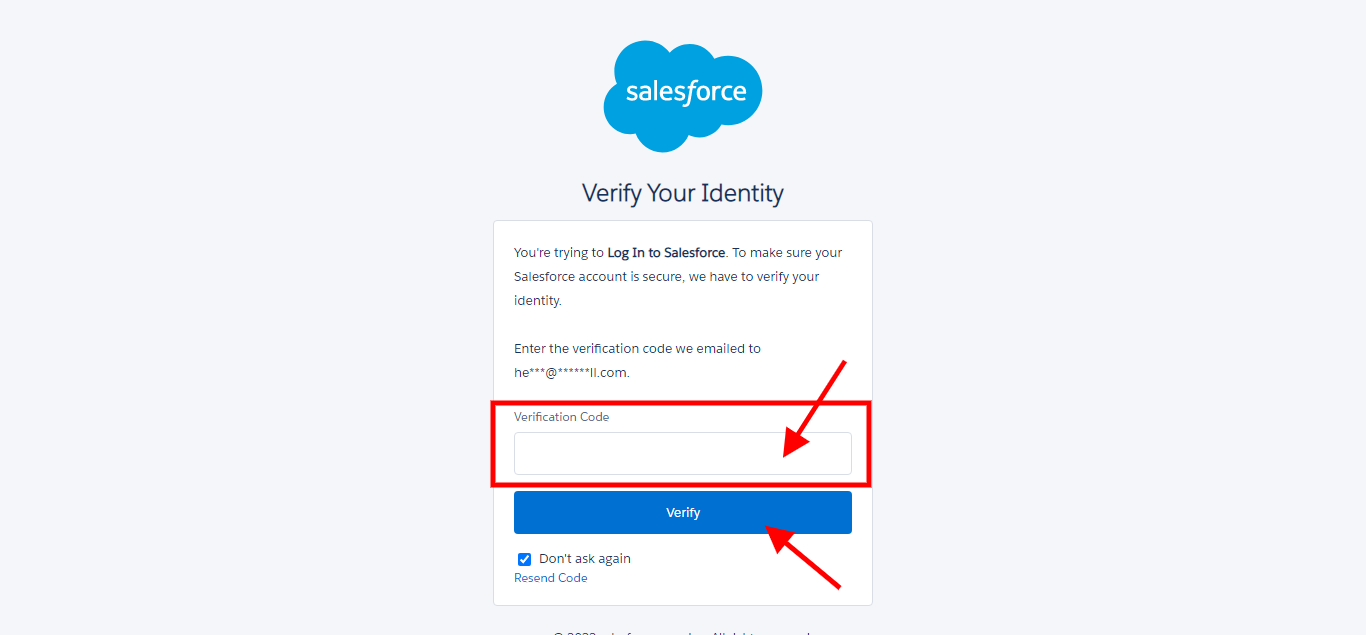
STEP 8: Upon entering your entering your Email address and password, you will be redirected to a verification page ,where you enter the code sent to the email address you entered on the log in page. After that, Click the “Verify” Button. After which you will gain access to your salesforce dashboard for further activities.