Click Sign Up from the Calendly home page, and Calendly will walk you through the whole process. If you use a Gmail account, you can log in with that, and you’ll have the option to integrate with Google Calendar right away.
You can skip any part of the sign-up process, but filling in the information now lets you make the most of the entire app right away.
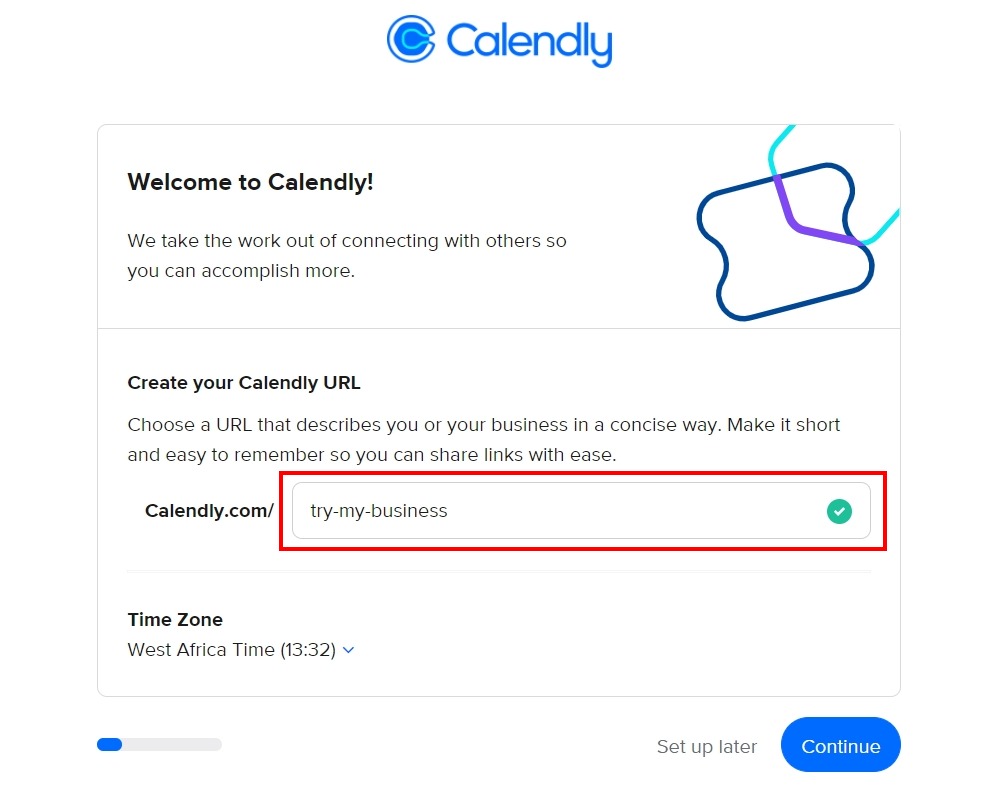
The first step is completing your Calendly URL and selecting your time zone. Bear in mind that your Calendly URL will be part of the link you send to your all event invitees, so make sure it’s something descriptive and professional.
Next, you’ll have the option to integrate your Calendly account with your other calendars before you get started. Click the relevant box, and the login window for that account will pop up. Linking accounts automatically populates your Calendly schedule with any events entered into other calendars—even pre-existing ones—to prevent overbooking.
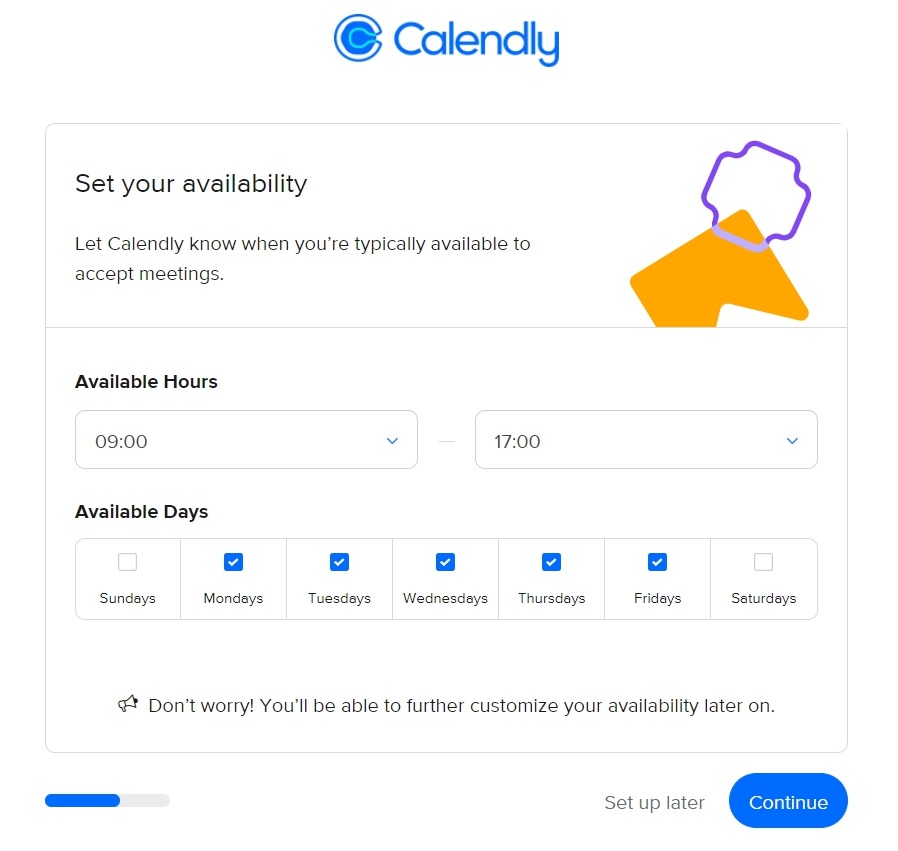
Then, you can set your general availability. You can change it at any time—for example, if you go on vacation or your daily schedule changes—so it’s okay to be vague for now.
Calendly also asks about your work duties to personalize your customer support if you need it. And finally, Calendly ends the onboarding by urging you to create your first event.
How to create event types/time or meeting slots in Calendly
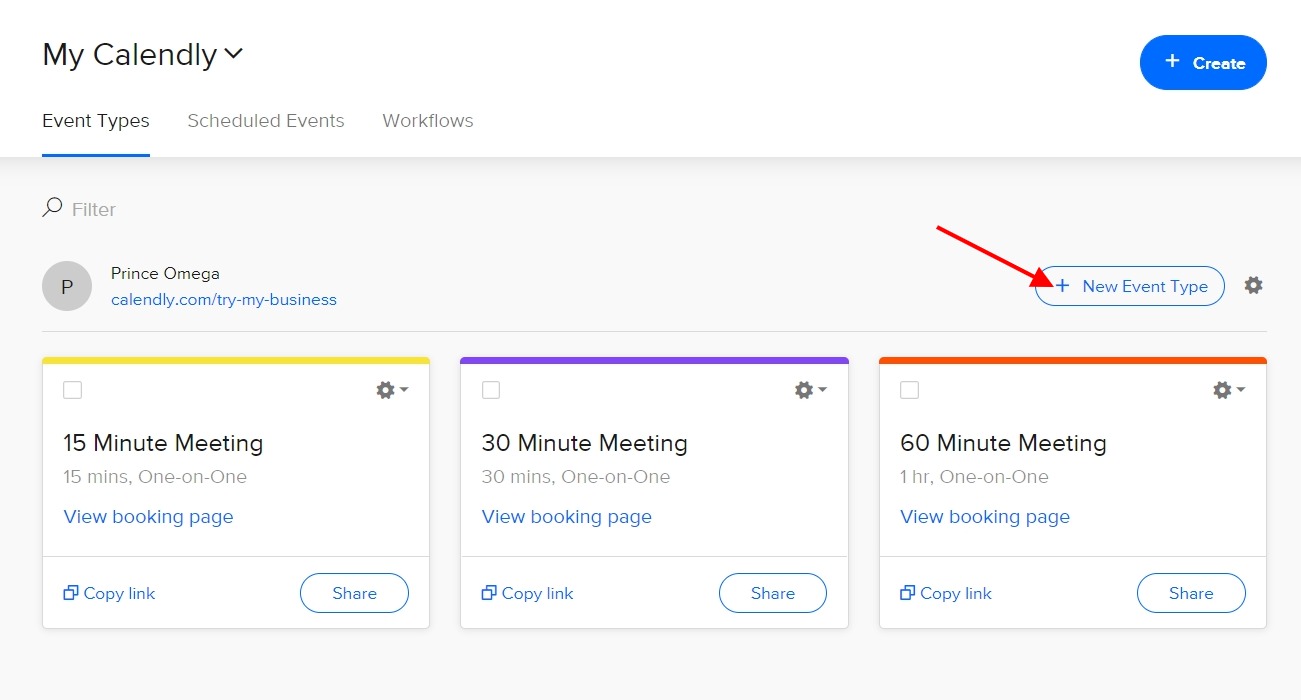
When using Calendly, think of Events as time slots. You define how those time slots are used and who sees them. To start, you can choose one of the default one-on-one events for 15, 30, or 60 minutes. But you can also create a new event. To do so, click (+) New Event Type.
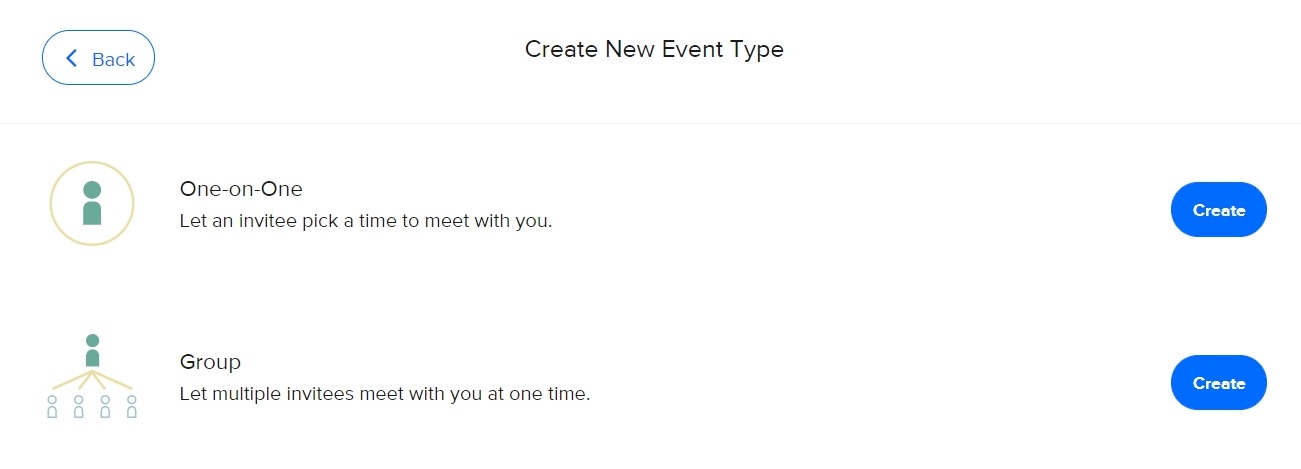
Choose between a one-on-one event or a group event. (Keep in mind that if you’re using the Basic account, you can only choose one-on-one after your 14-day trial expires.) Click the Create button next to your corresponding choice.
This first window of the event editor asks for basic information: the name of the event, location, and description. It also gives you the opportunity to customize the event URL and color-coding. For group events, you also specify the maximum number of attendees.

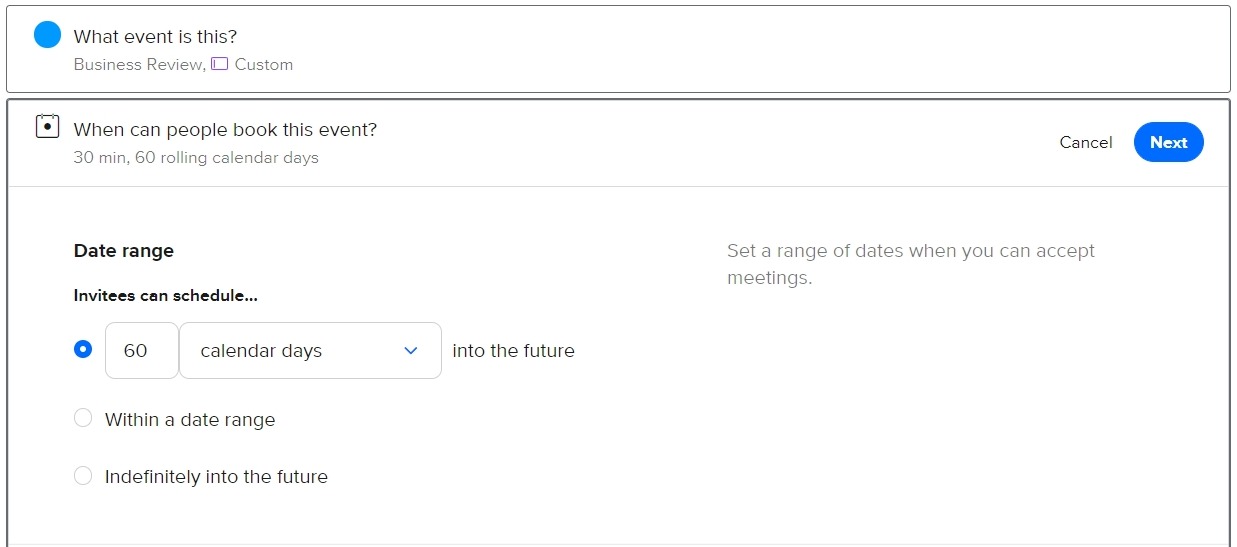
In the next window, you’ll set the duration of the event itself, as well as how long people can sign up for the event.
Below that, you can customize your availability for the event if it’s different than your default.
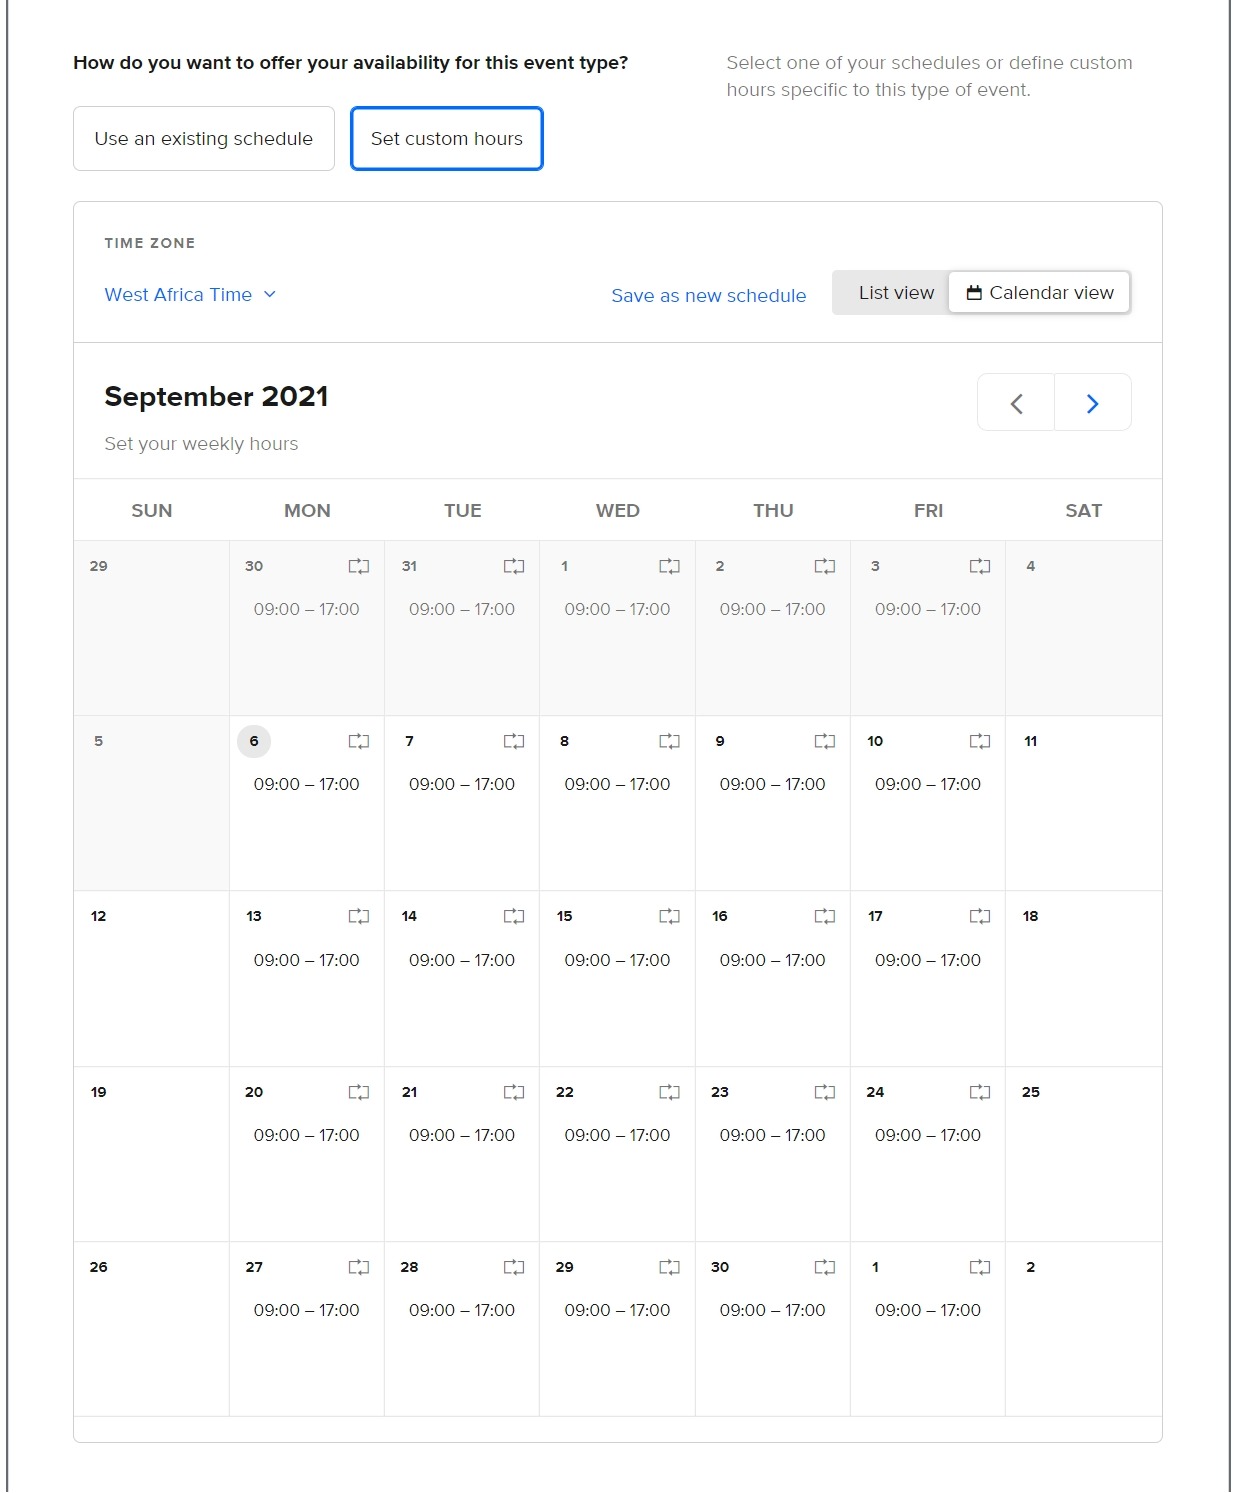
Clicking on an individual date in the calendar opens up a new set of options. Here, you can enter a specific time range for that date only or for that day every week (e.g., every Monday).

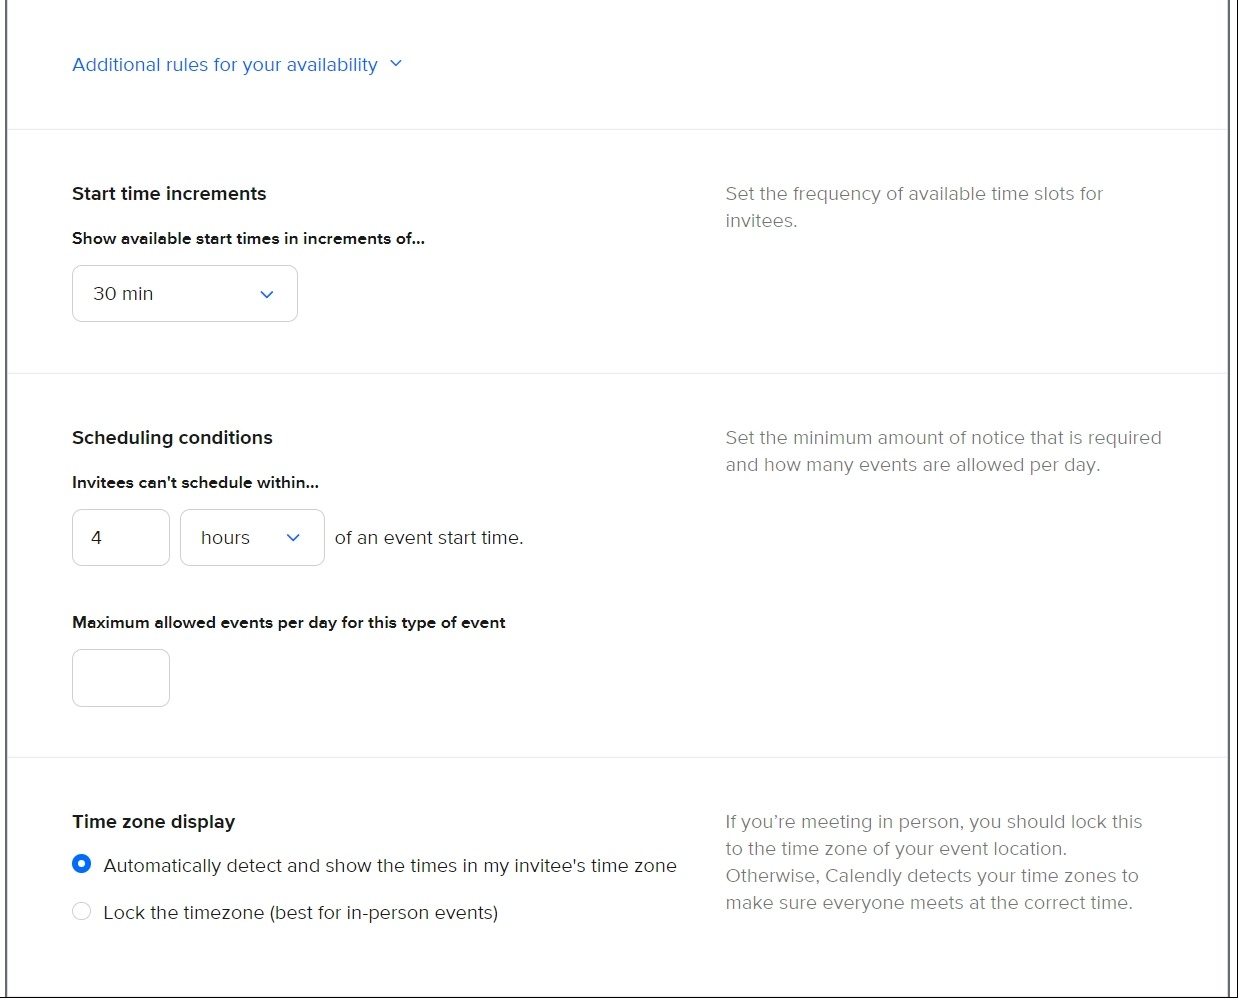
Upon clicking the Additional rules for your availability dropdown link below the calendar brings up even more detailed customization options. Here you adjust the frequency of events, establish a maximum number of events per day, input a cut-off time for last-minute scheduling, and set a built-in buffer time before and after events.
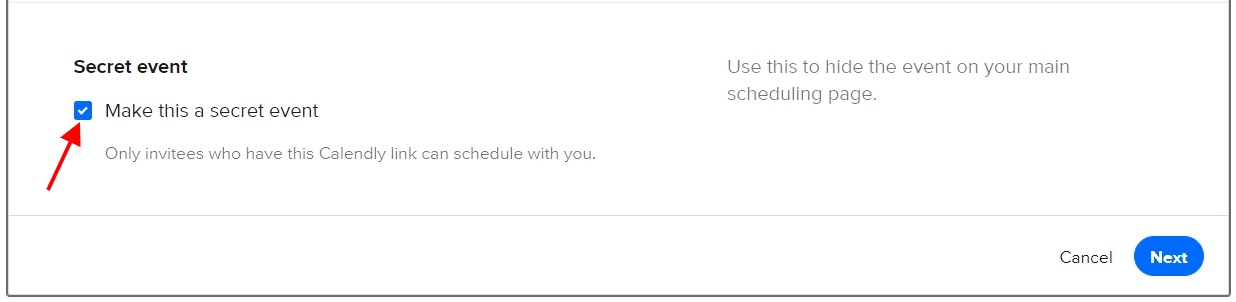
You also have the ability to hide the event from your public schedule (for when you share your entire calendar with someone), a feature known as Secret Event. To activate it, click on the button (the default is No, but it changes to Yes when clicked).
When you’re ready, click Save & Close in the bottom-right to save your data and close the window. Note: Your event is still not finished. To make the event public (or active, if you’re using a Secret Event), you have to turn it on by clicking the button in the upper-right corner of the event editor.

You’ll know your event is active when OFF changes to ON and the gray box turns green.
How to Invite People to Events and Share Your Calendly Link
Once you’ve personalized all your Event Types and created your ideal schedule, you can invite people to join or book them. All you have to do is send them the right link so that they can see their options and select the best time for them.
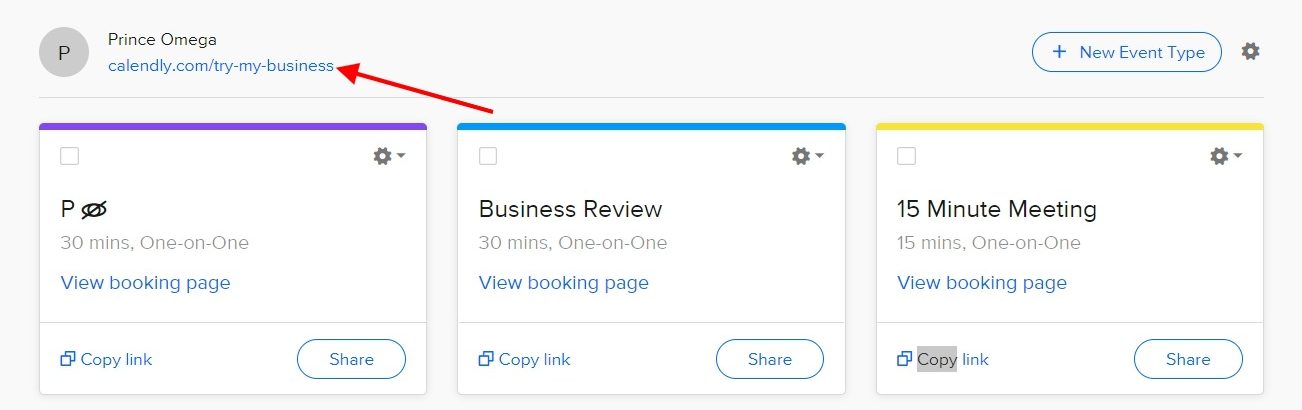
Go to your Account dashboard, then click the Event Types tab. Find the event type you want to share, and click Copy Link. This automatically copies the link, so you can paste it into your invitation.
Clicking the share button next to Copy Link opens up the additional options of generating a single-use link for a one-time booking or copying a timetable directly into the email.

How to share your entire calendar
You can also leave it up to the recipient to choose the event type—for example, they choose whether to schedule a half-hour or full-hour meeting. To give that choice to the invitee, send them the link to your public Calendly page. You can find this link in your Account dashboard and then copy and paste it manually.
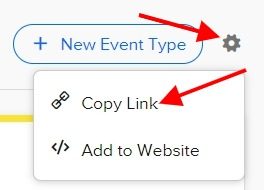
Alternatively, you can have it copied automatically by clicking the gear icon in the upper-right and choosing Copy Link.
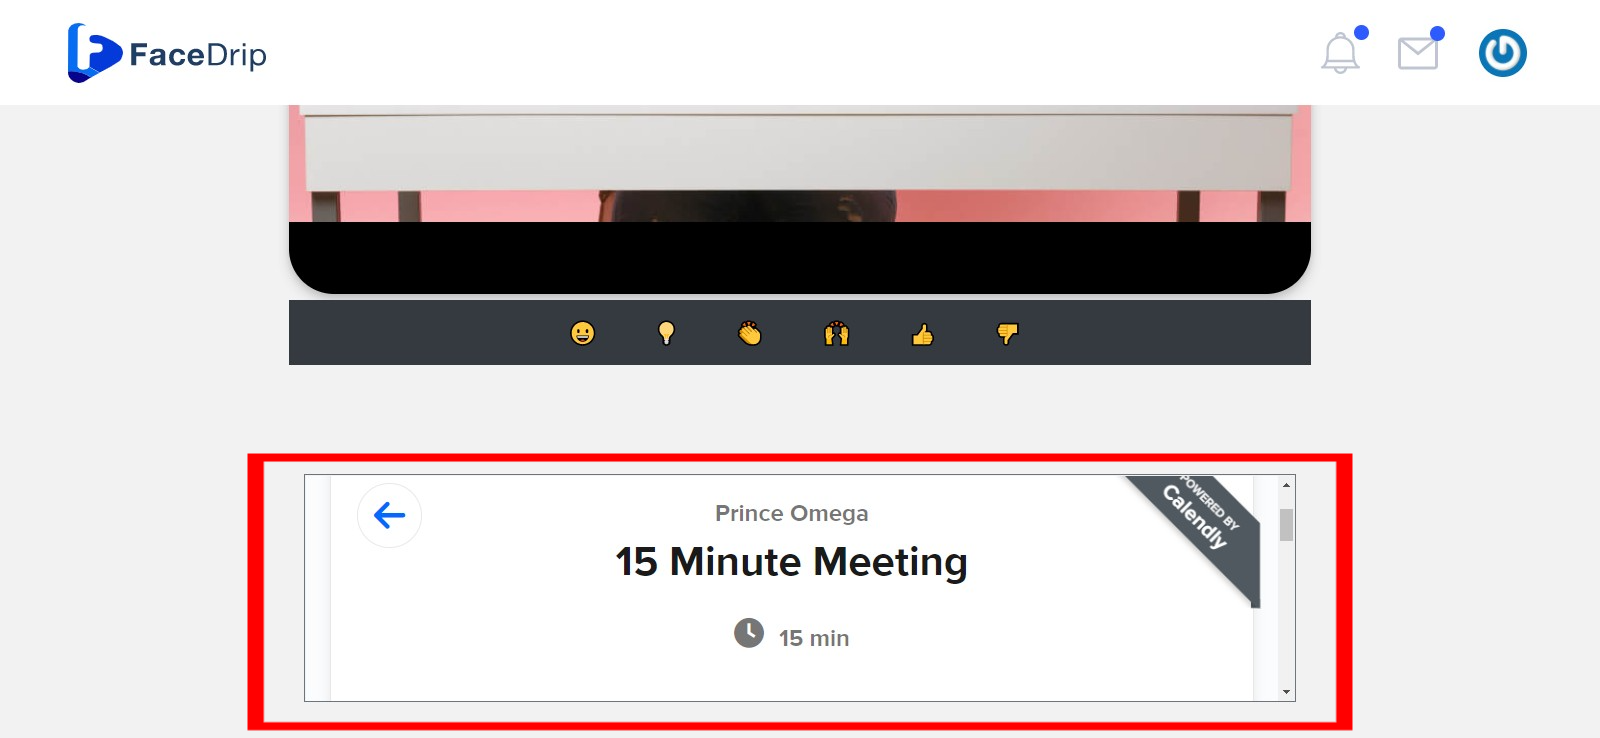
Whichever link you choose, you can paste it directly in the field labeled Calendly Booking Link When creating Calendar CTA Type with the Calendly Radio button Checked. Follow the link on How To Create Calendar CTA Type to learn more.
Upon successfully adding the Calendar CTA type for Calendly to the video (Follow this link on how to add CTA to Video), you will find the Calendly modal in the video view page as shown below